Managing how you pay is easy in AI Ark. You can add one or more cards to your account and set any of them as default for future payments.
Adding a payment method ensures your subscription renews without interruption and lets you manage billing seamlessly.
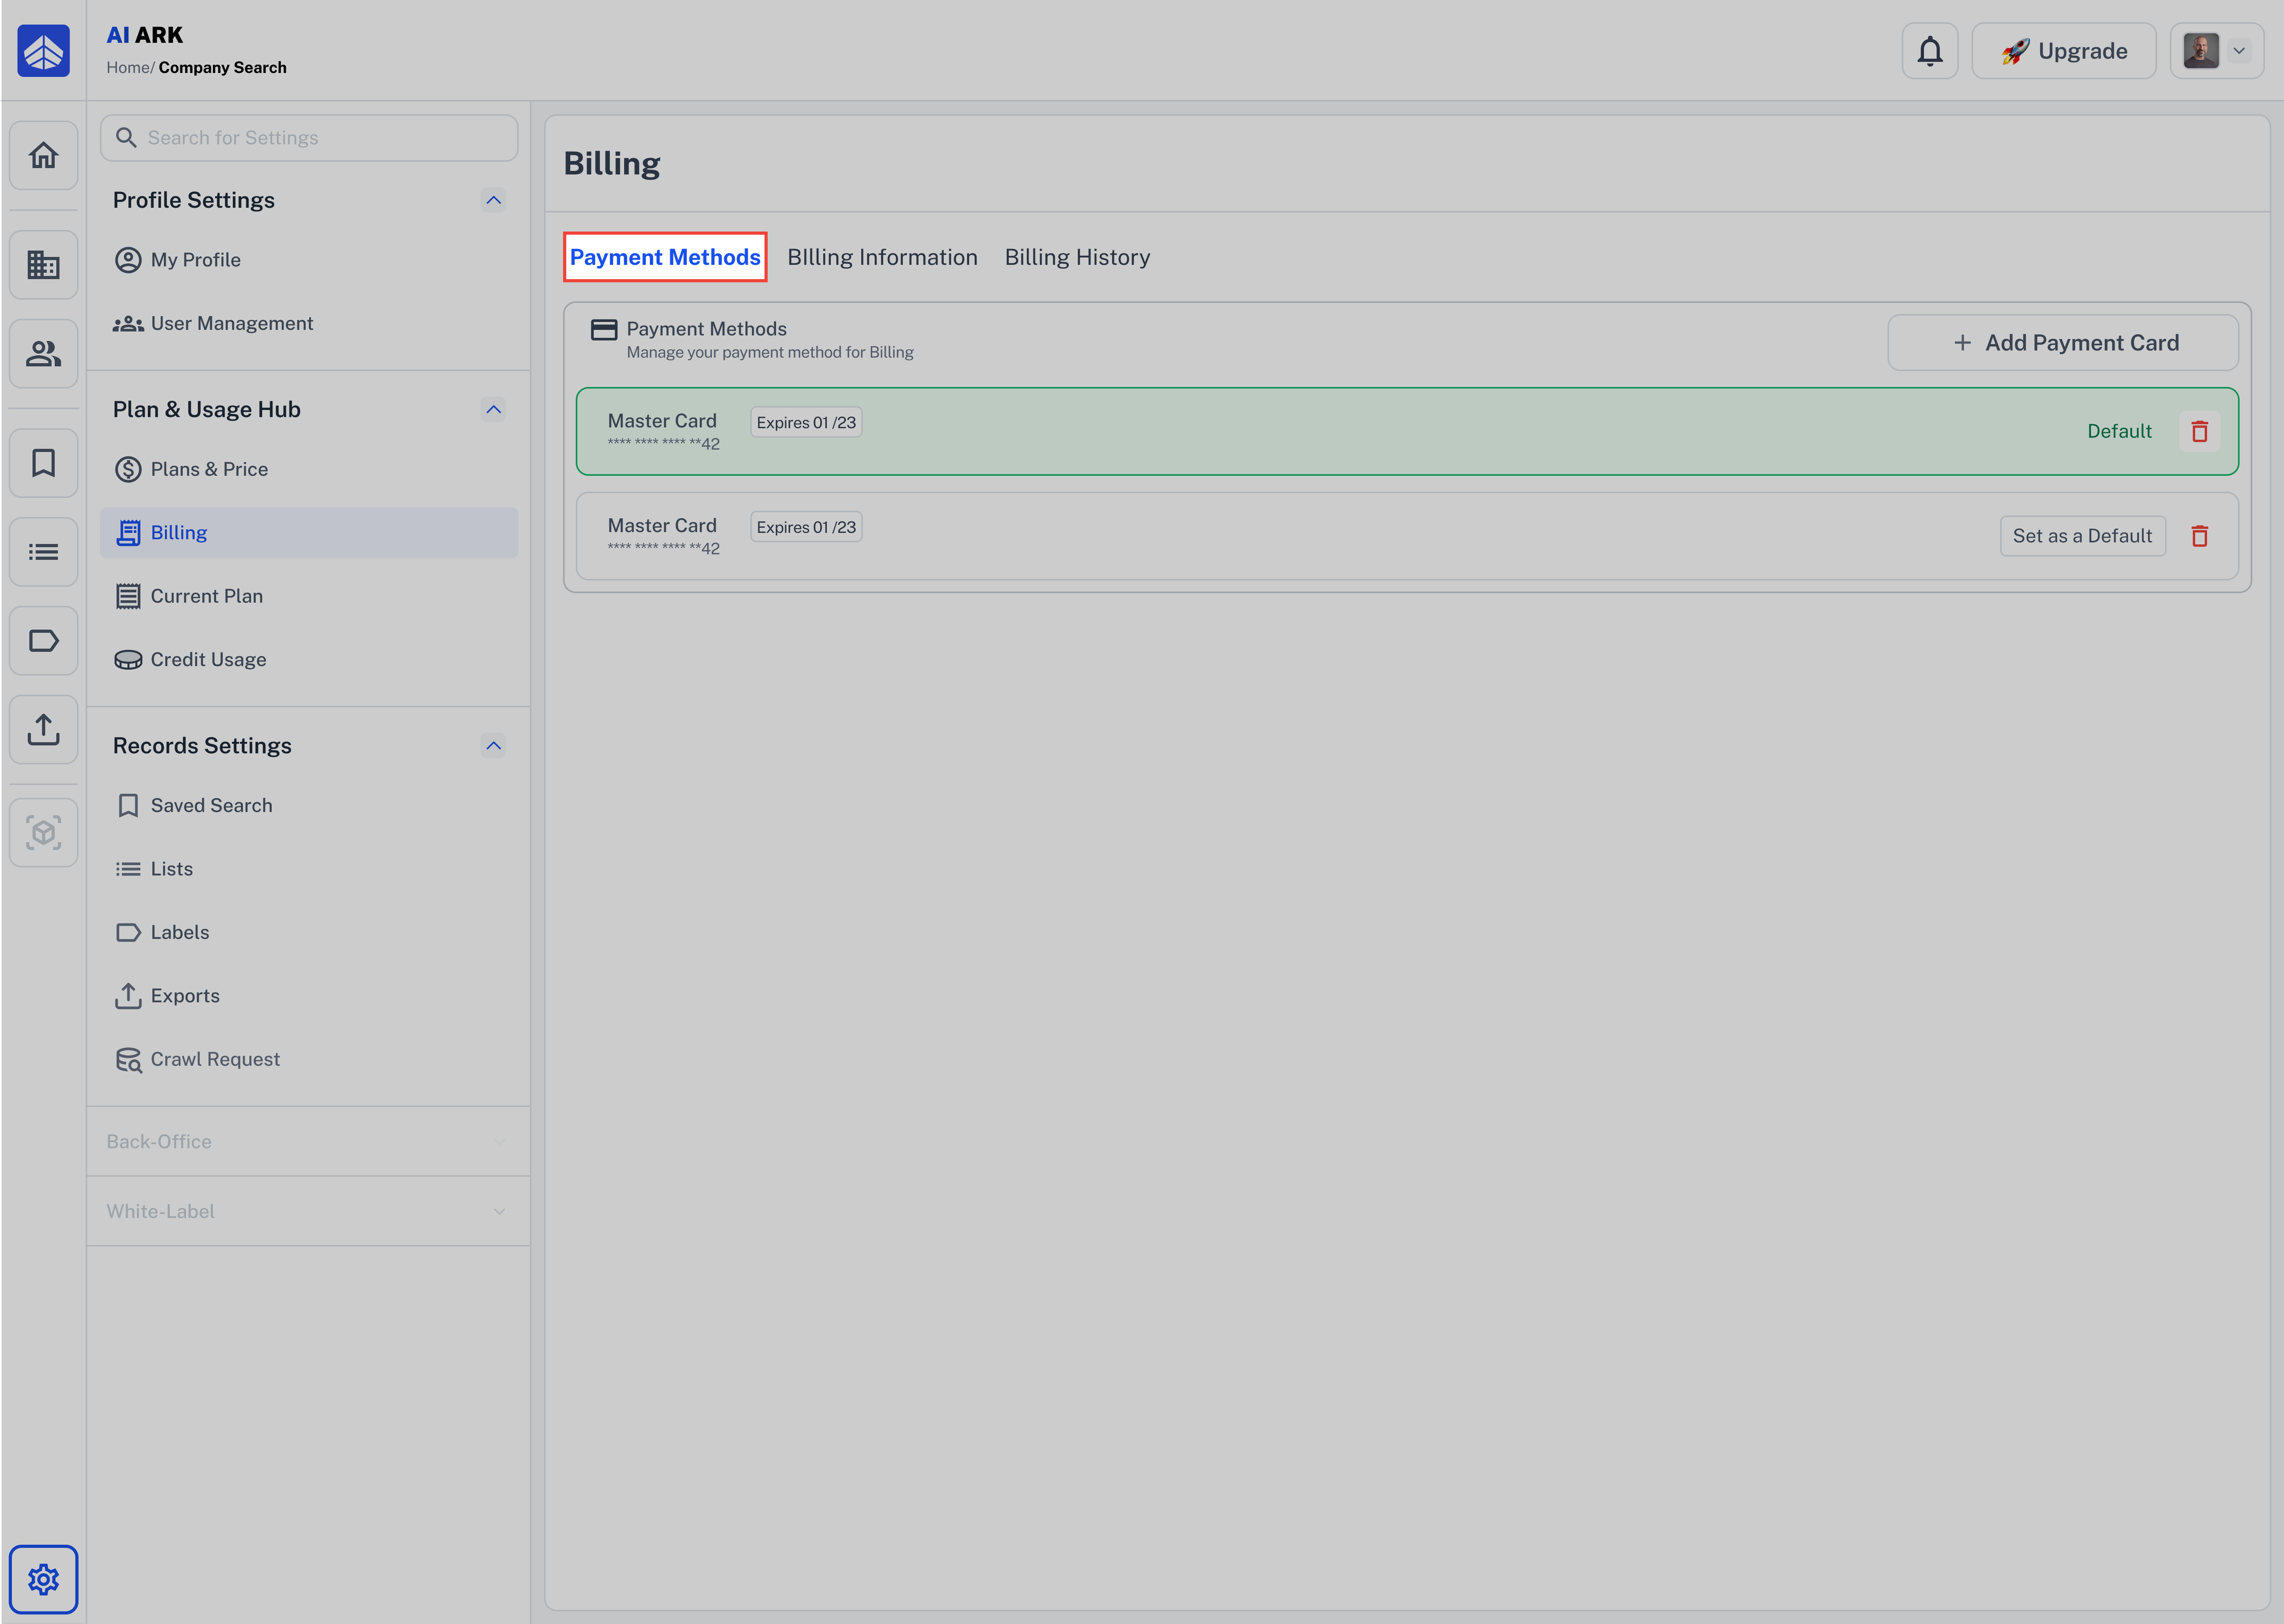
Go to Billing from the sidebar.
by default you can see Payment Methods tab.
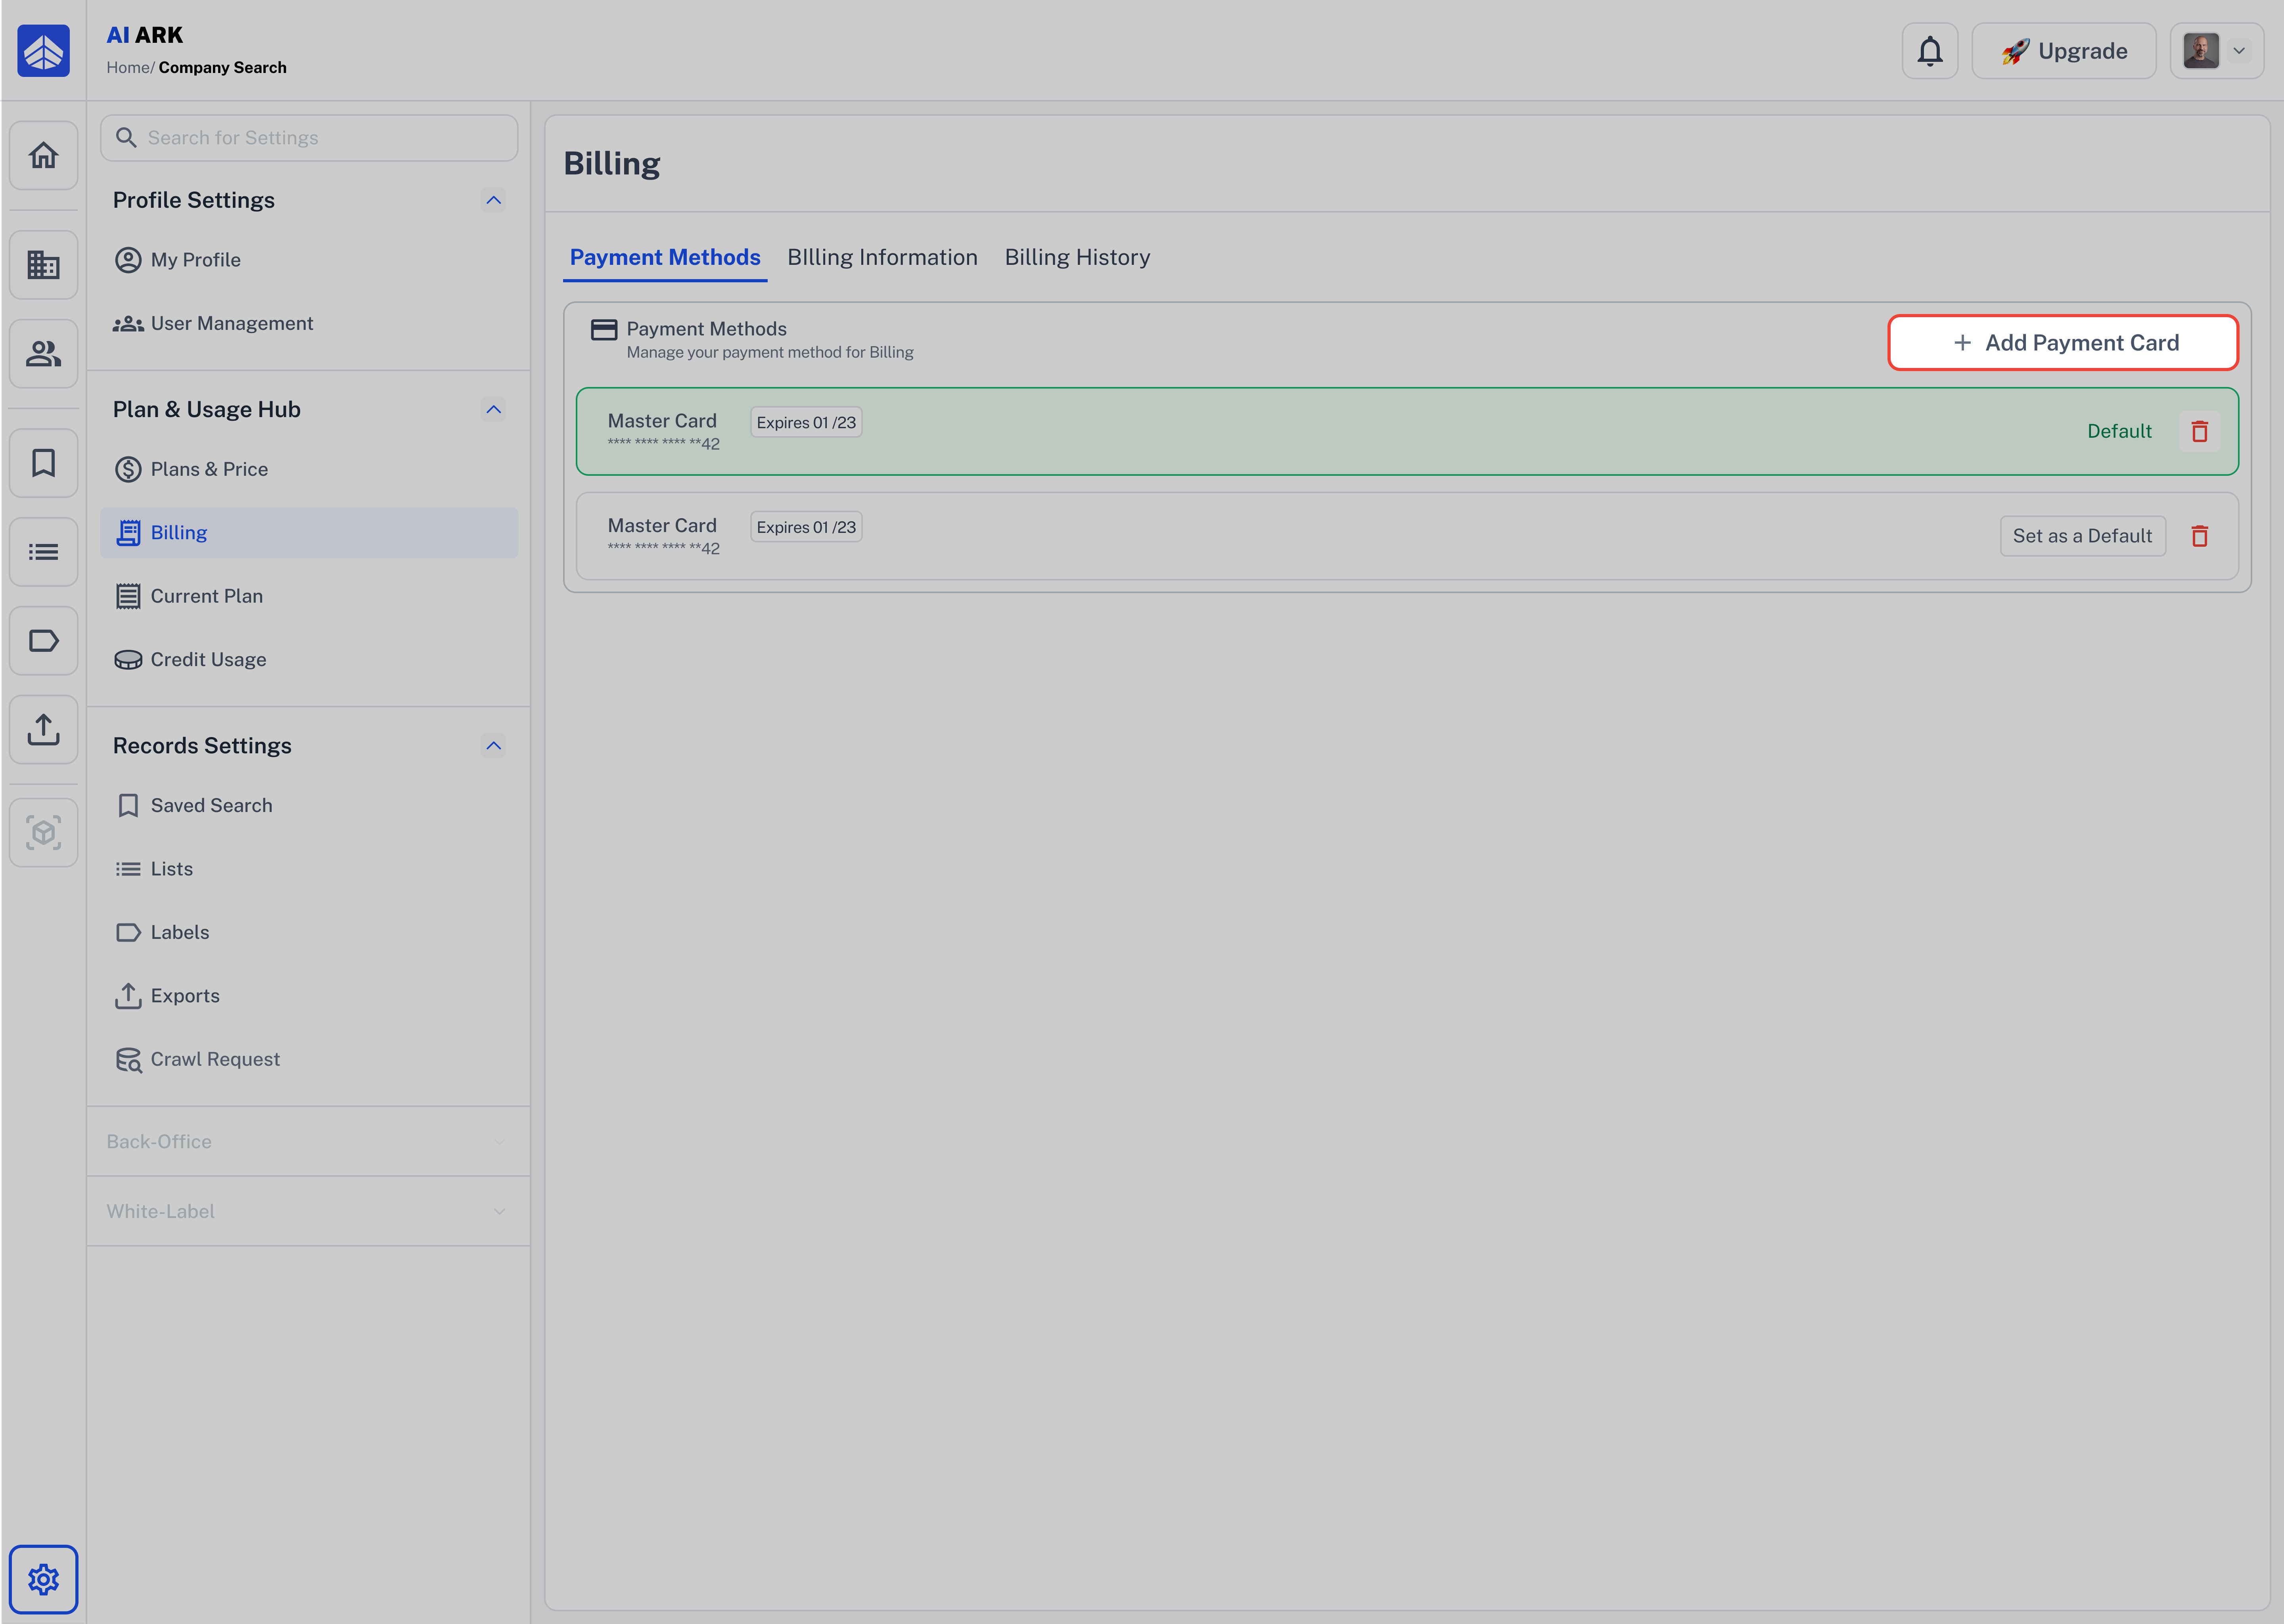
Click the “Add Payment Card” button at the top right.
A secure payment form will appear powered by Stripe.
Fill in the following:
Email address (pre-filled from your account)
Card Number, Expiry Date, and CVV
Billing Name (must match cardholder)
Billing Address (country + street address)
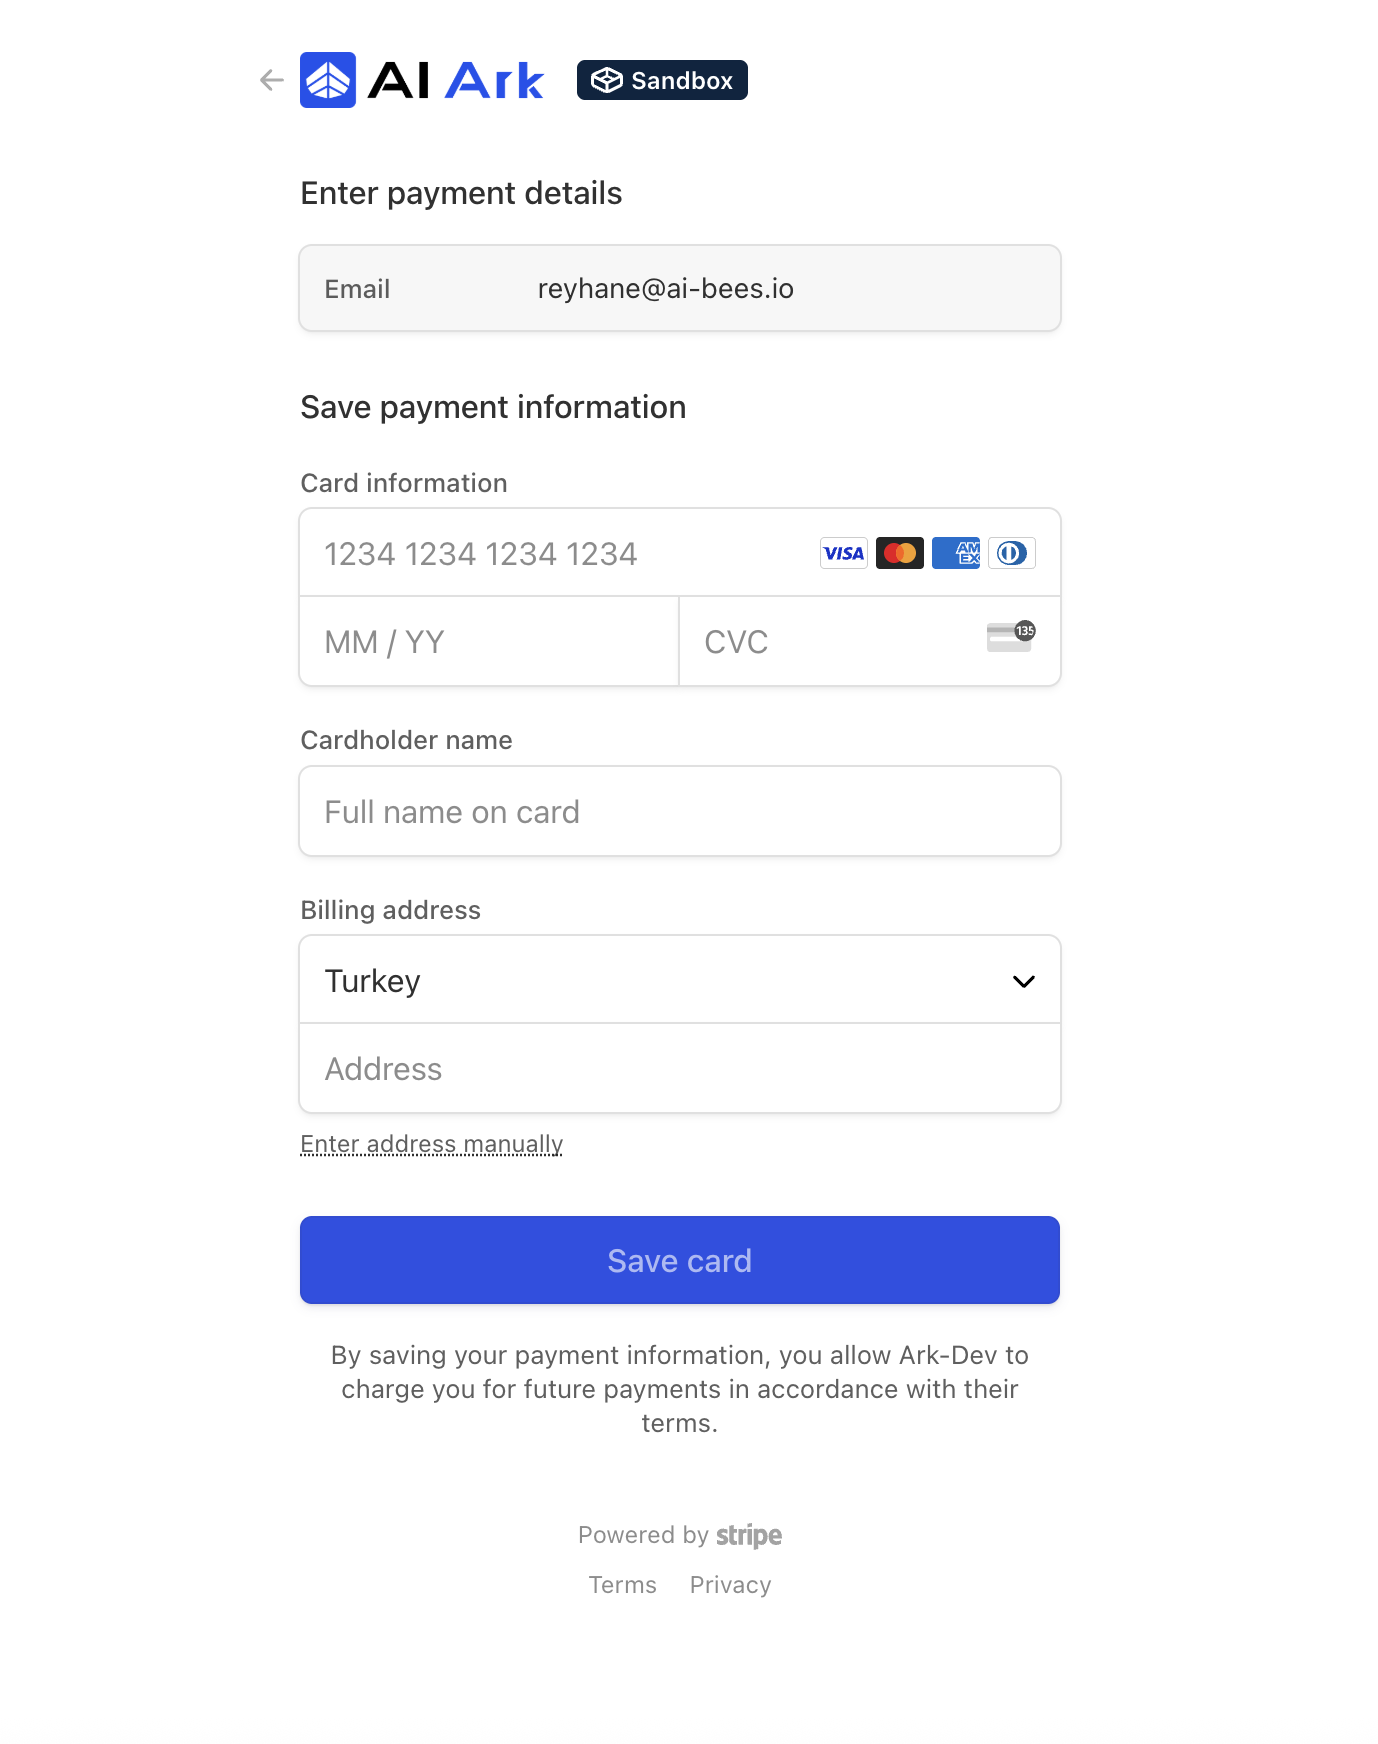
Once all fields are filled:
Click “Save Card”
You’ll see a confirmation, and the new card will appear in your list.
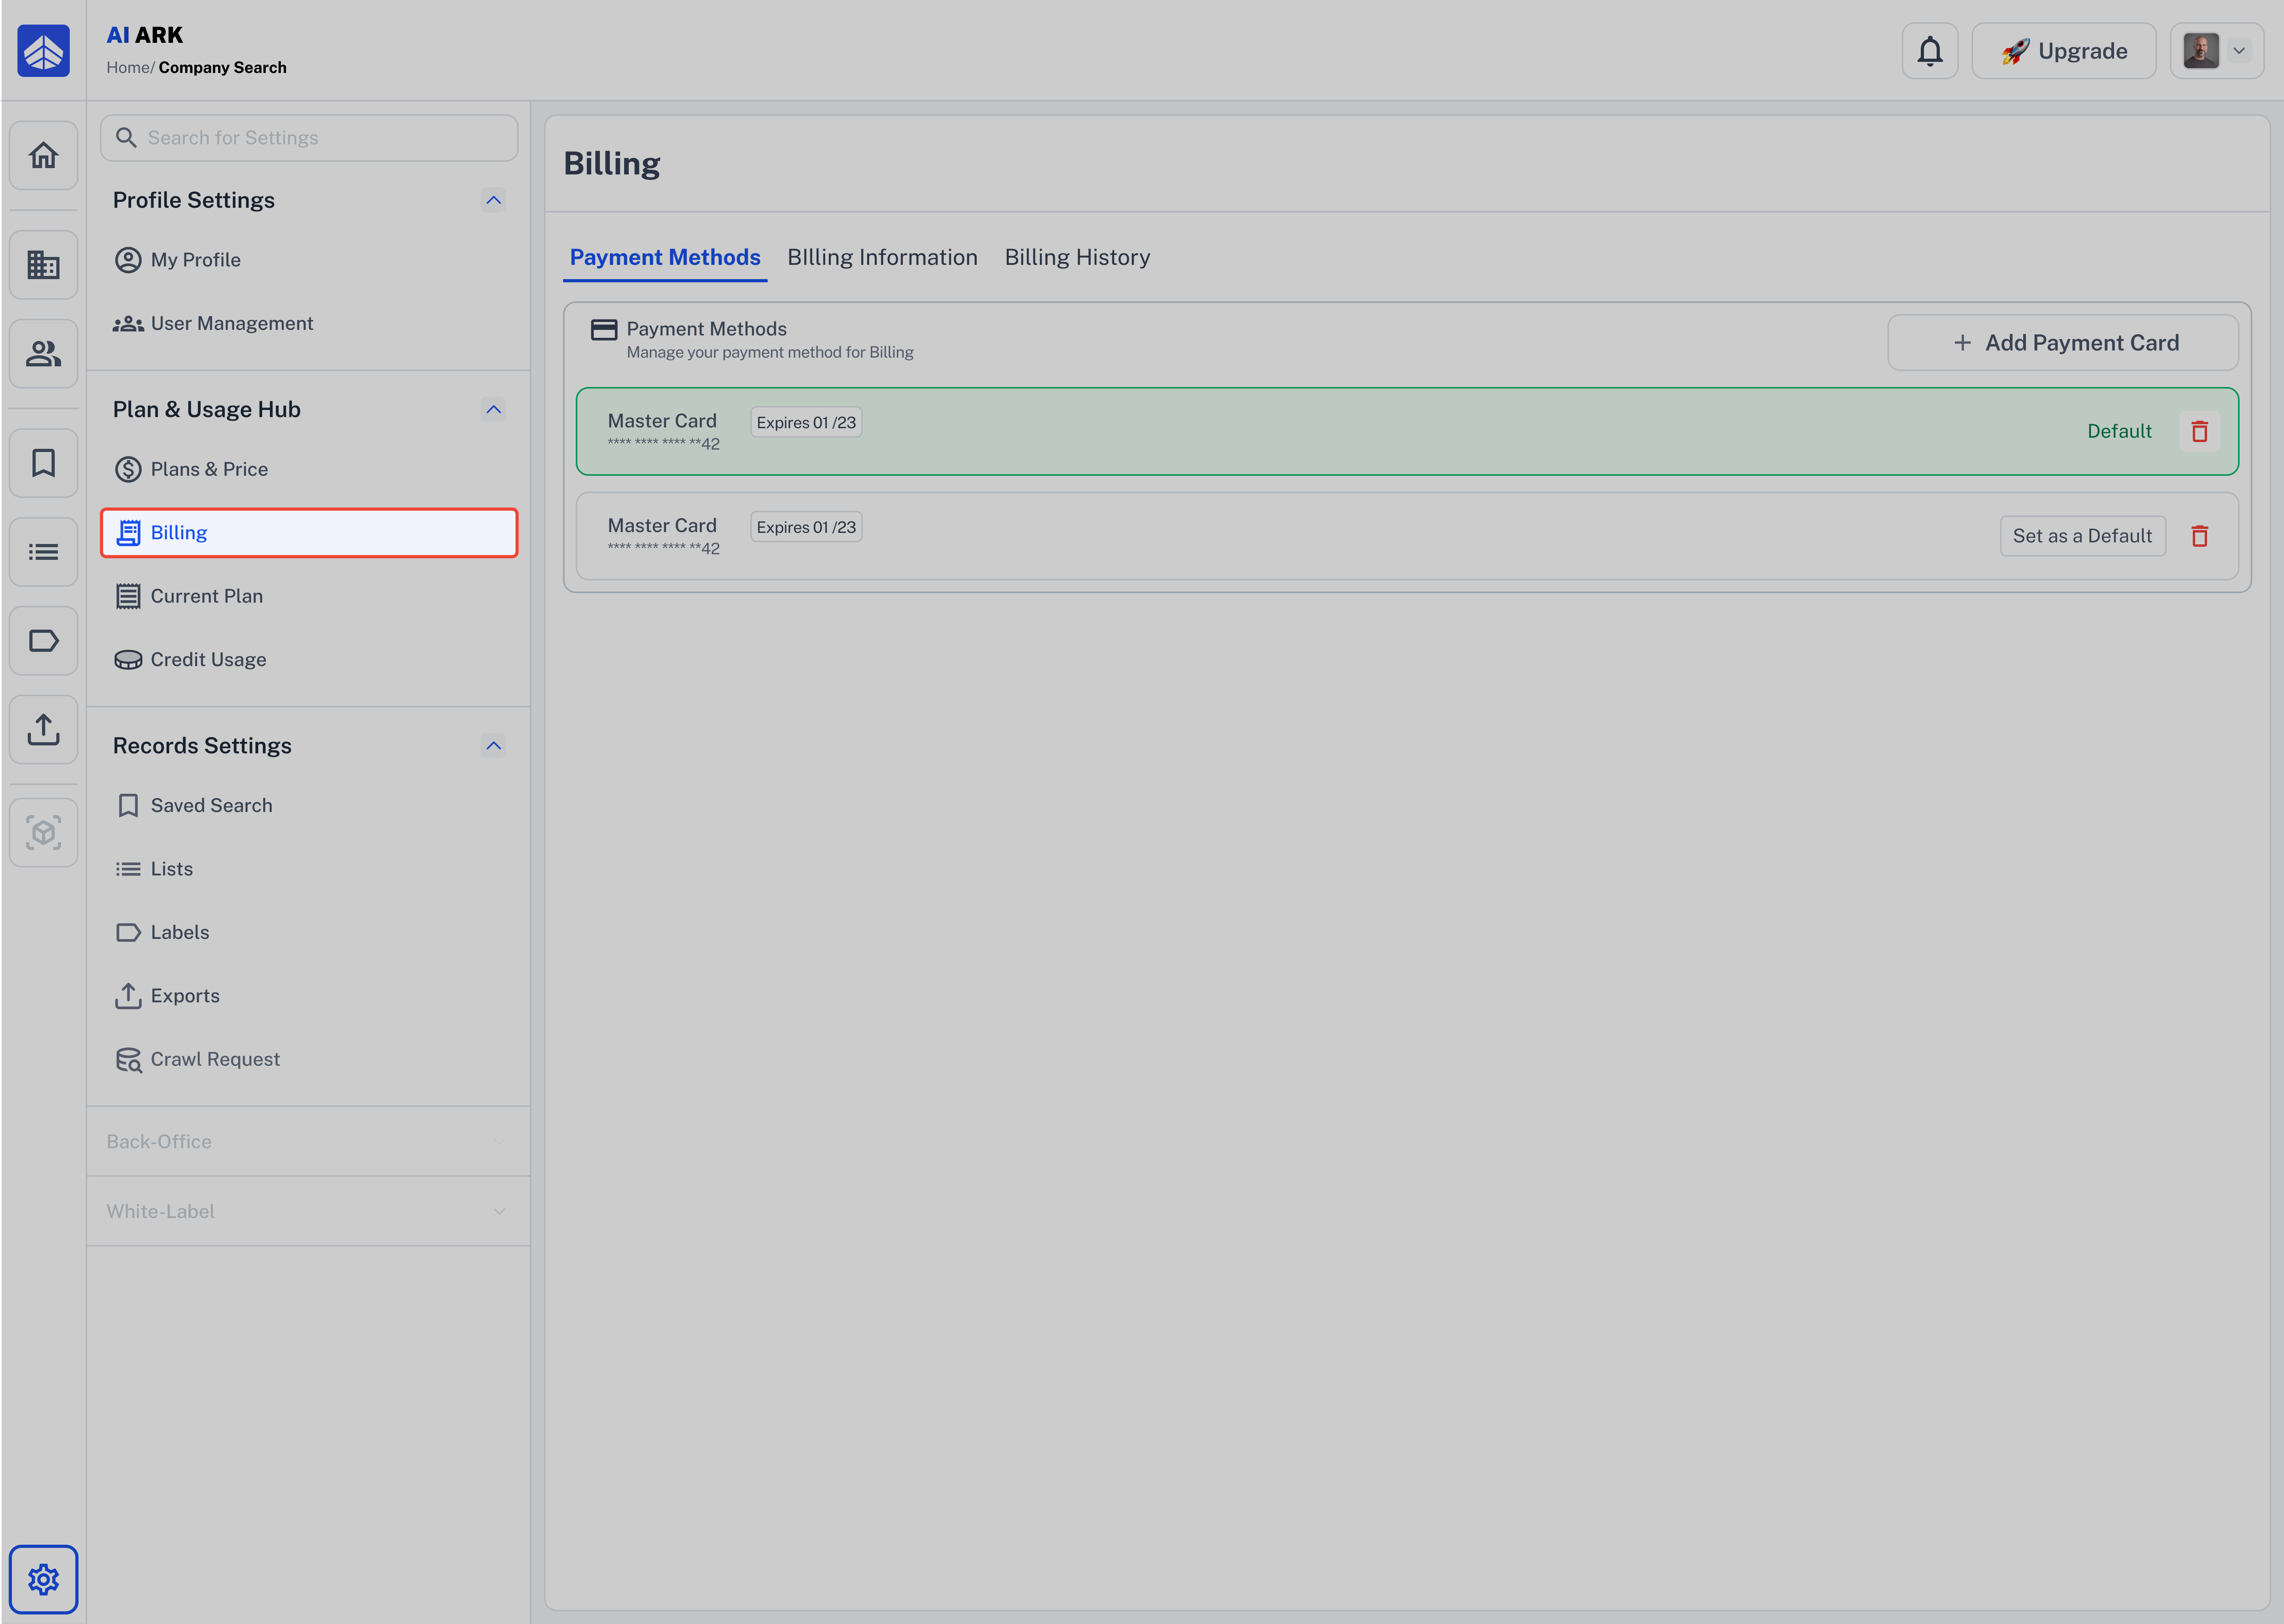
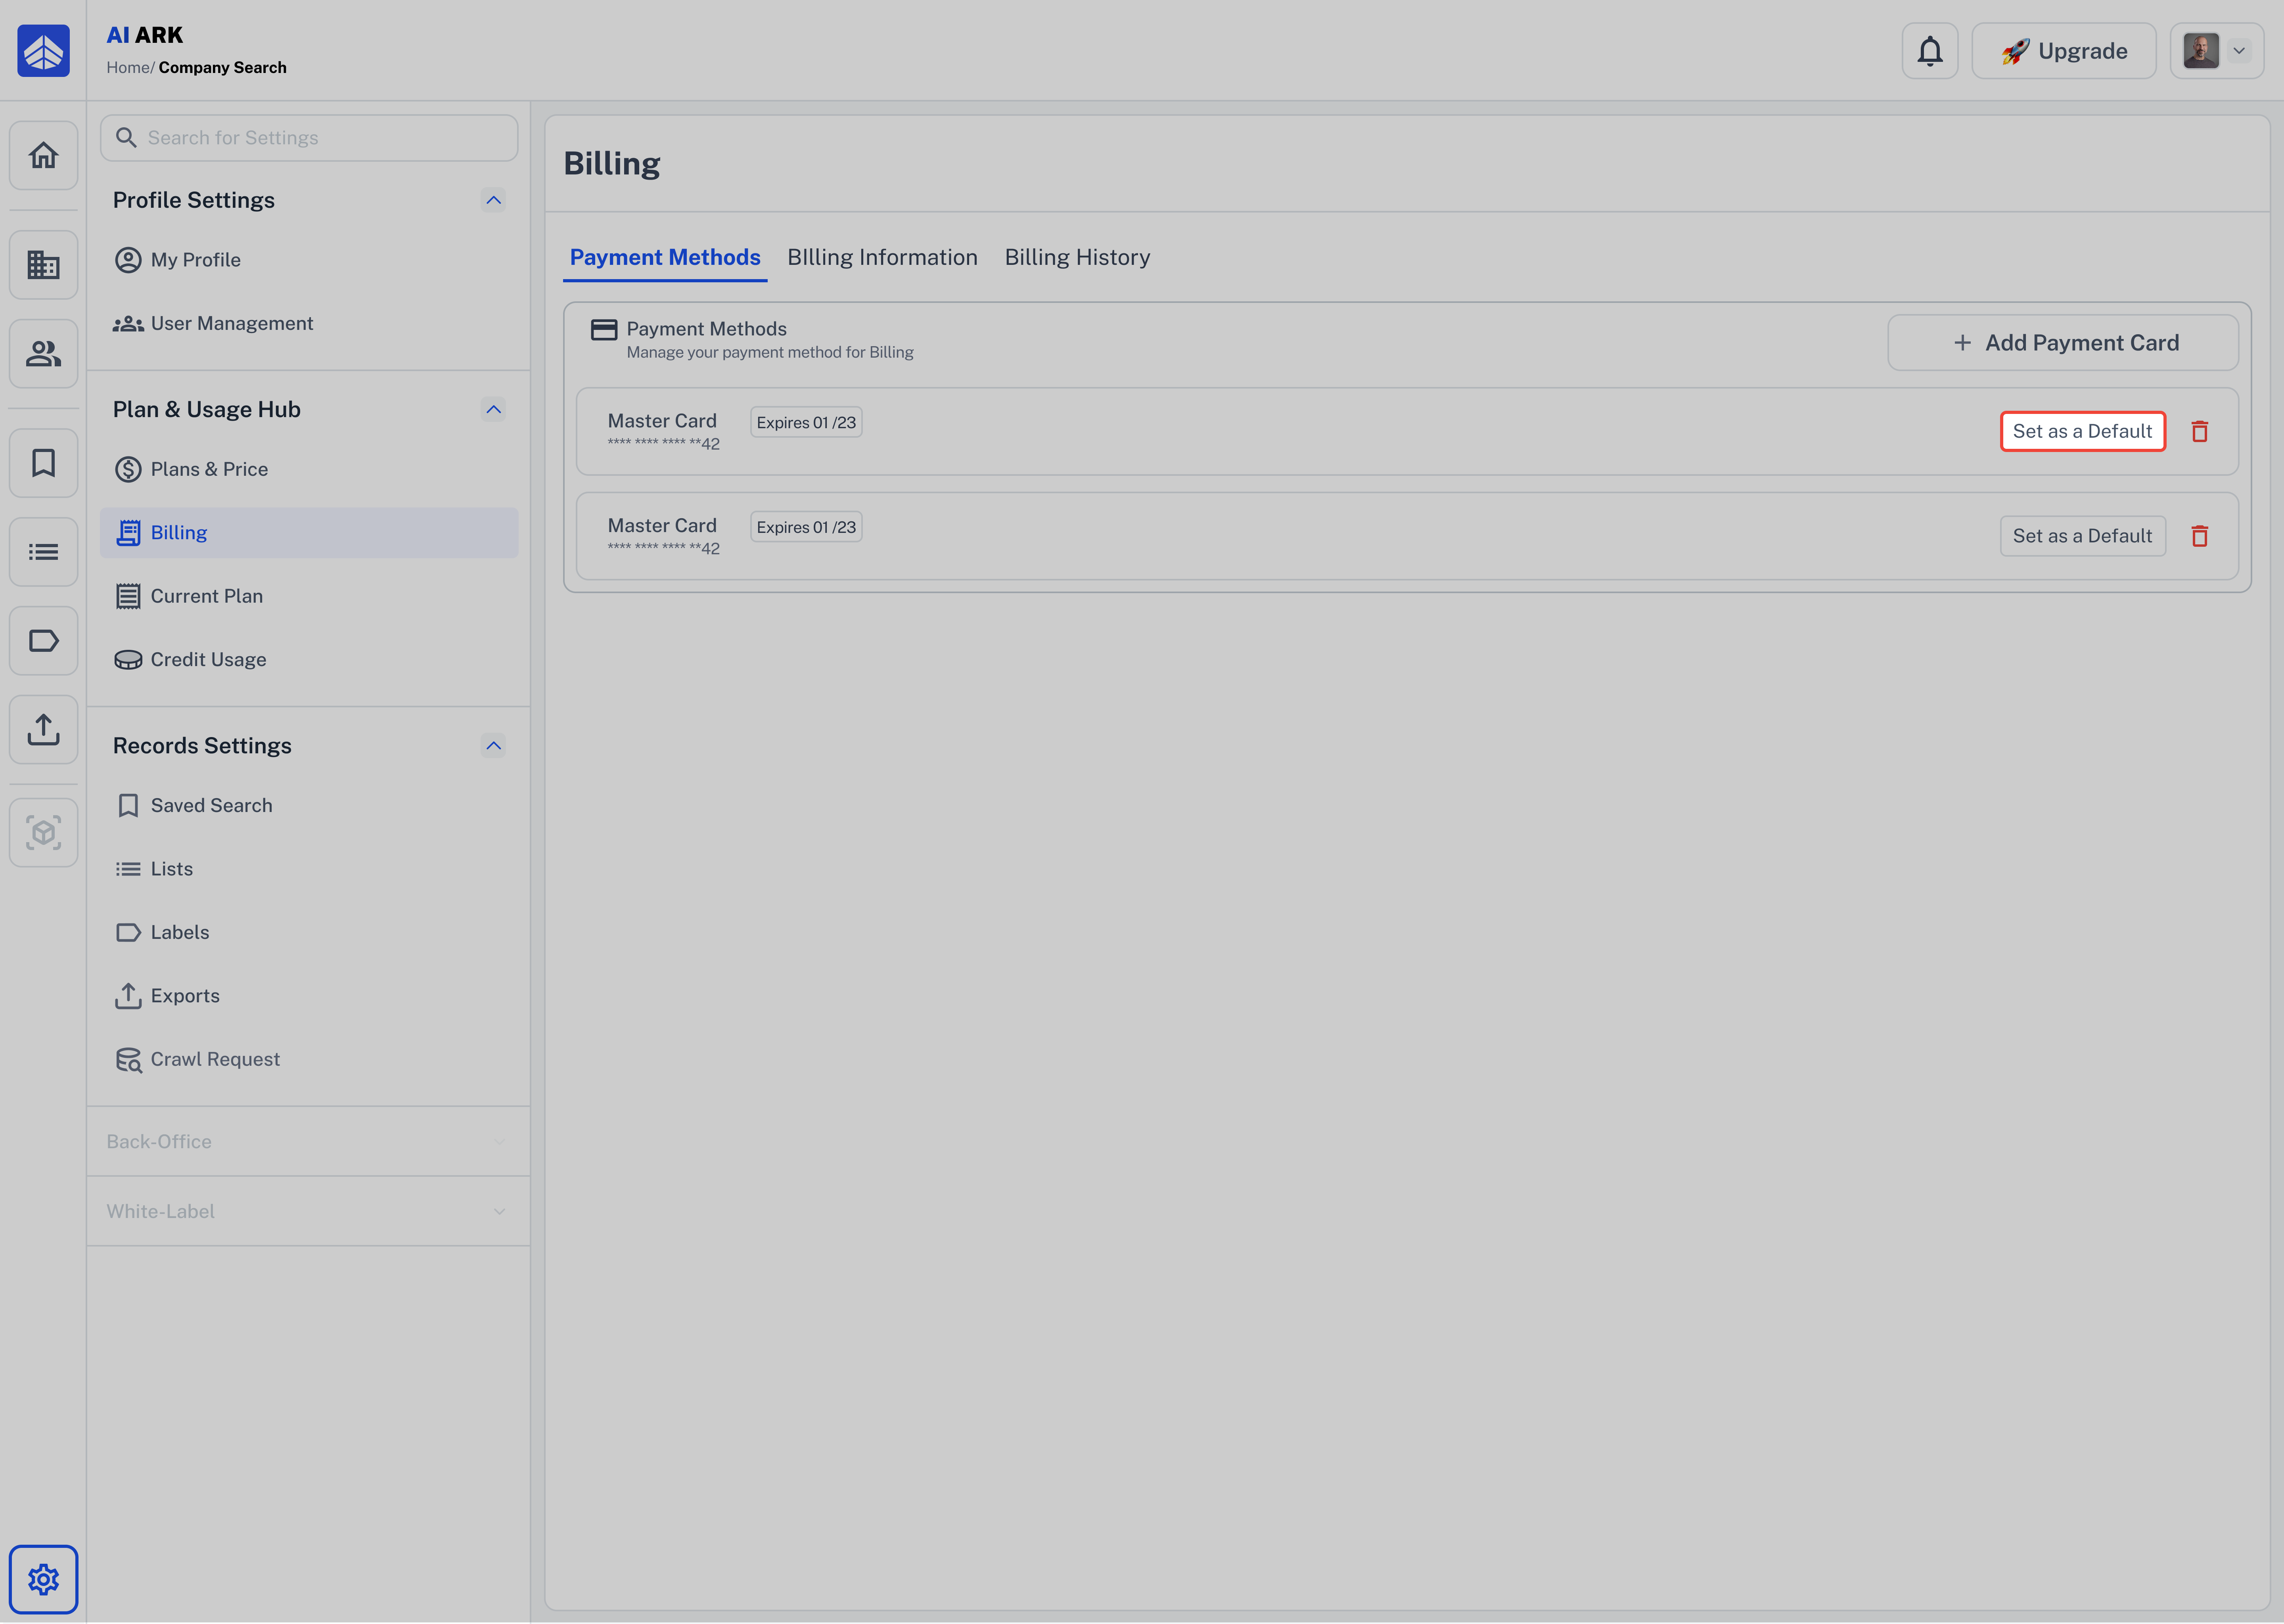
To set it as default, click “Set as Default” next to the card.
🔐 Is It Secure?
Yes. All card details are encrypted and handled via Stripe, an industry-standard secure payment provider. AI Ark does not store your raw card details.
Navigate to Billing > Payment Methods.
In the list of saved cards, find the one you want to set as default.
Click “Set as Default” next to that card.
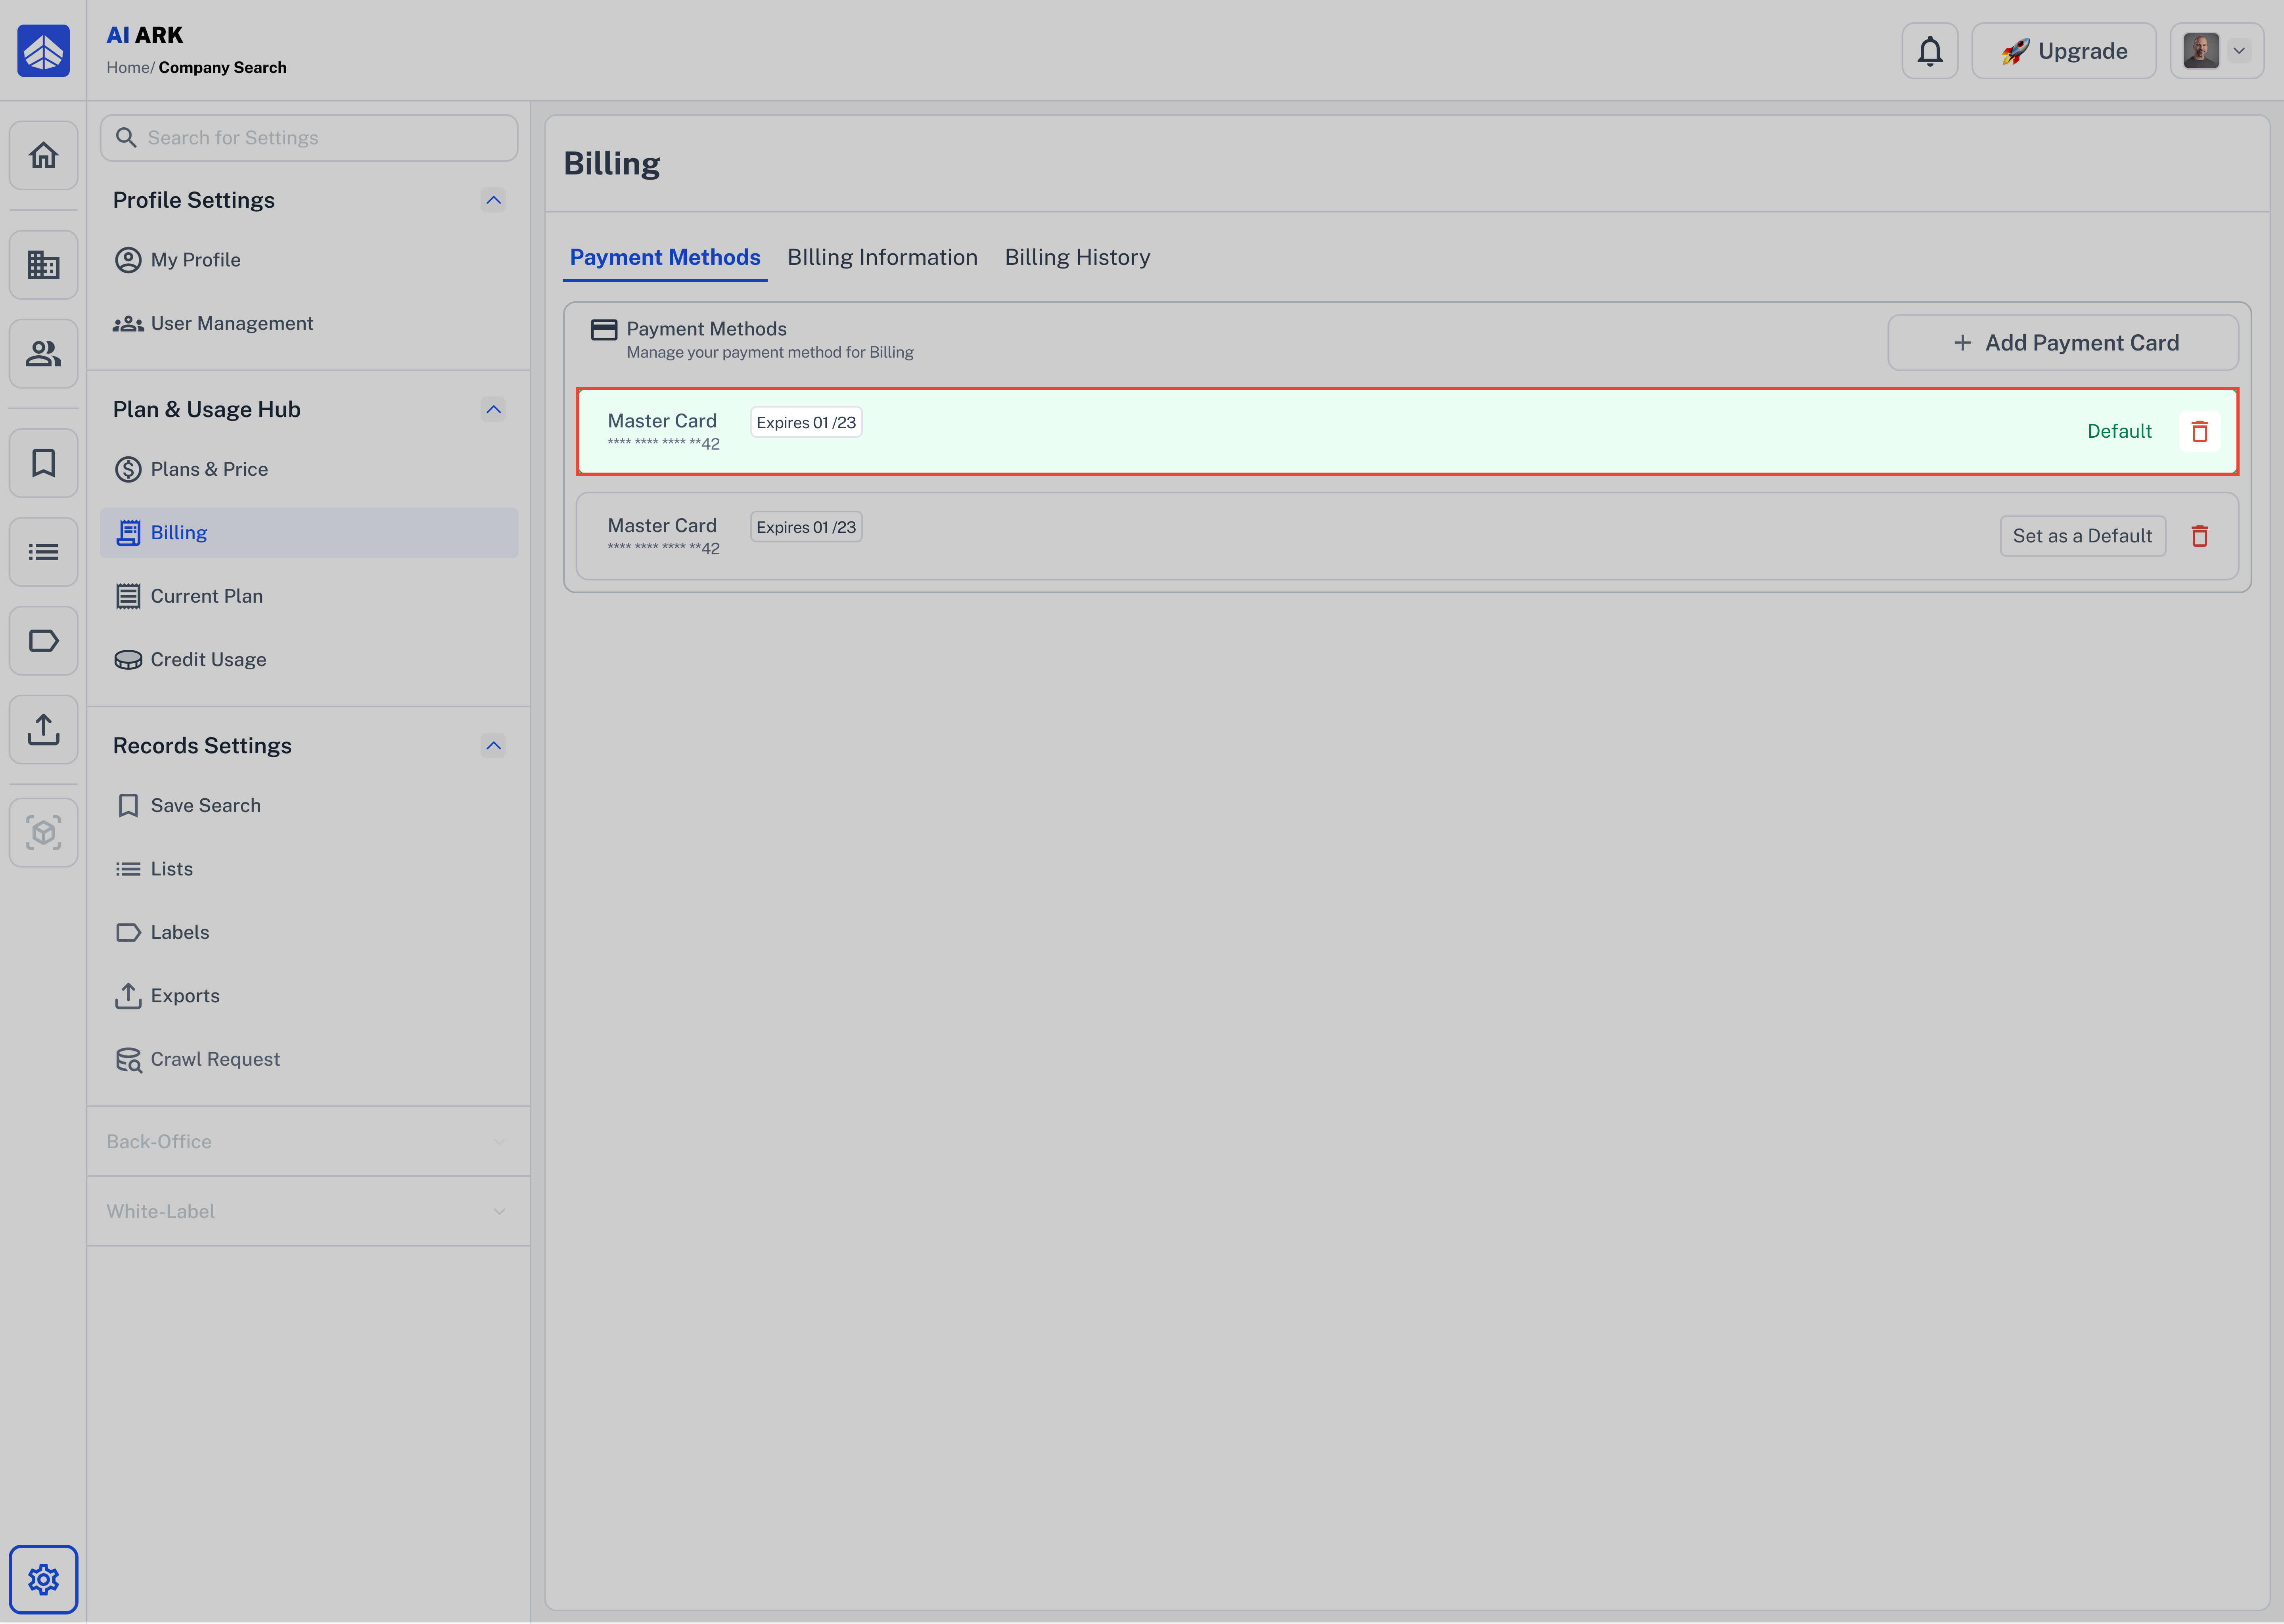
✅ Once selected, a green “Default” label will appear on that card, and it will be used for future payments.
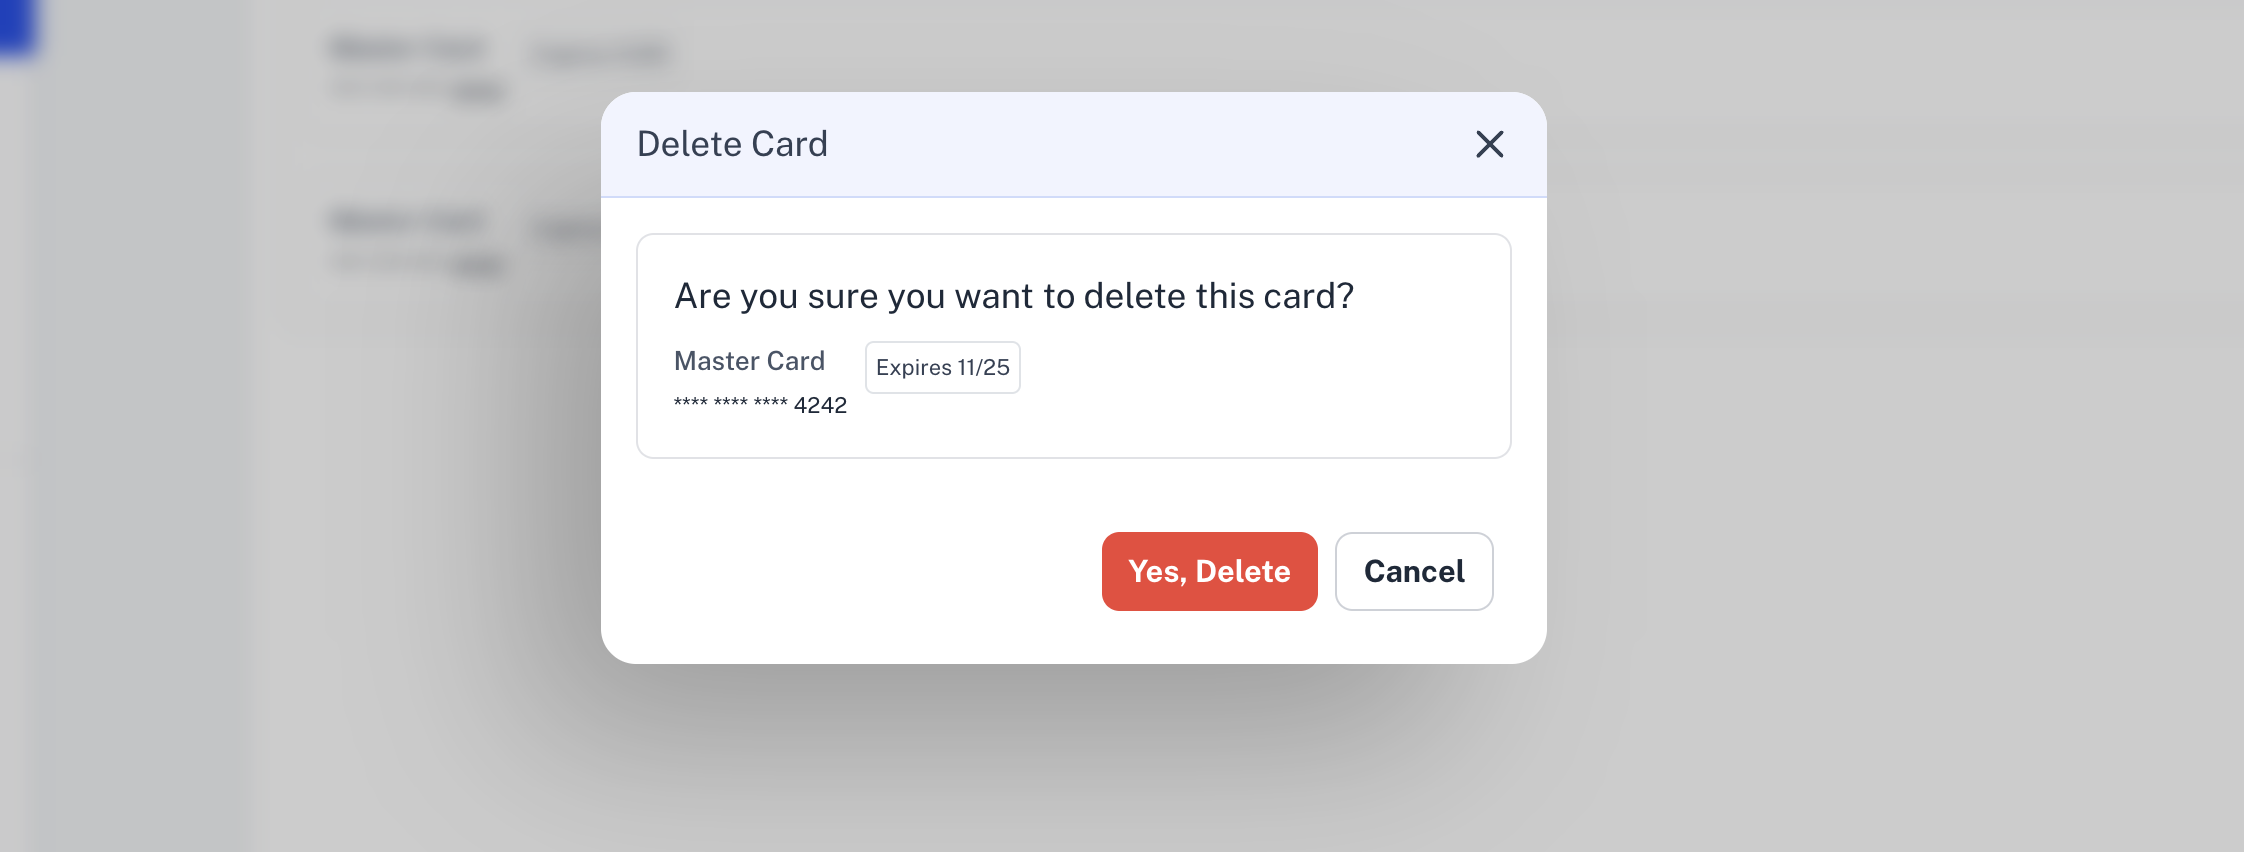
Hover over the card you want to remove.
Click the trash icon (🗑) on the right side.
Confirm deletion if prompted.
Accurate billing info ensures your invoices reflect correct business details, which is essential for accounting, compliance, and tax reporting.
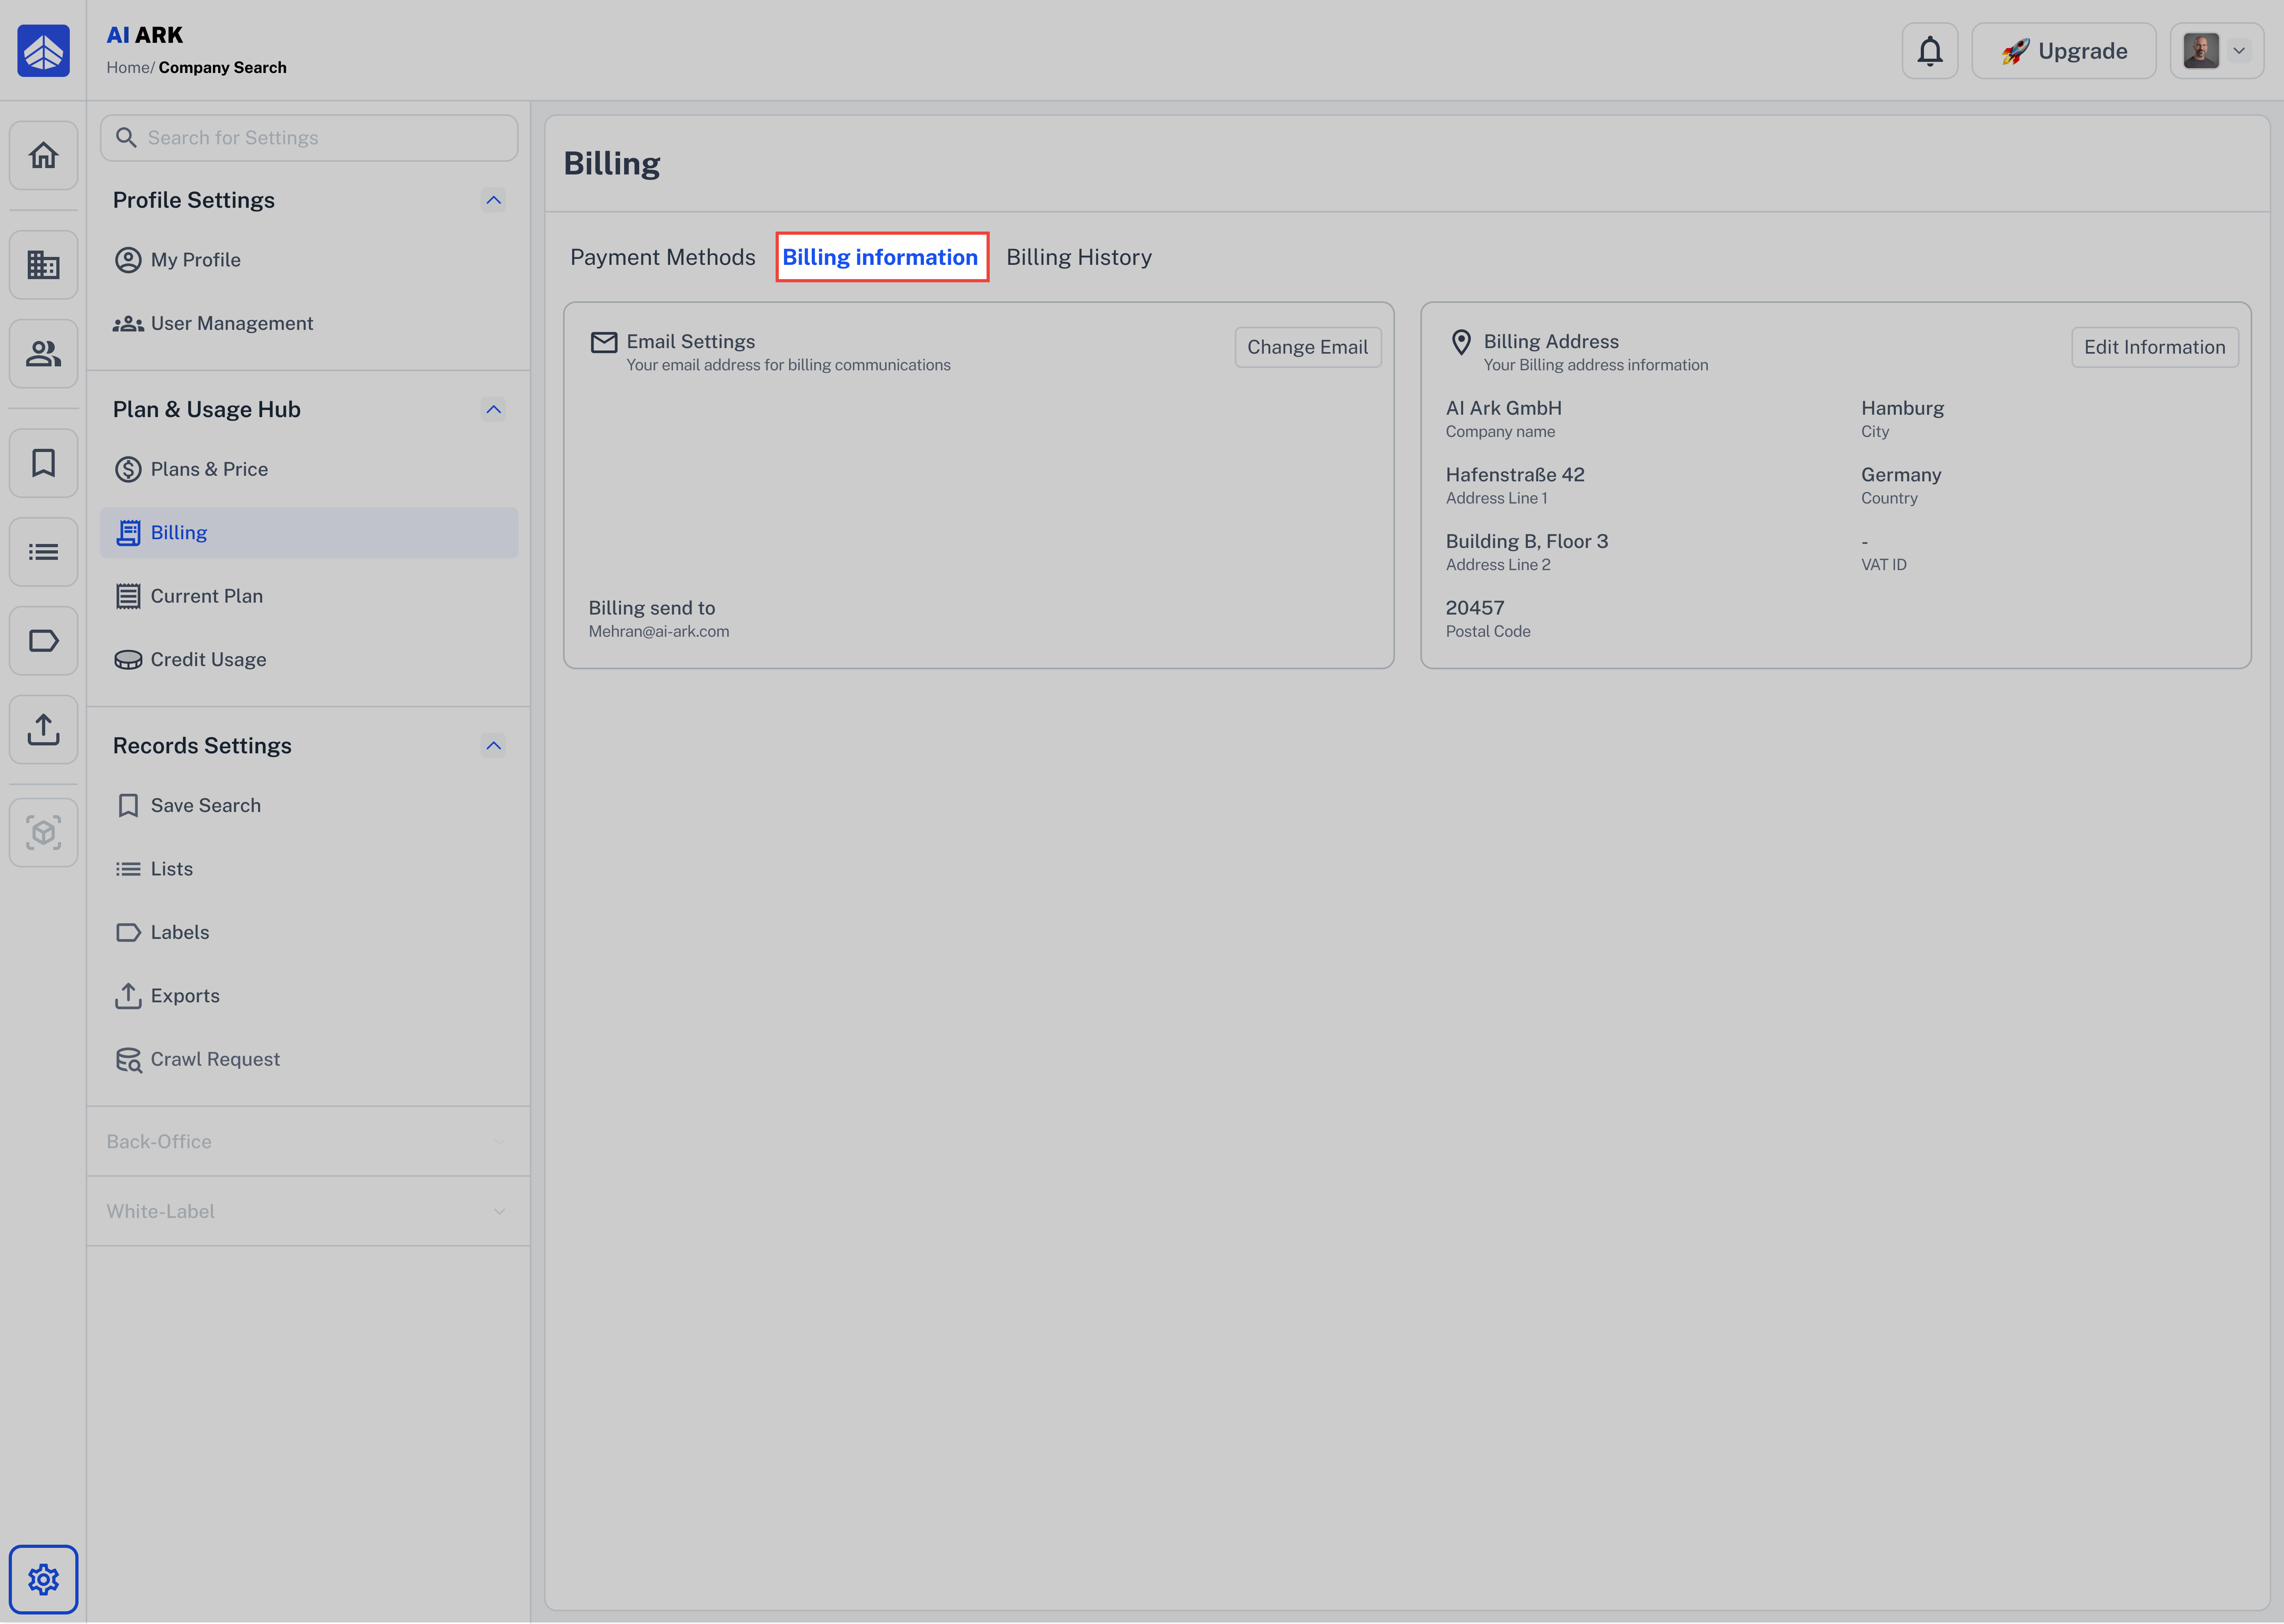
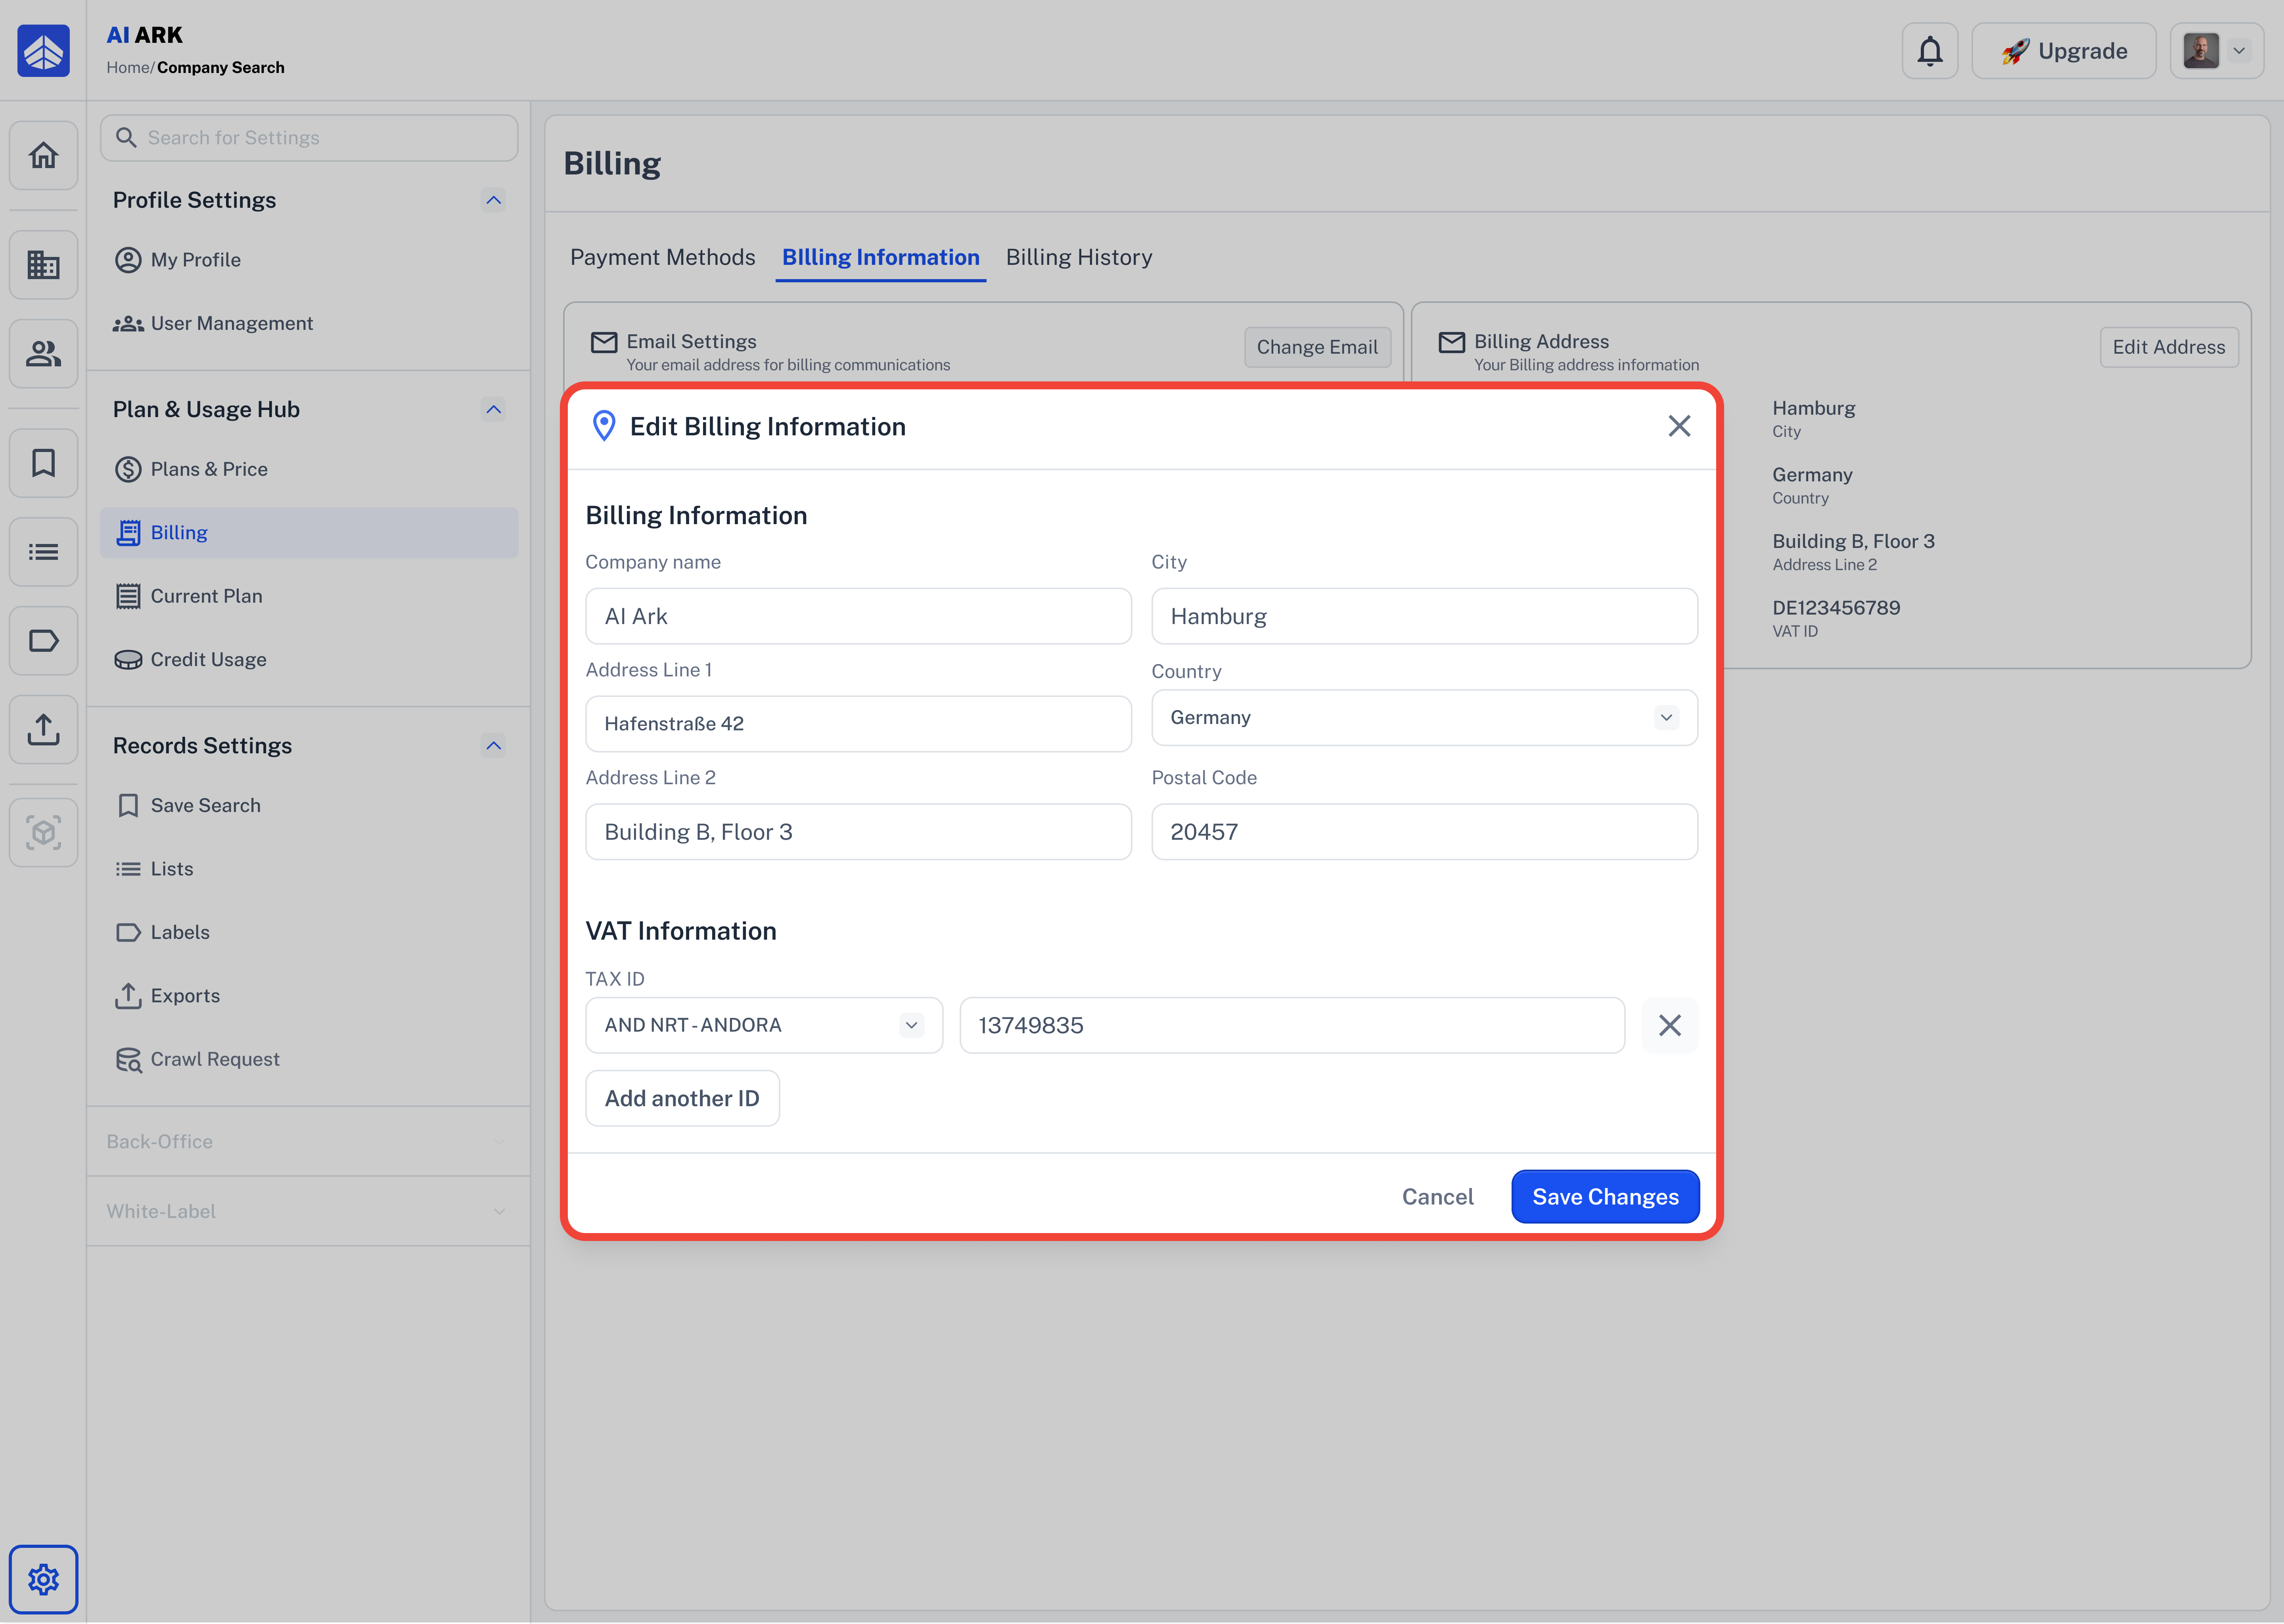
Go to Billing > Billing Information tab.
Click the Edit information button on the right side of the Billing Address section.
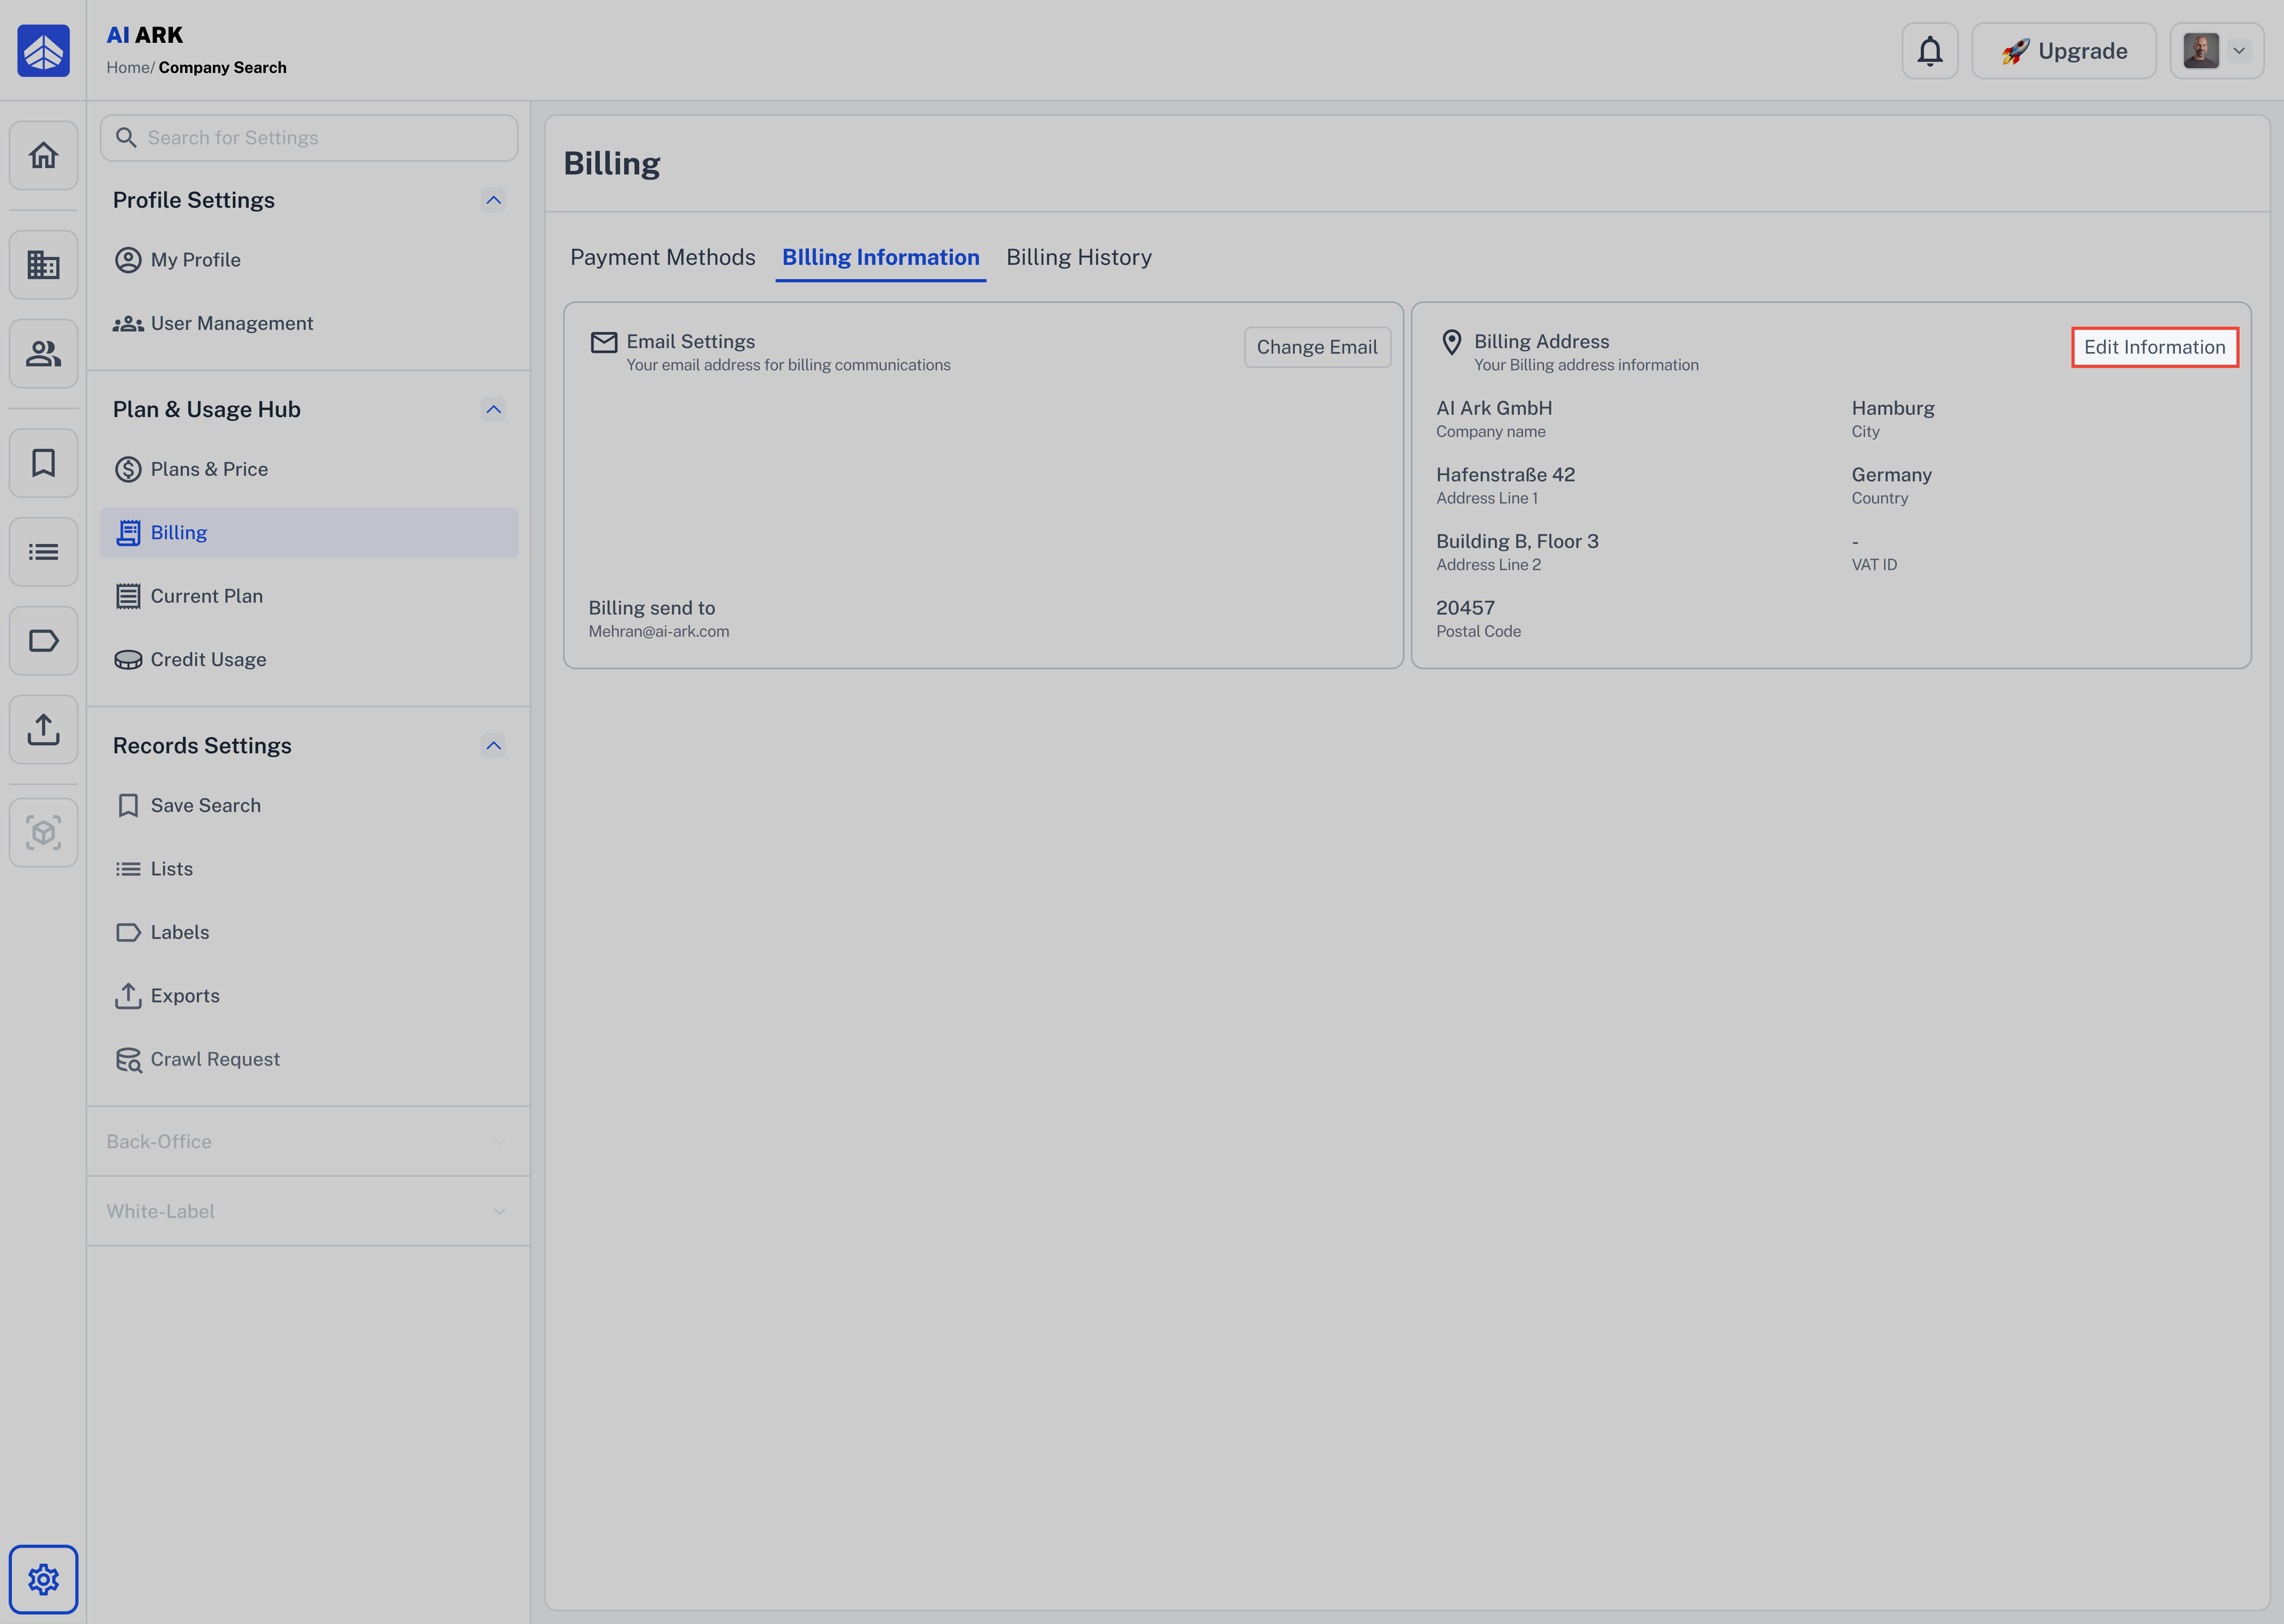
A pop-up window will appear with editable fields:
Company Name
City
Address
Country
Postal Code
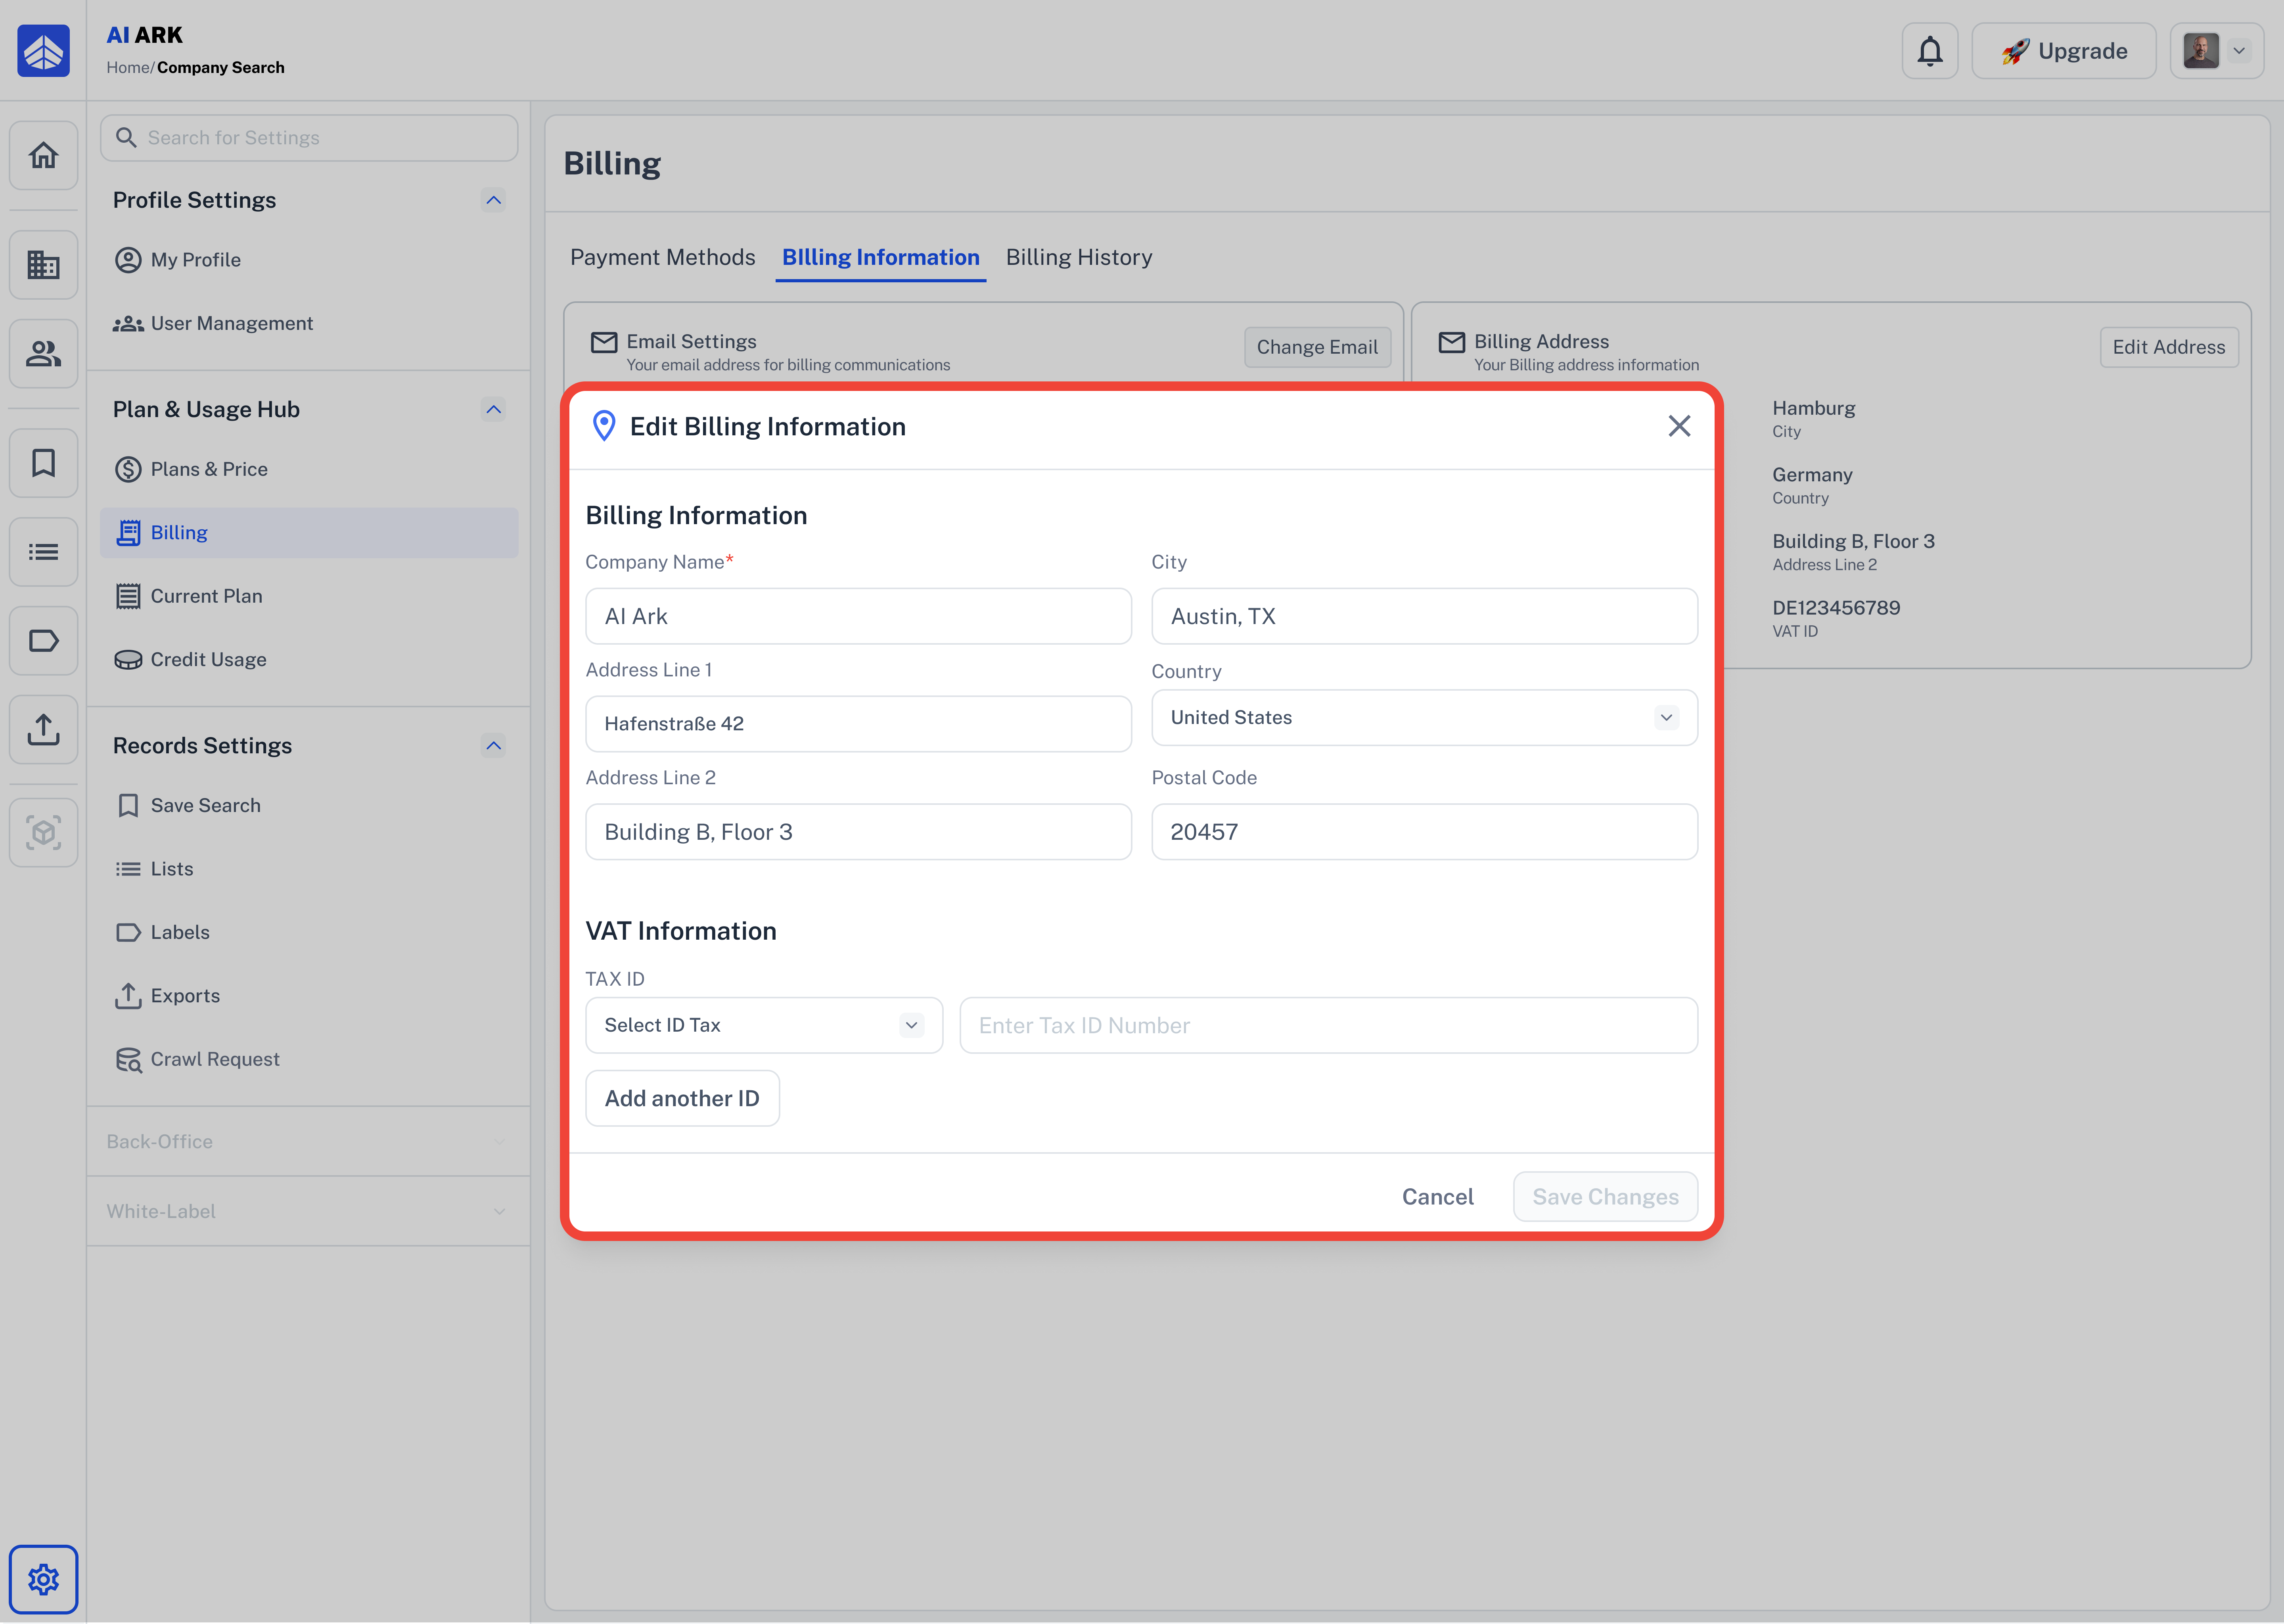
Under Tax ID, do the following:
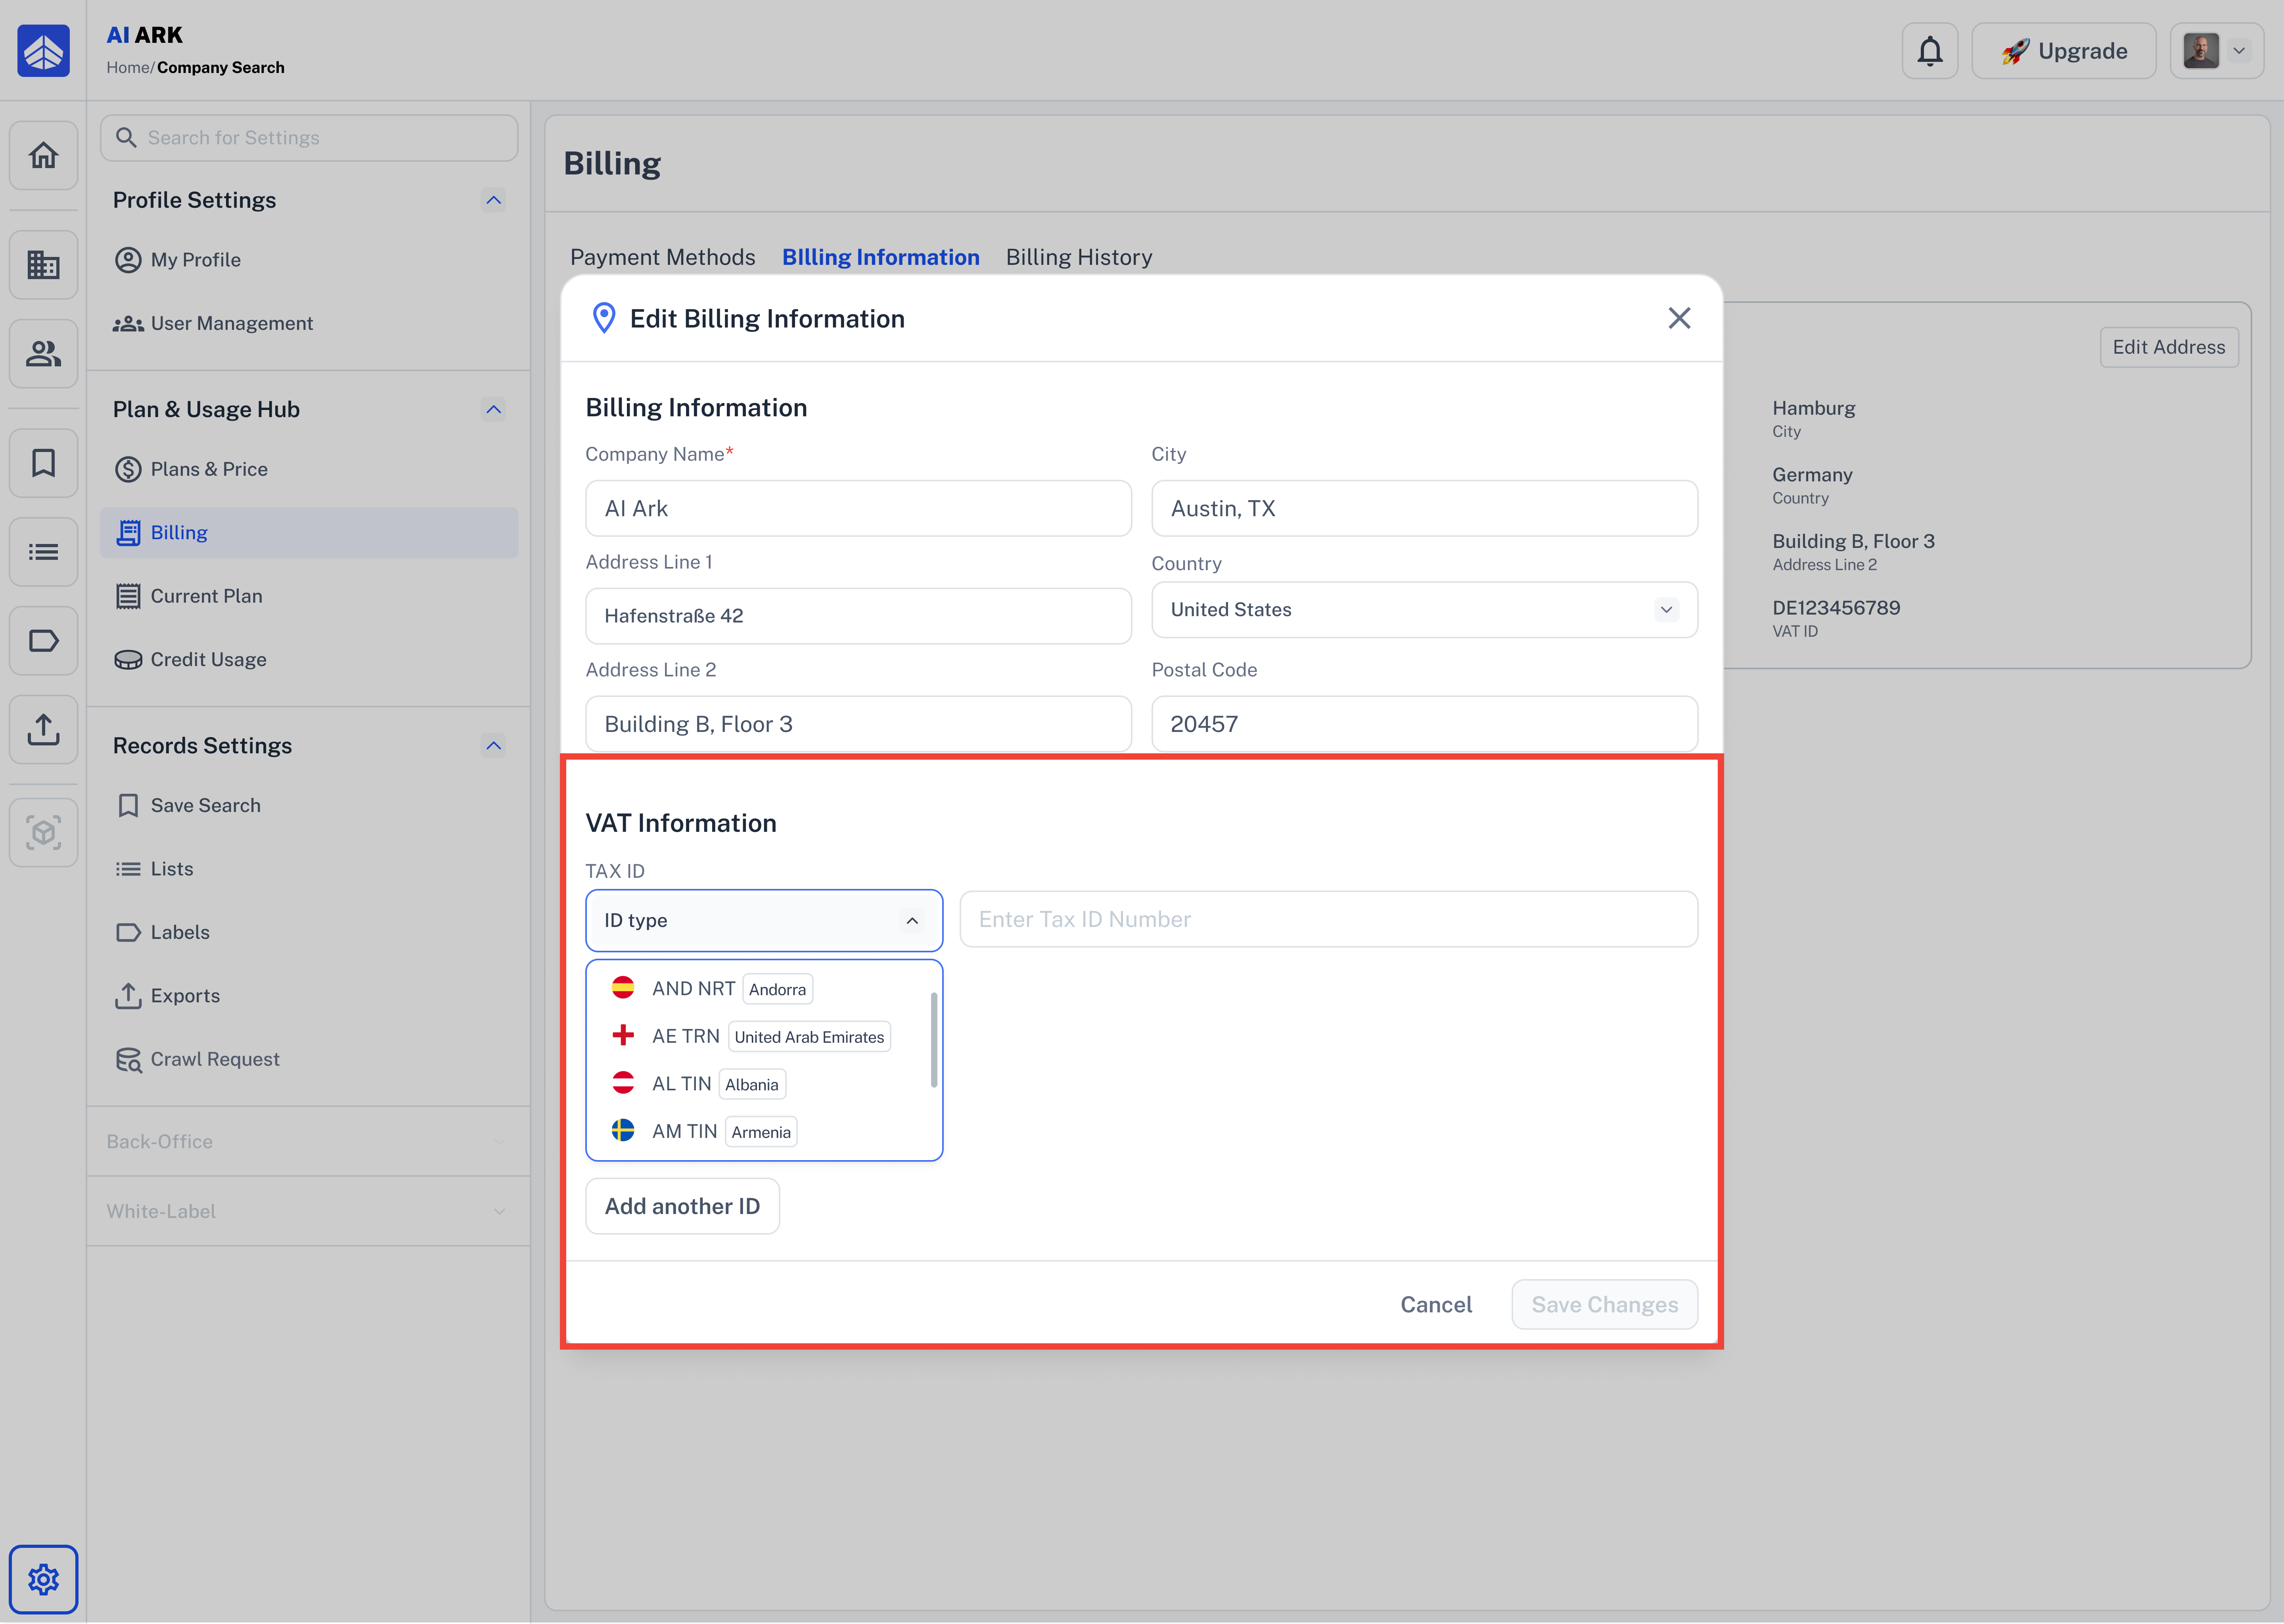
Click the dropdown under ID type to select your country’s VAT type (e.g., ATU – Austria, DE – Germany).
Enter your VAT number in the input box next to it.
To add another VAT ID (for multi-country operations), click “Add another ID”.
Once you’re done, click Save Changes.
When entering your VAT or Tax ID in the Billing Information section, you may see the following error:

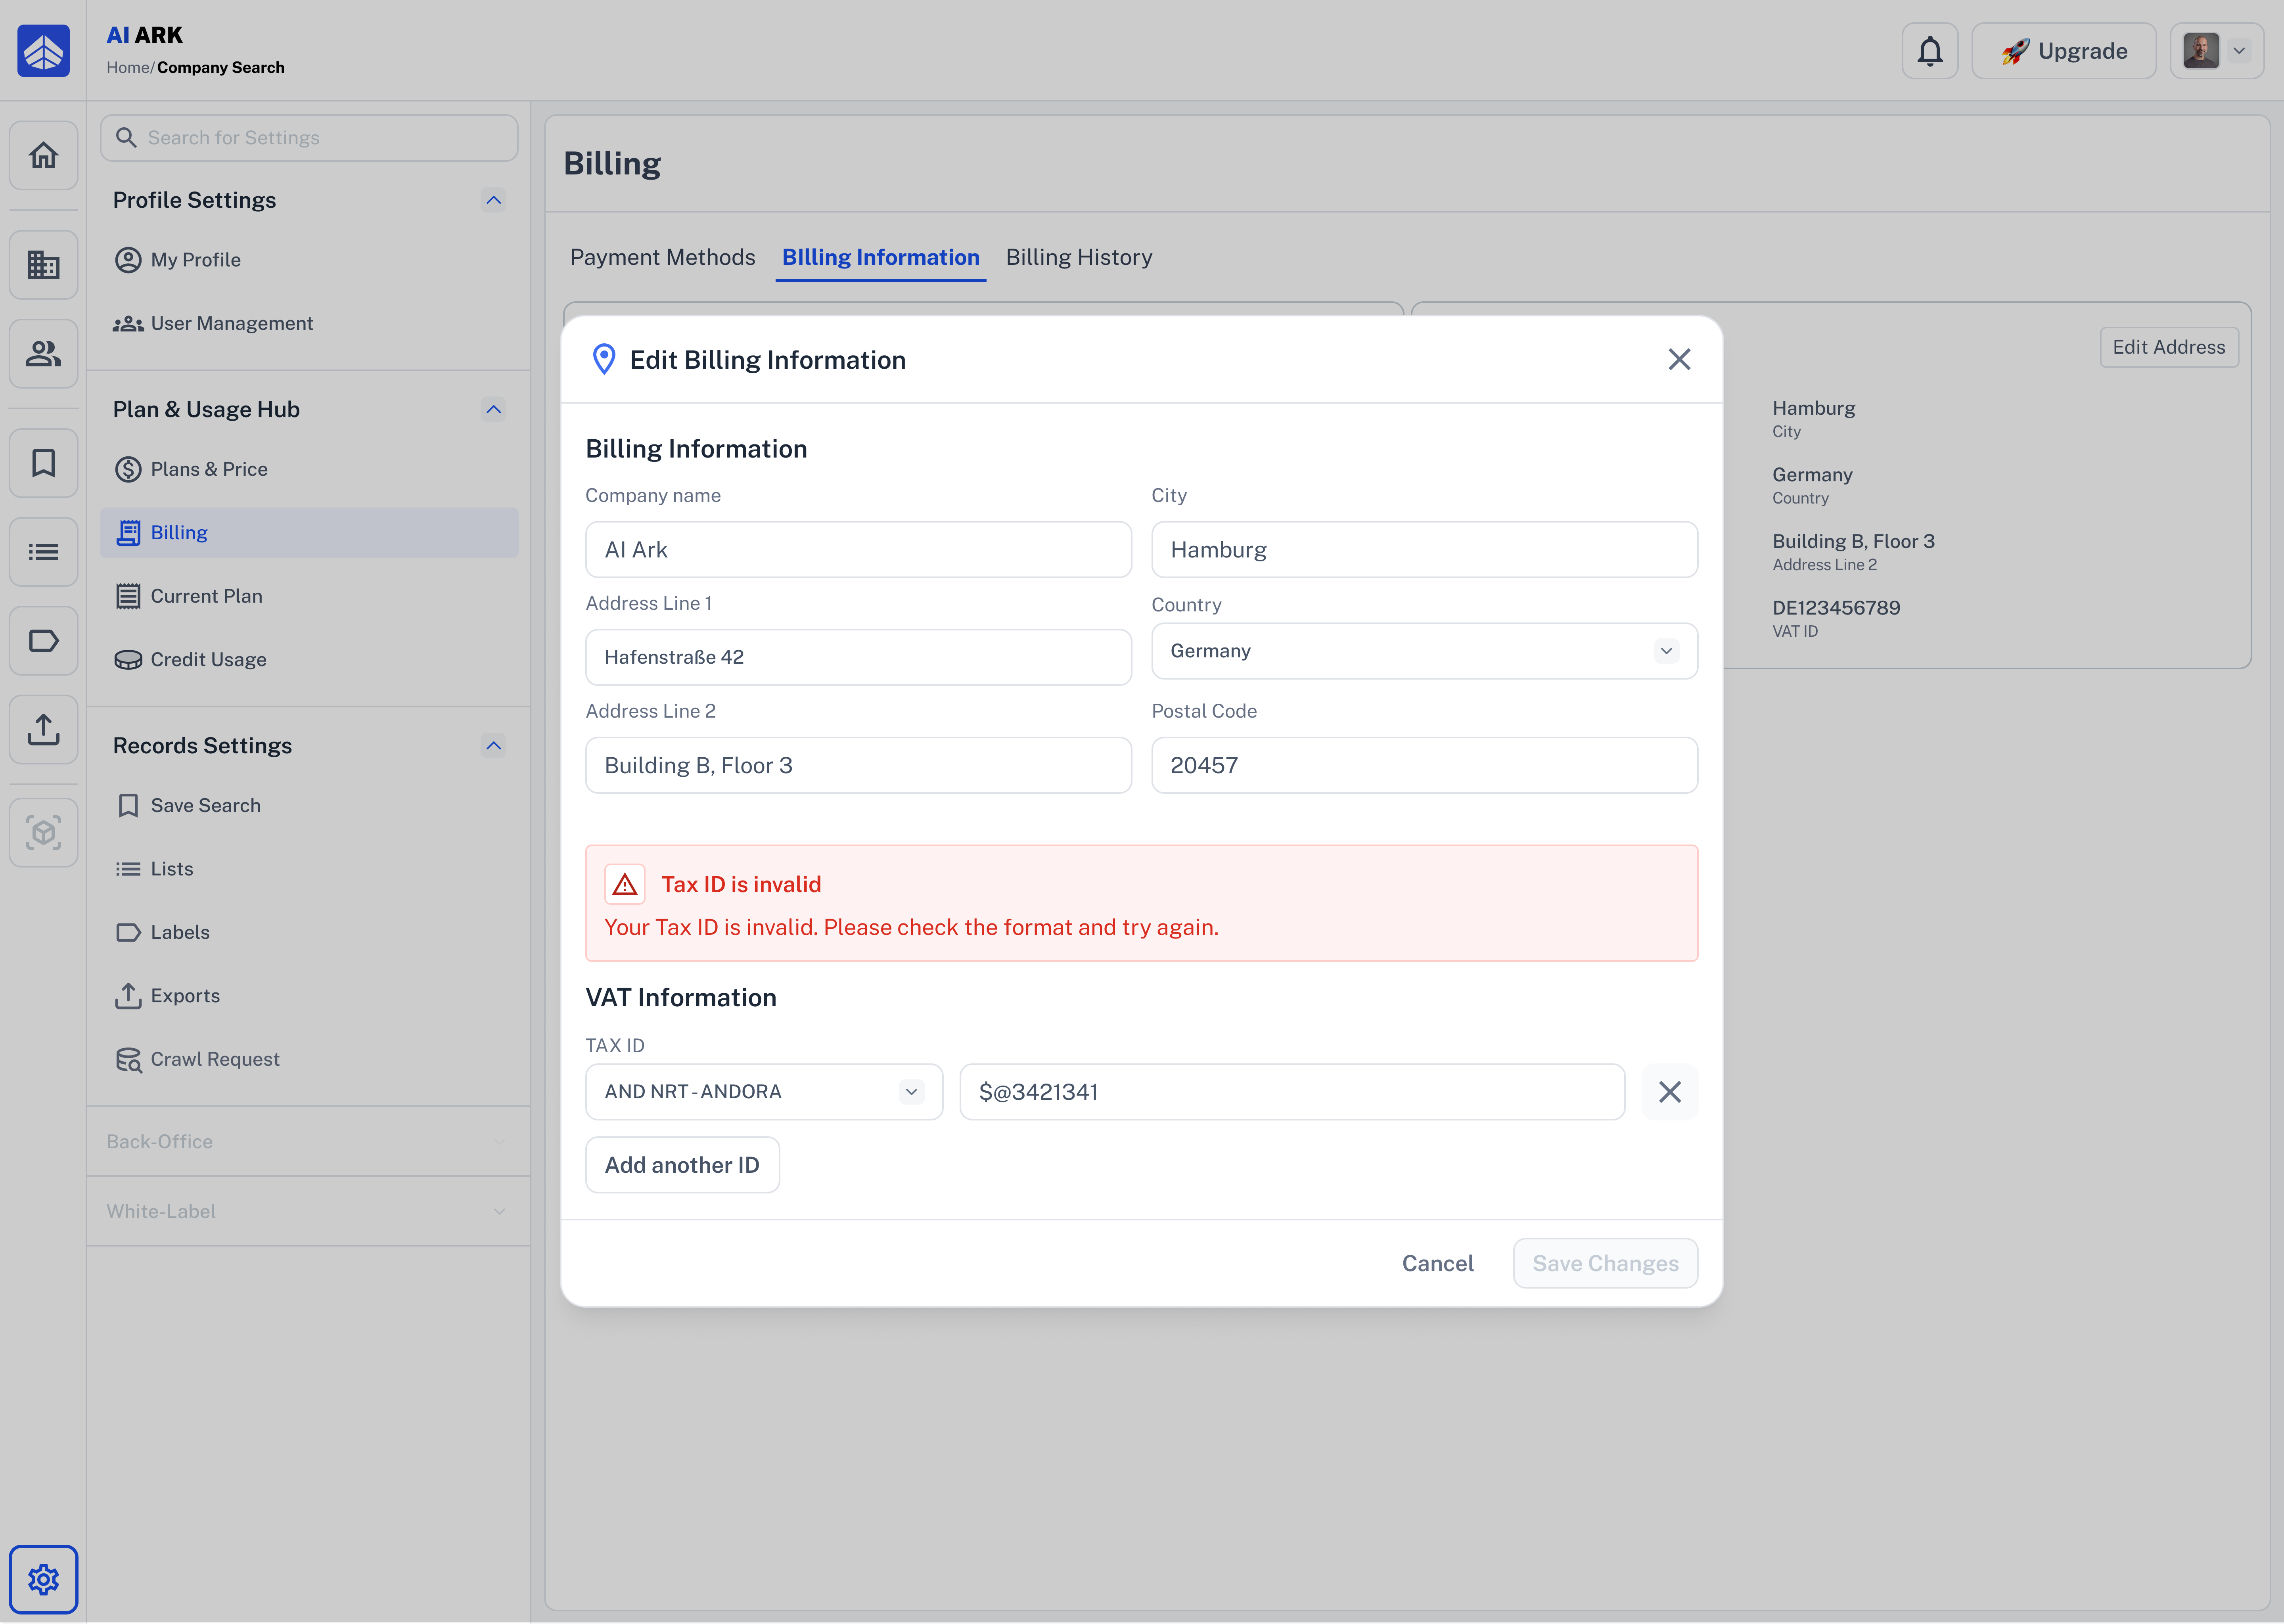
Check the selected VAT Country.
Make sure it matches the actual registration country of your business.
Remove any invalid characters.
Only numbers and letters are allowed in most VAT ID formats.
Example: 3421341 instead of $@3421341.
Validate the format.
Use an online tool like VIES (for EU VAT IDs) to check the valid structure.
For example, a German VAT ID should look like DE123456789.
Make your changes and click Save.
A confirmation message will appear once the changes are successfully saved.
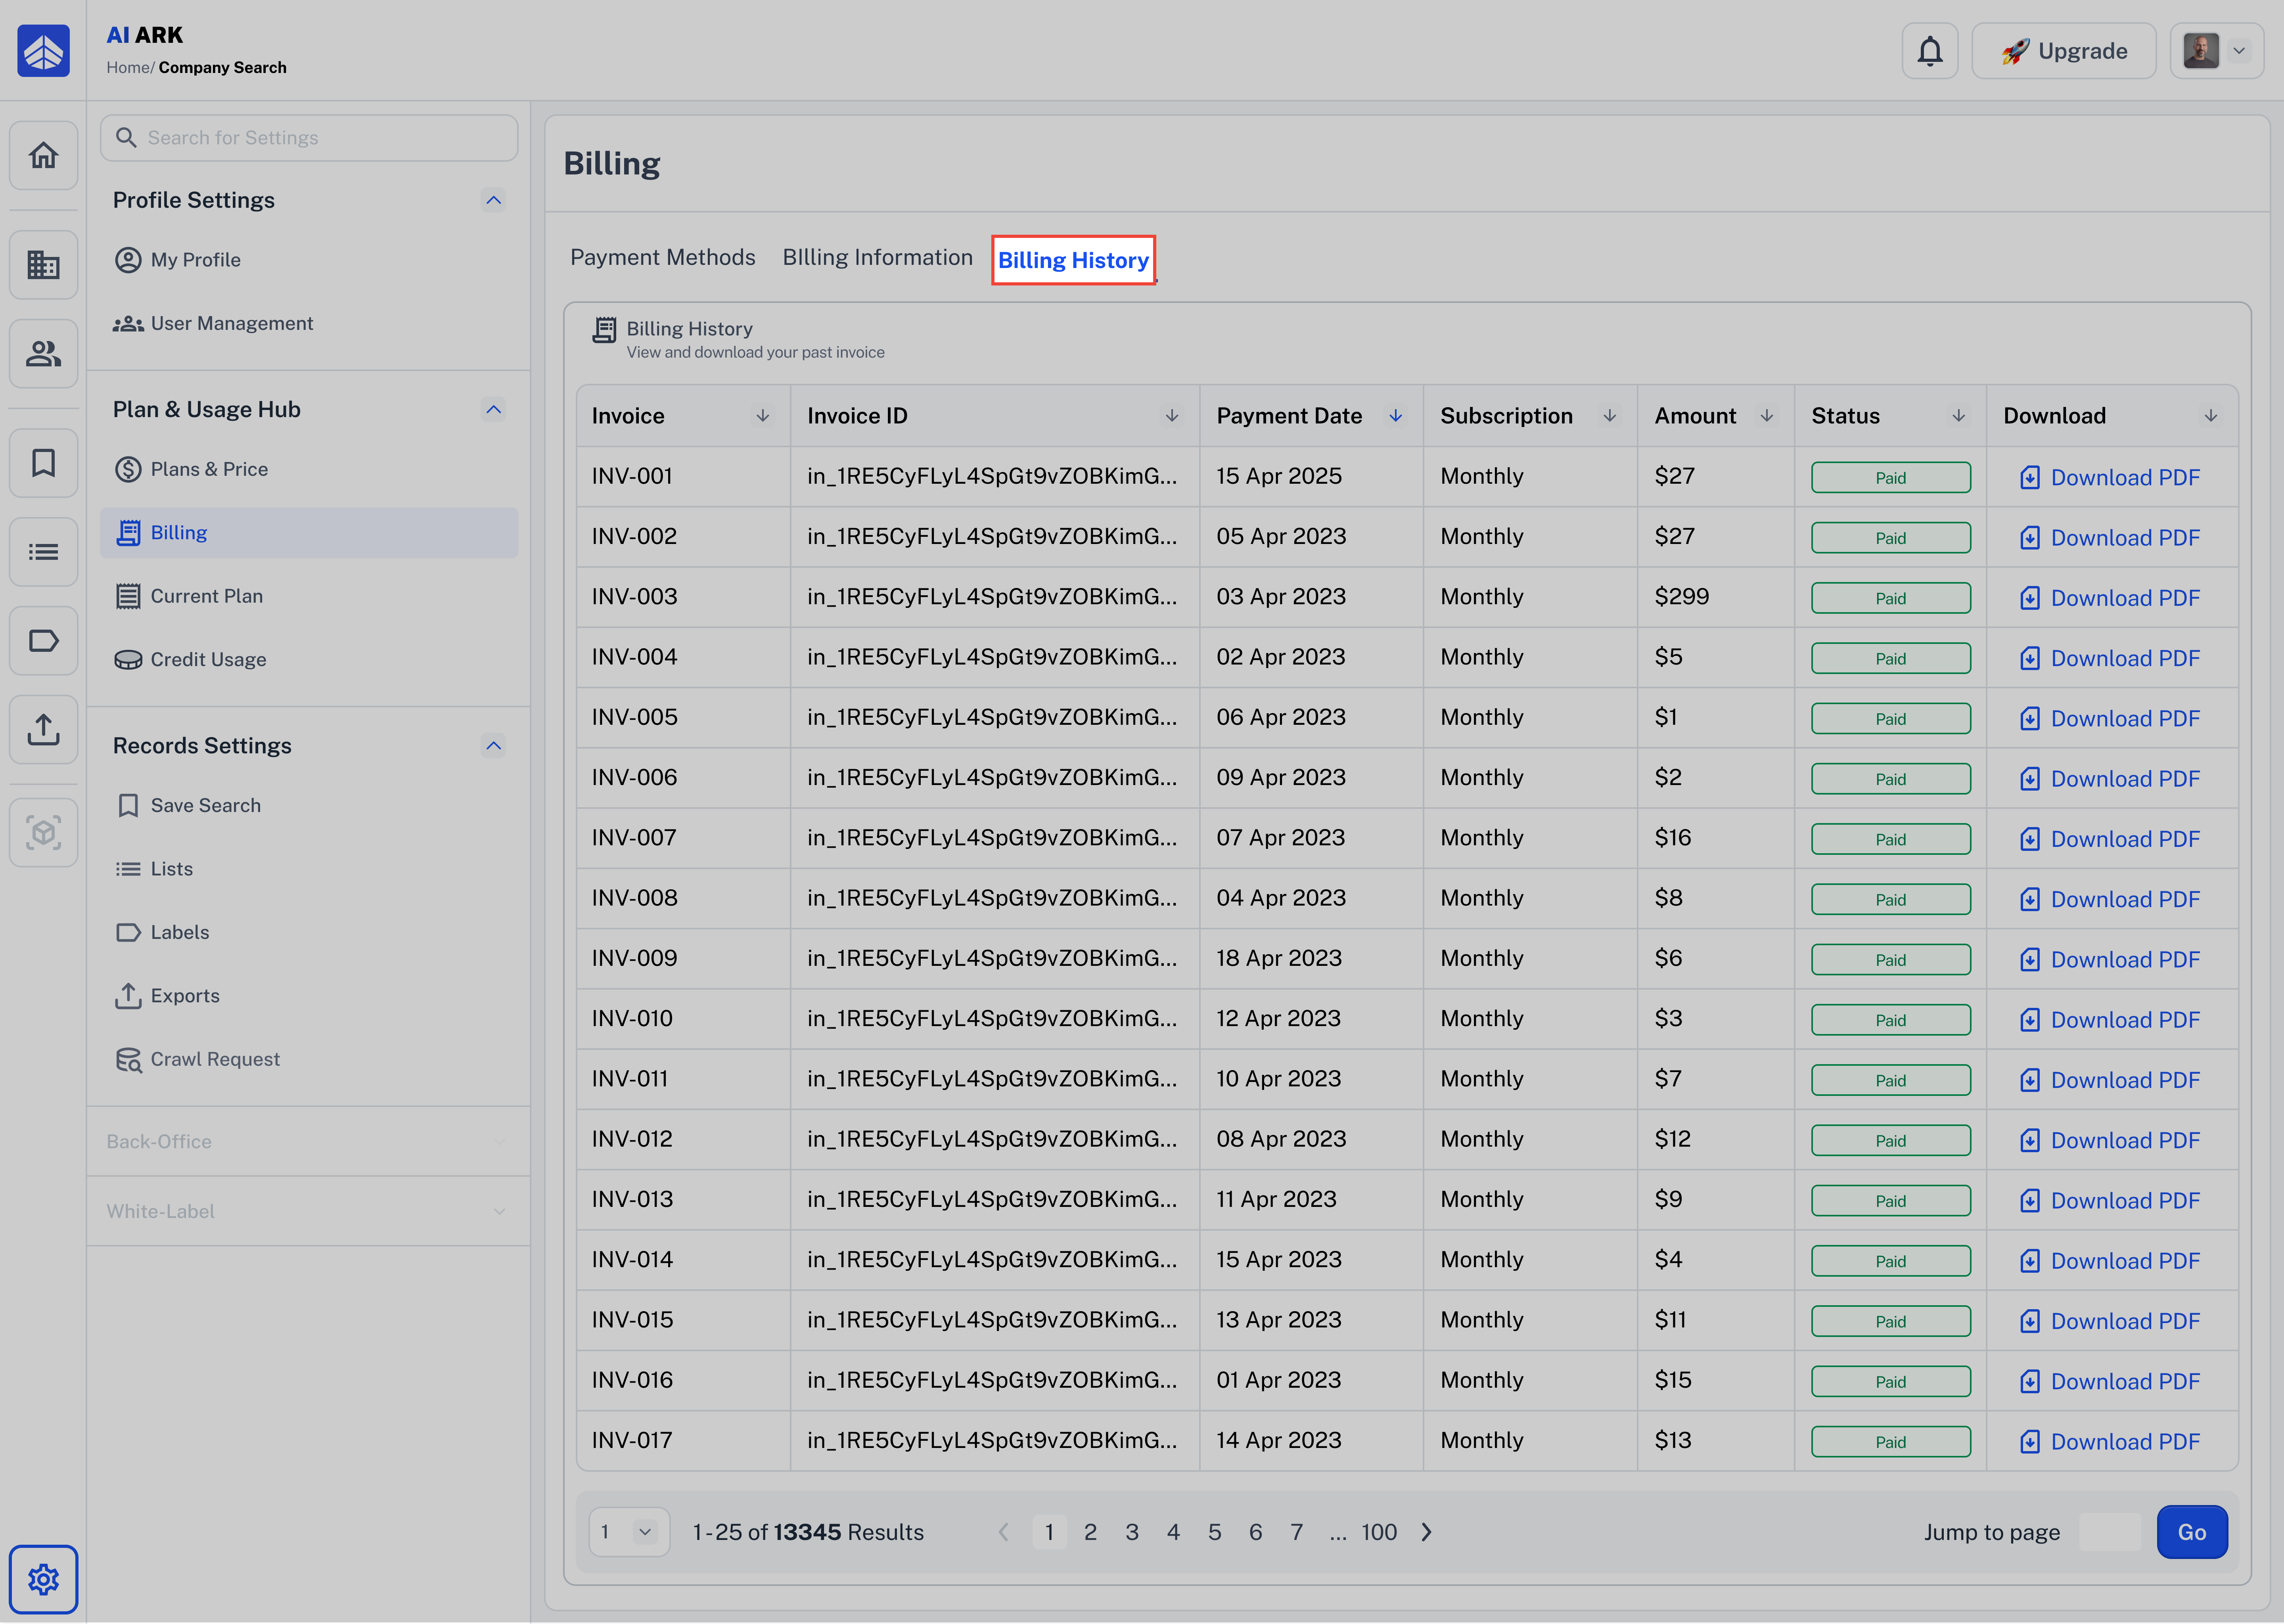
Inside the Billing section, the final tab—Billing History—gives you a clear view of all your past transactions.
This is where you can:
🔍 Quickly review your billing history
📅 See exactly when and how much you were charged
📄 Download official invoice PDFs for accounting or reimbursements
1⃣ Go to Billing in the left sidebar (under Plan & Usage Hub)
2⃣ Click on the Billing History tab (the last one)
3⃣ You’ll see a full table of your past subscription records
Click Contact Support—we’re ready to help any time.
