1. From Saved records
2. From Label Management
Saved records:
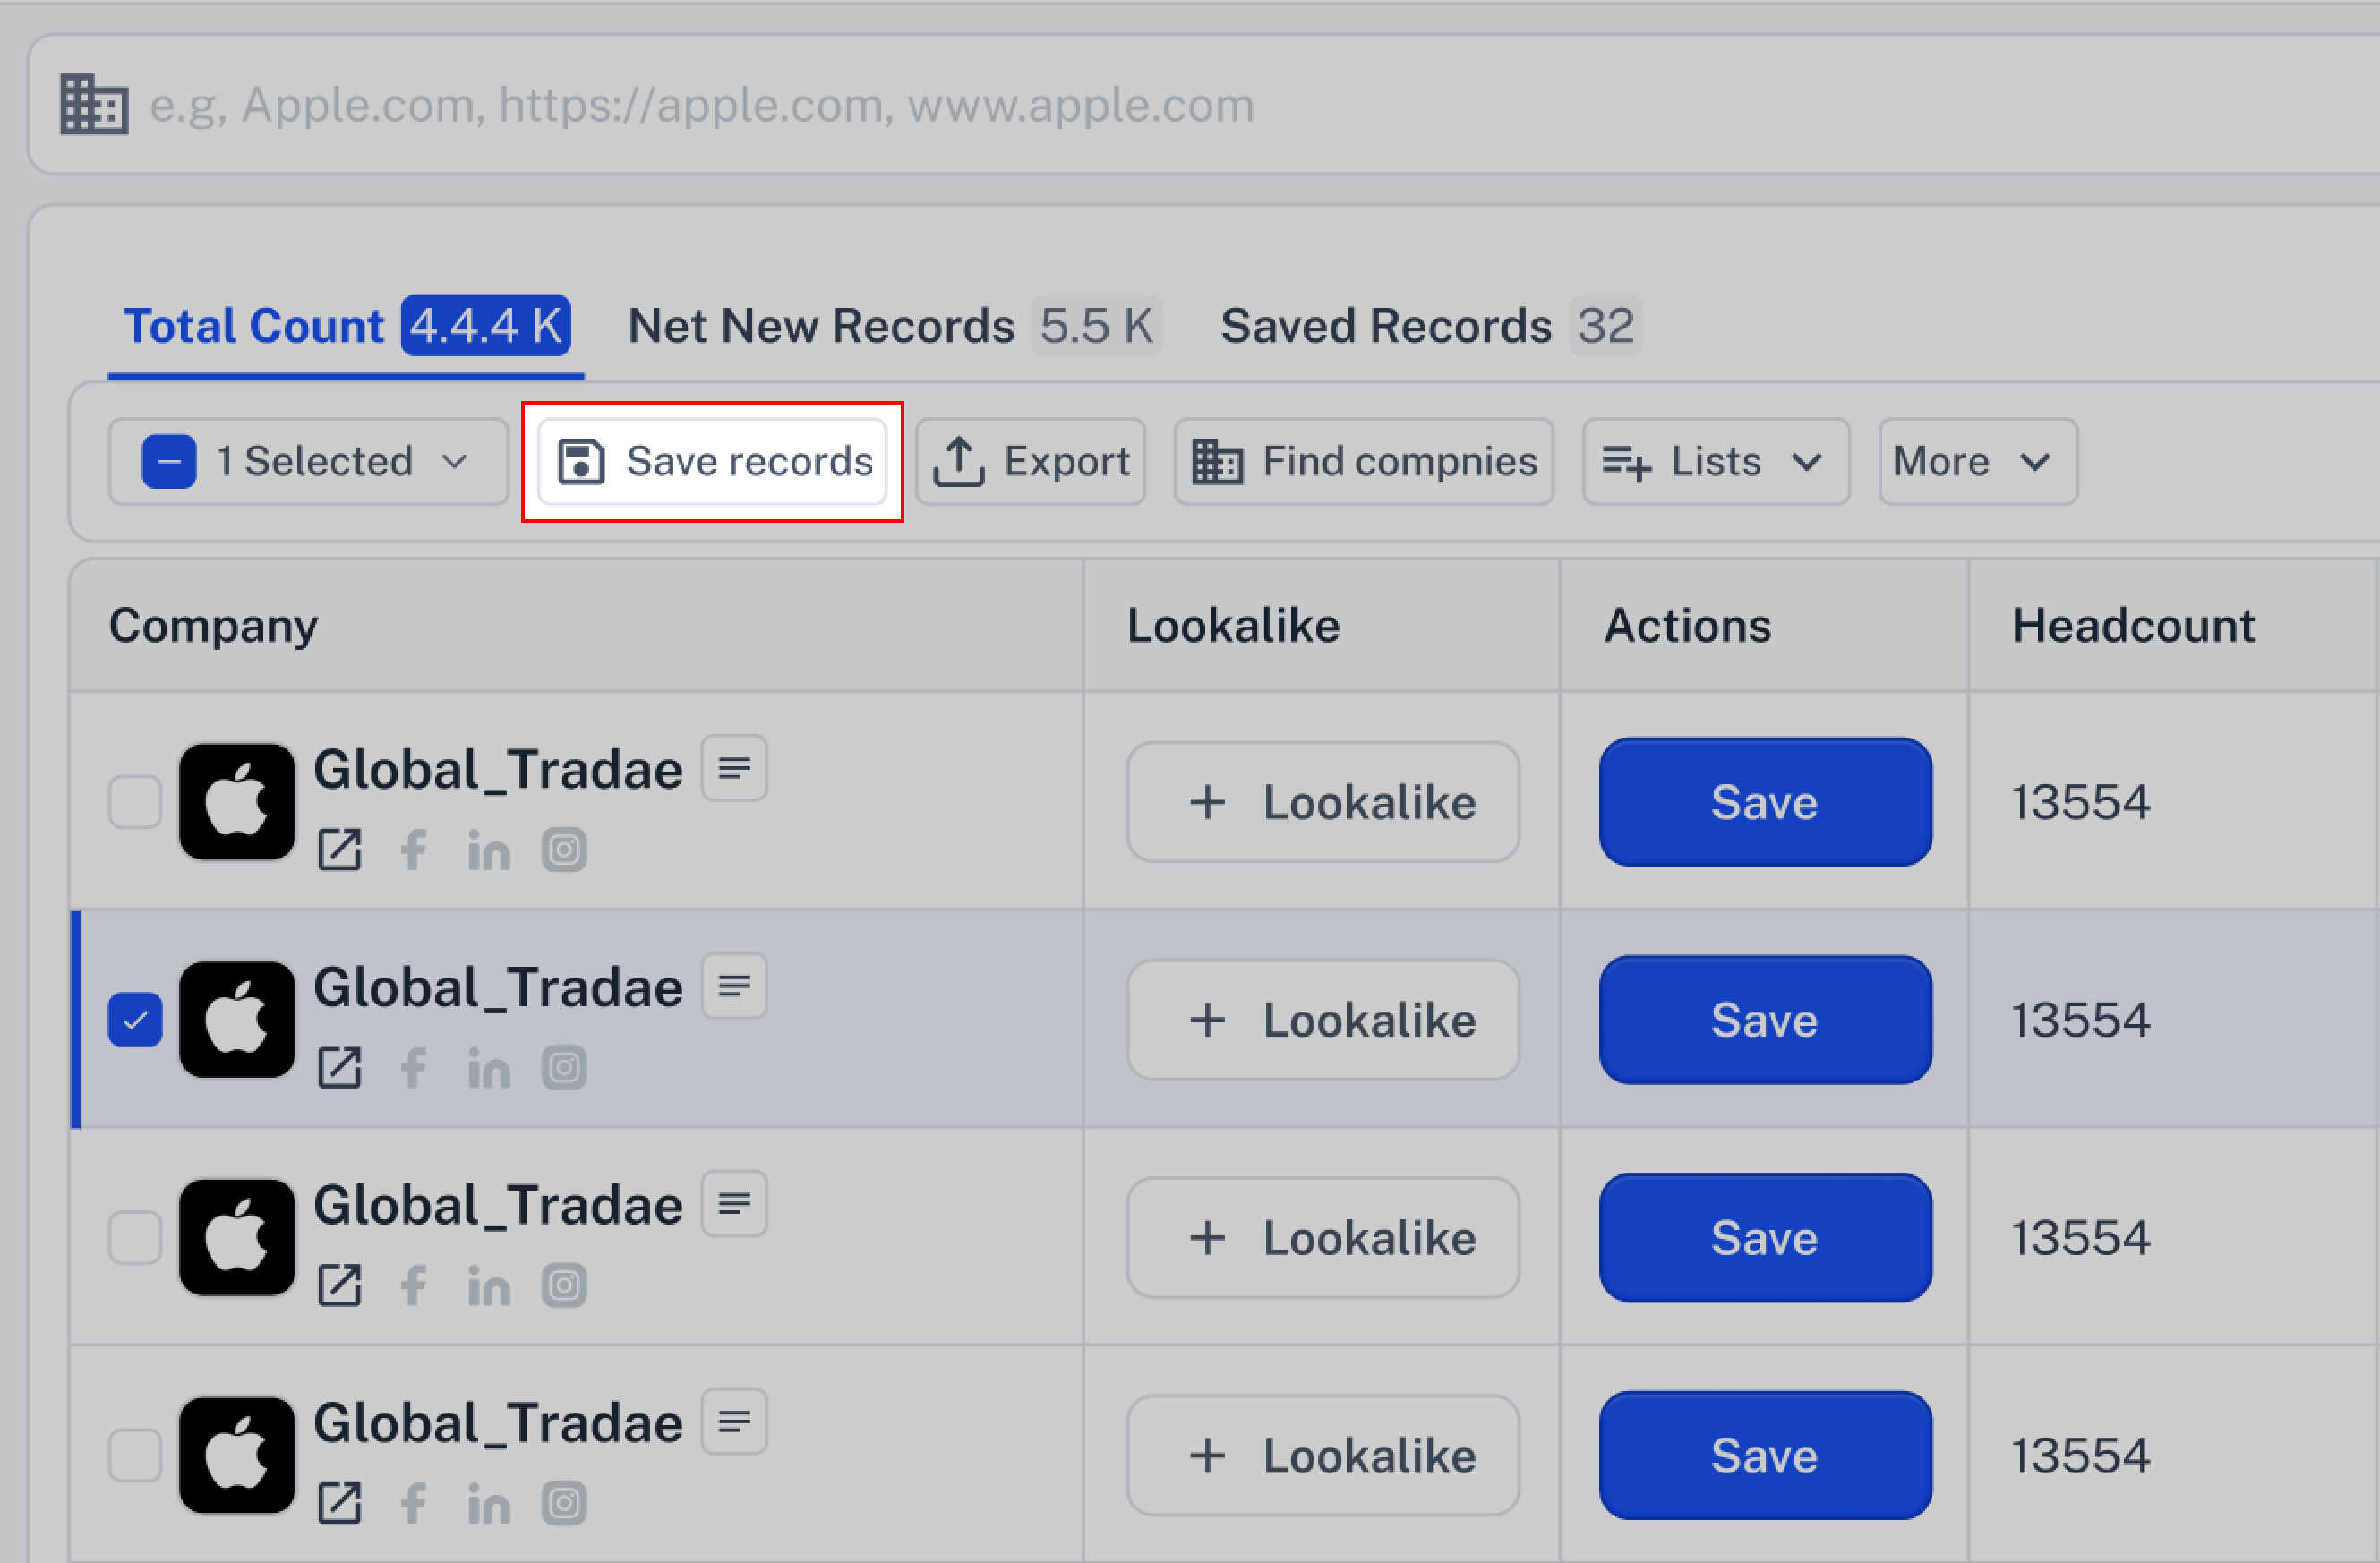
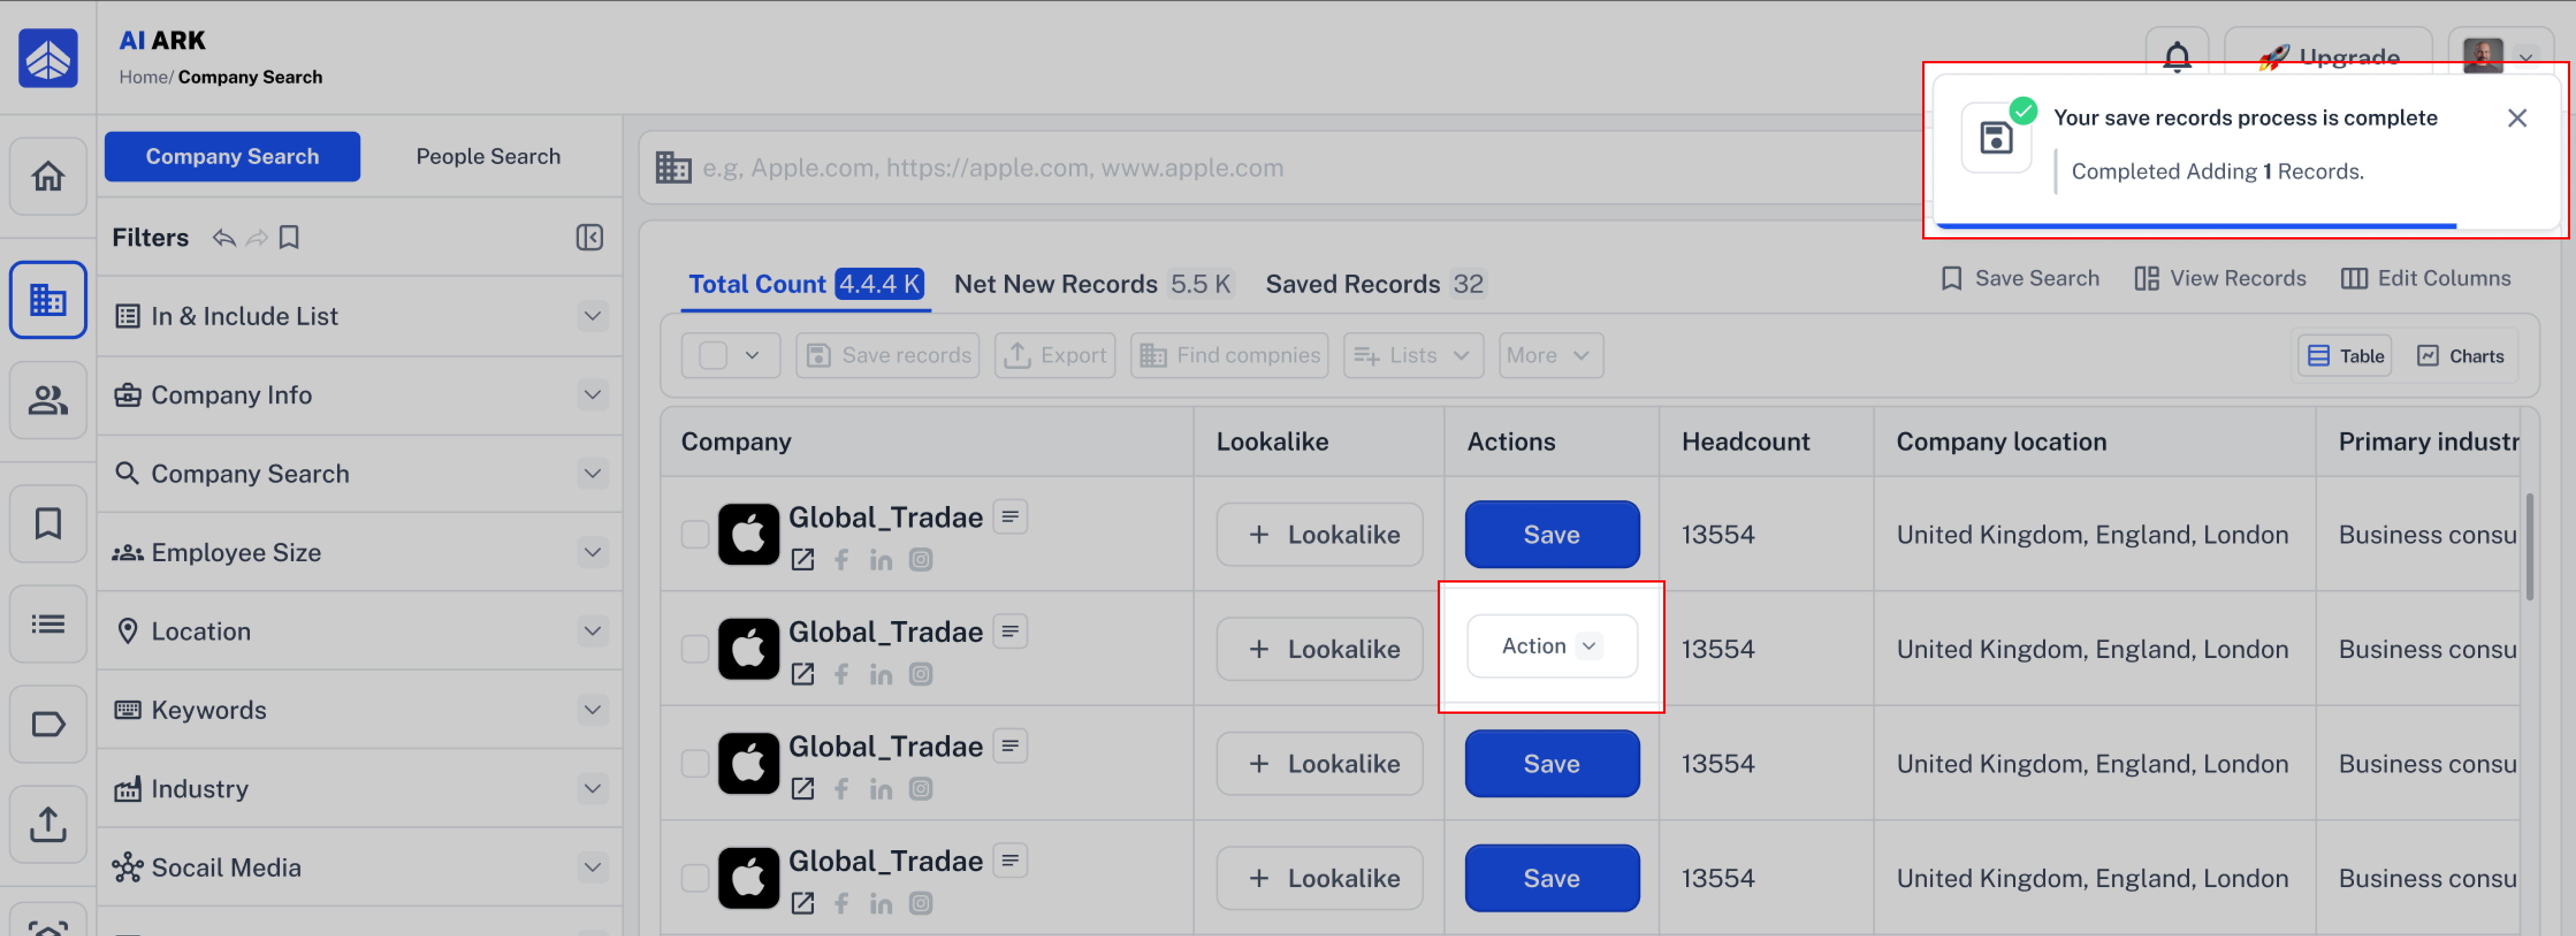
1. After choosing the company or contact you want, you can click Save Records from the top bar of the result table.
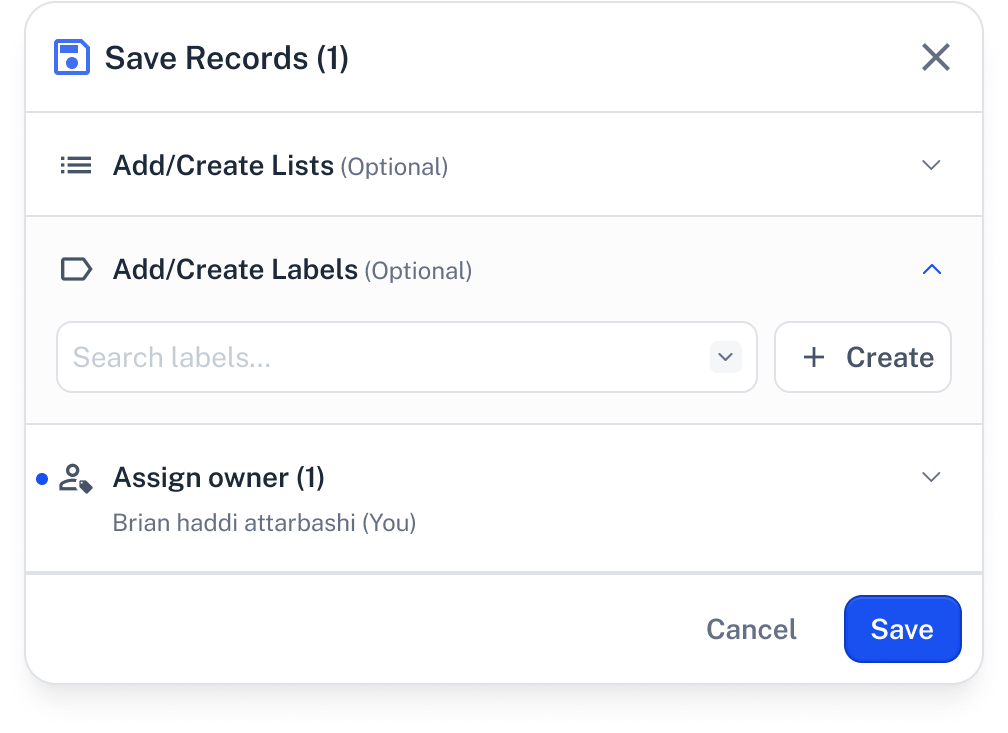
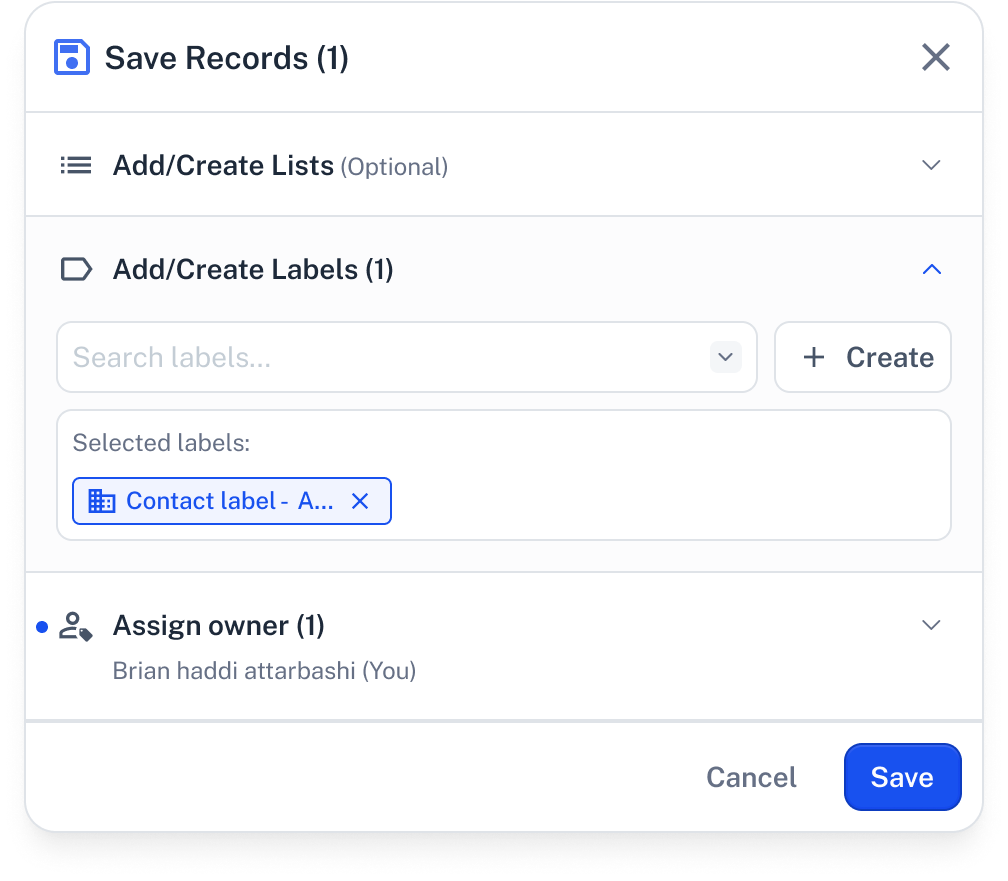
2. In the next step, a pop-up modal will appear where you can create a new label and also assign an owner.
Label Management:
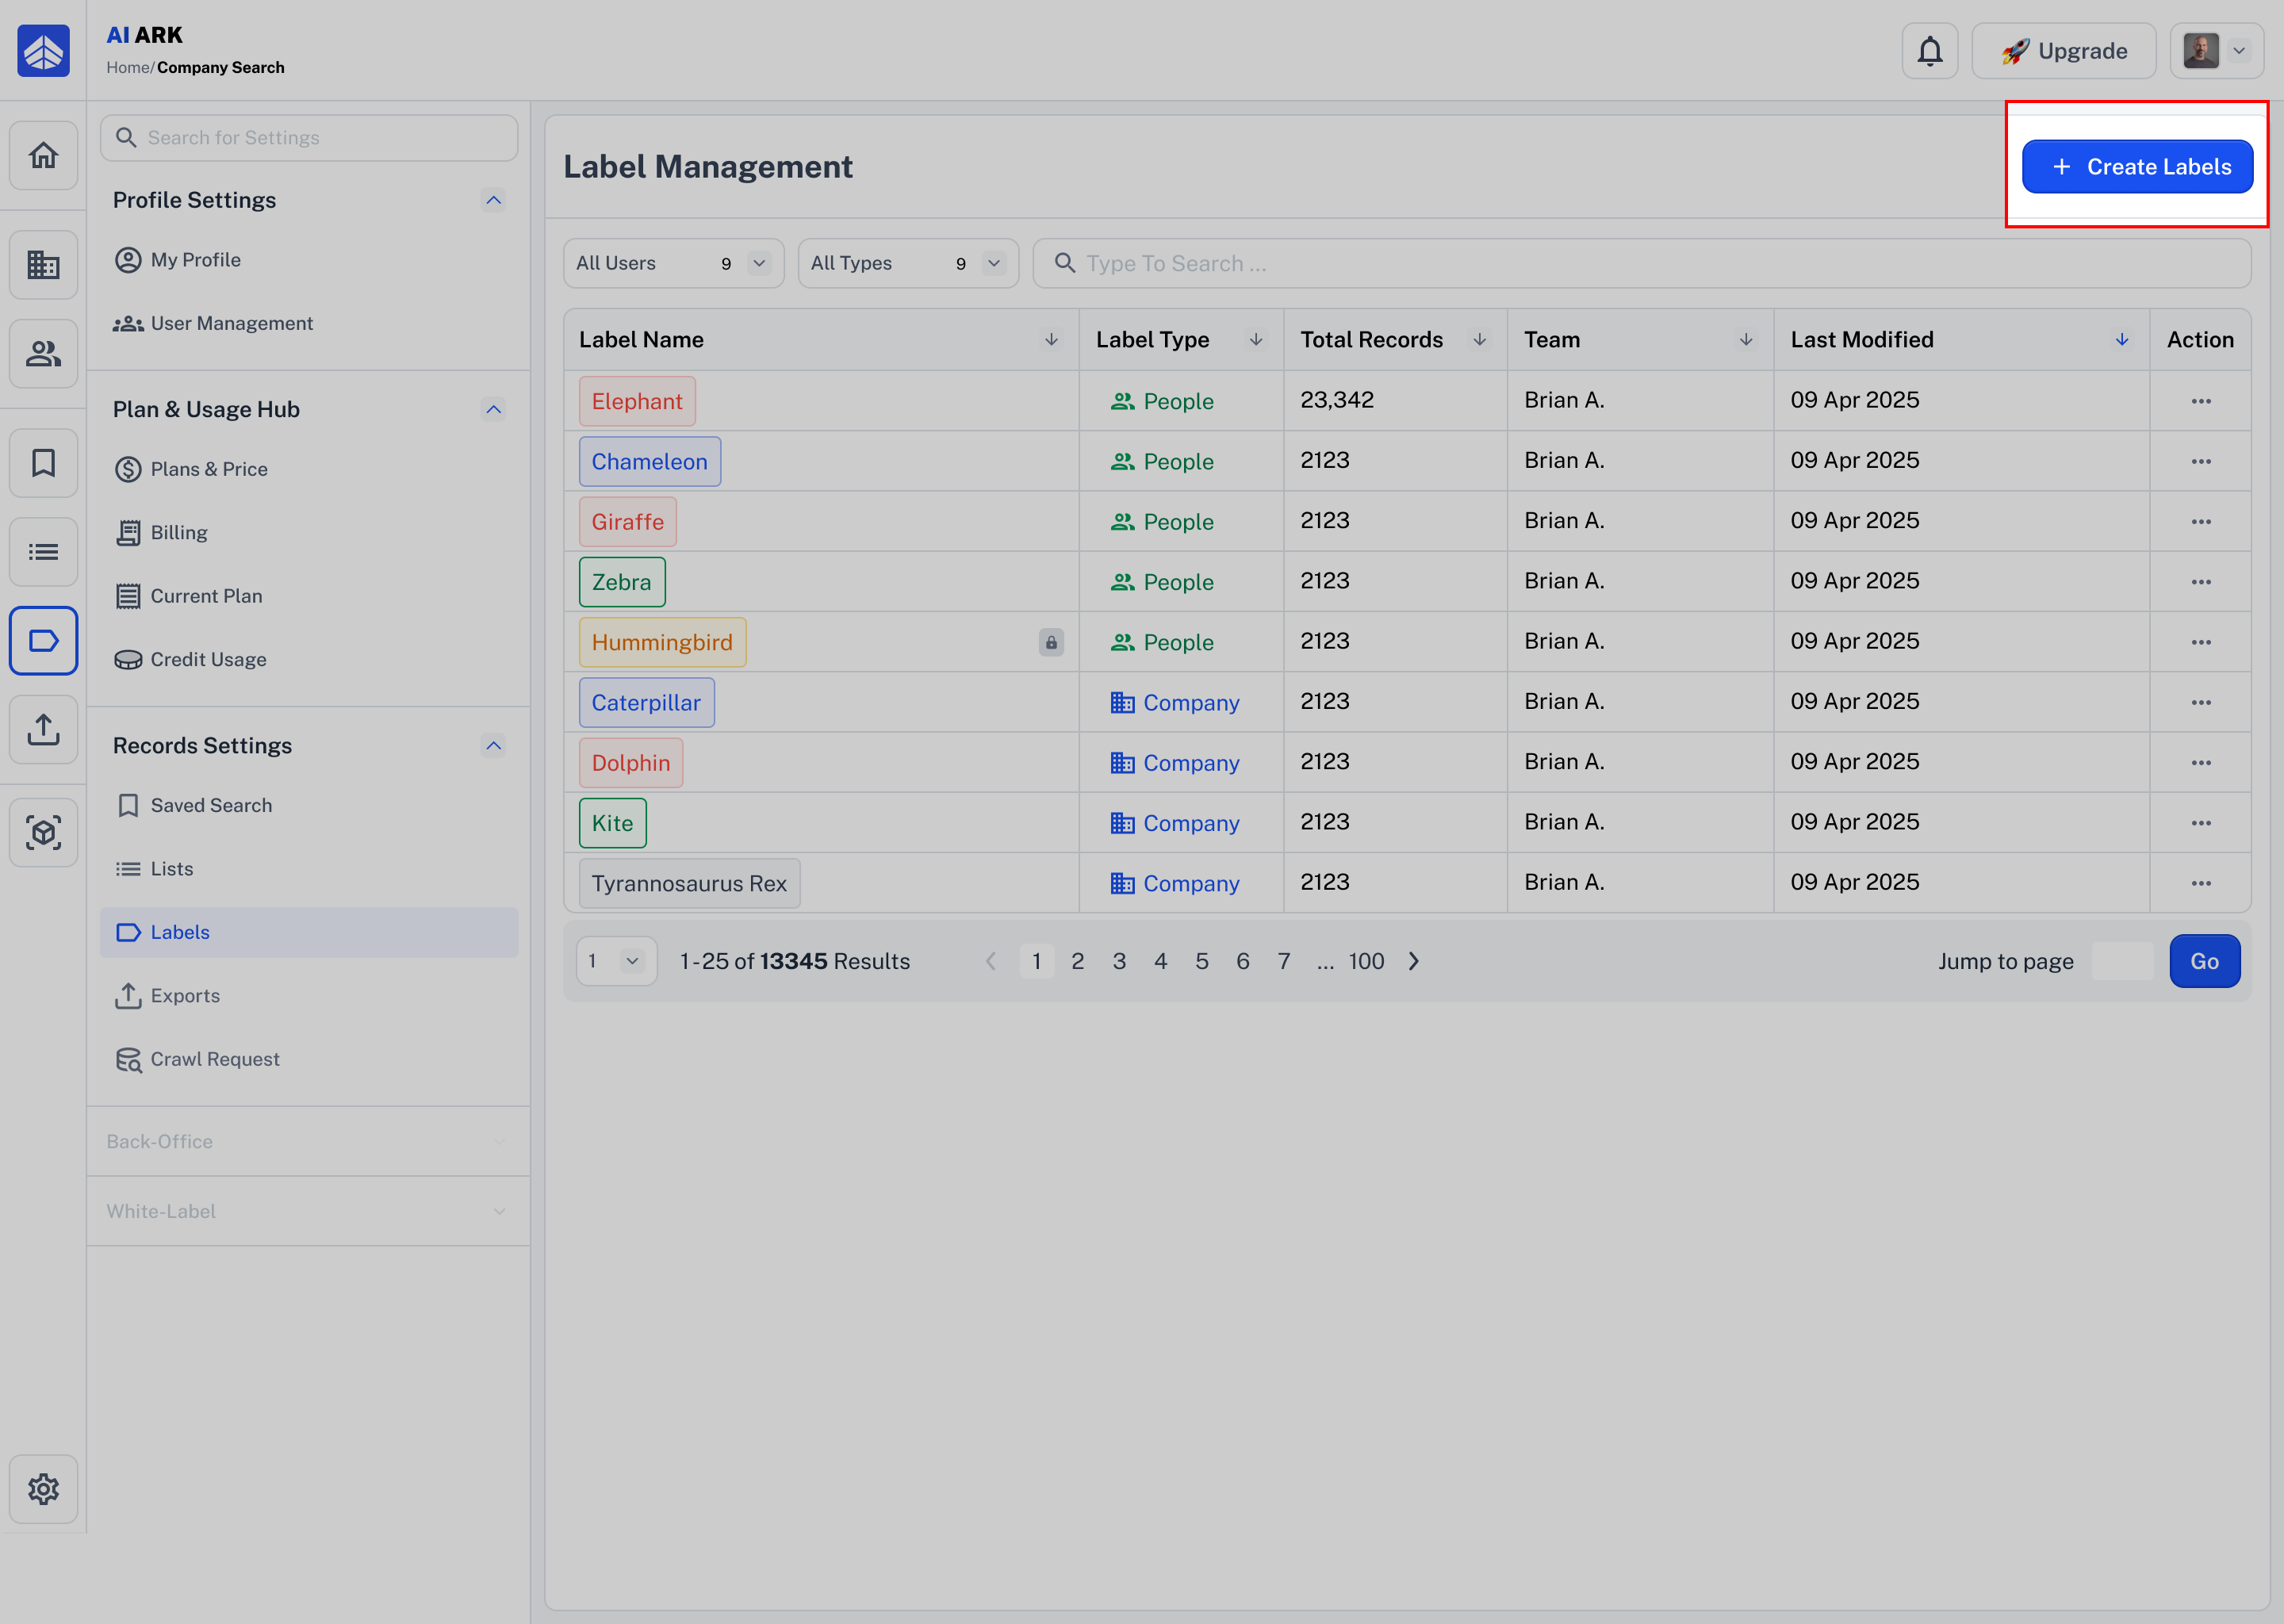
1. First, go to Label Management to get started.
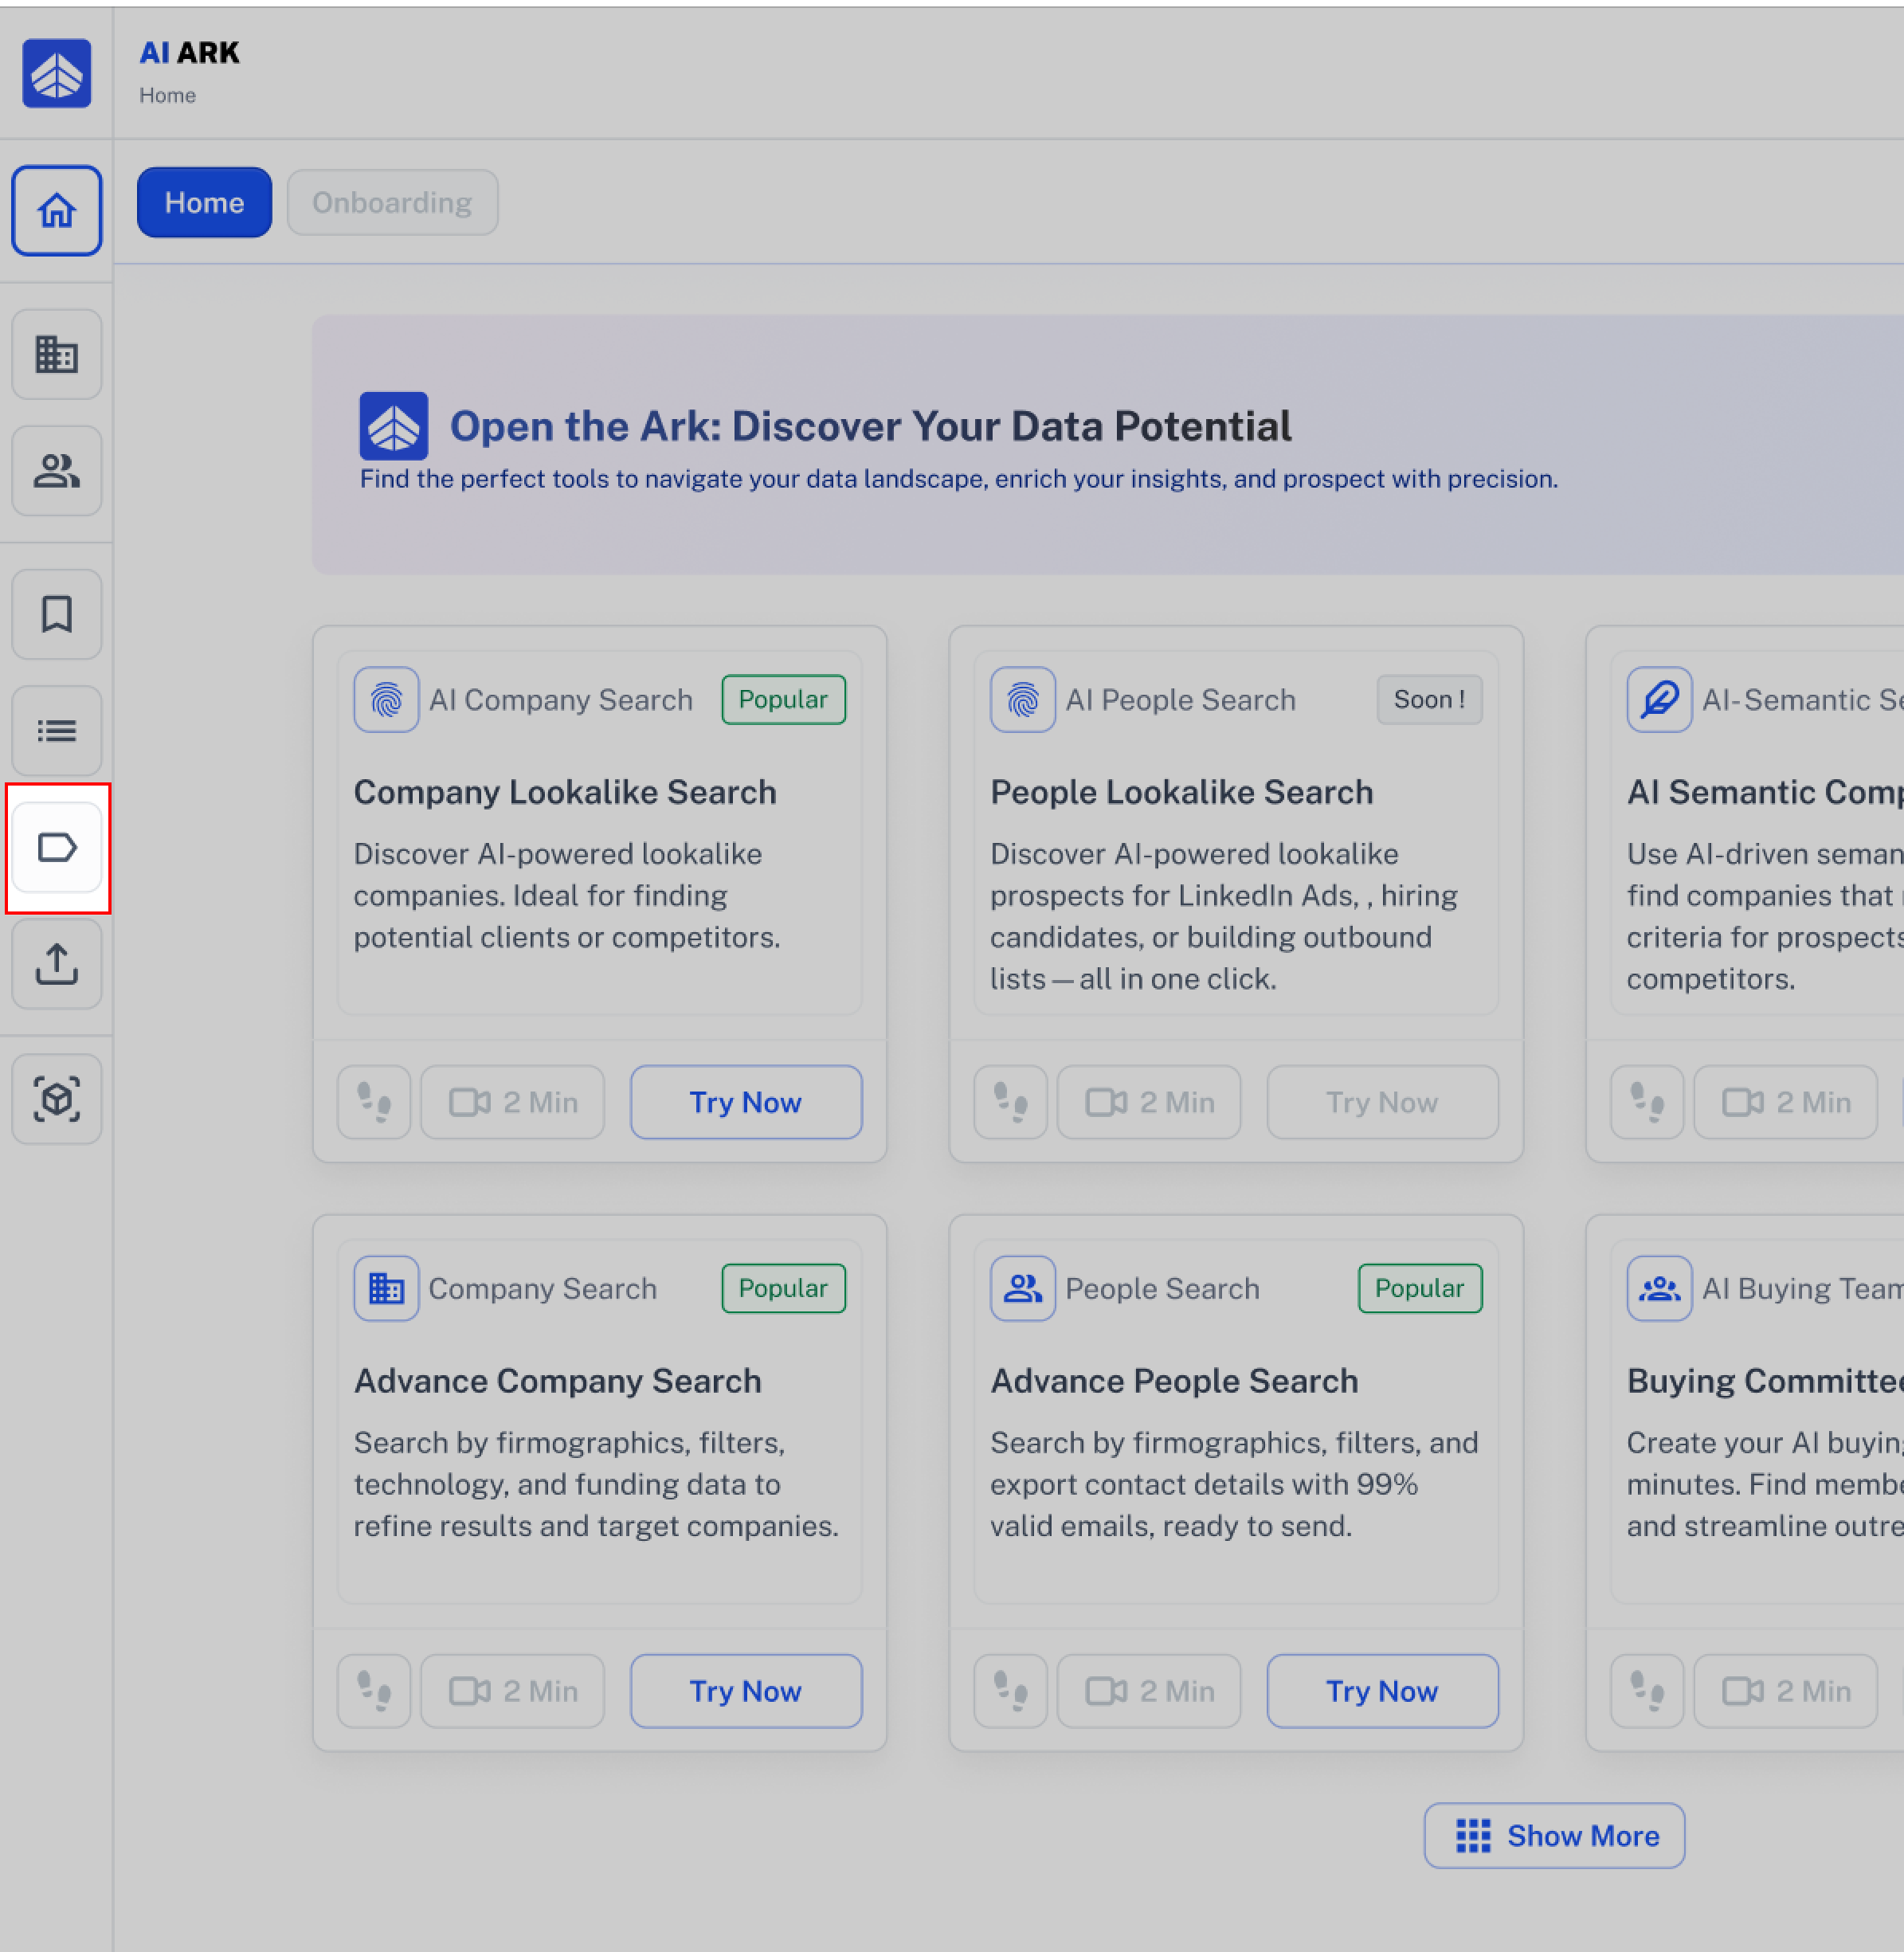
2. Then, at the top right corner, click the Create Label button.
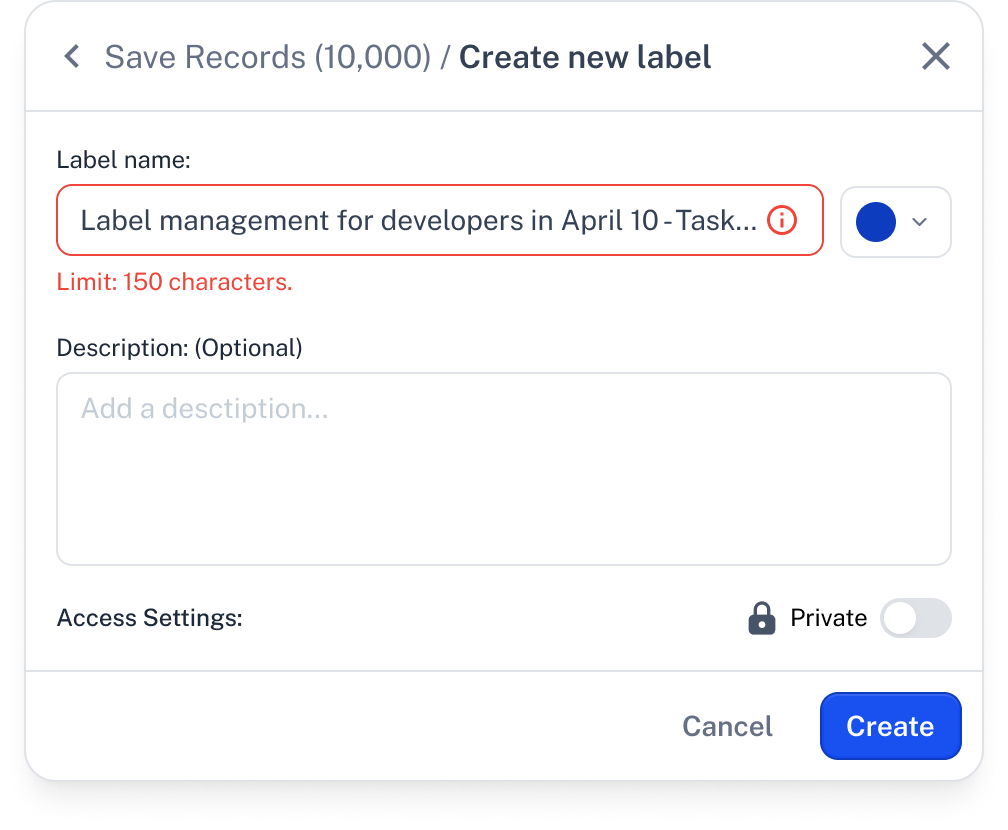
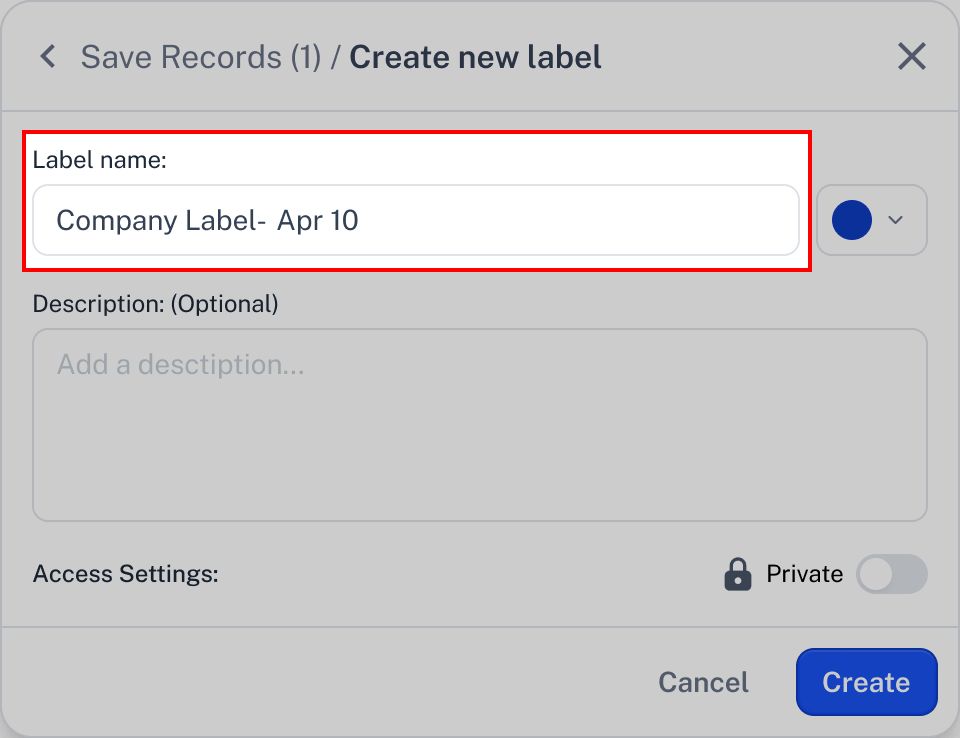
3.When you click on Create Label, a new pop-up will appear with the following options:
Label name: In this section, choose a new name for your label.
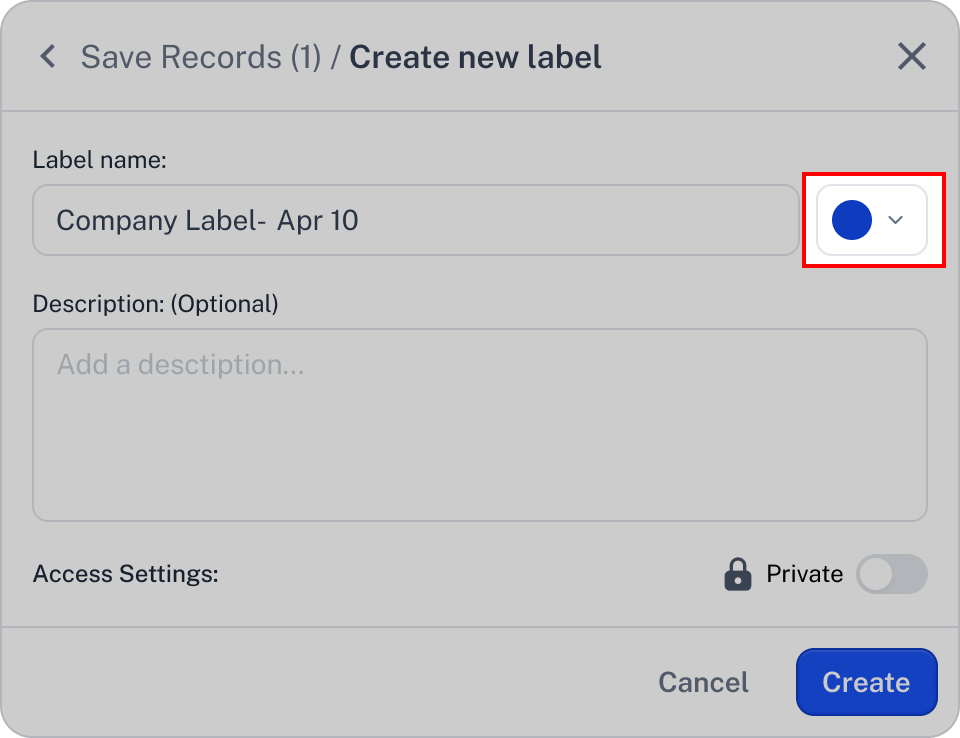
Colors: Colors help you better categorize your labels, making them easier to organize and identify.
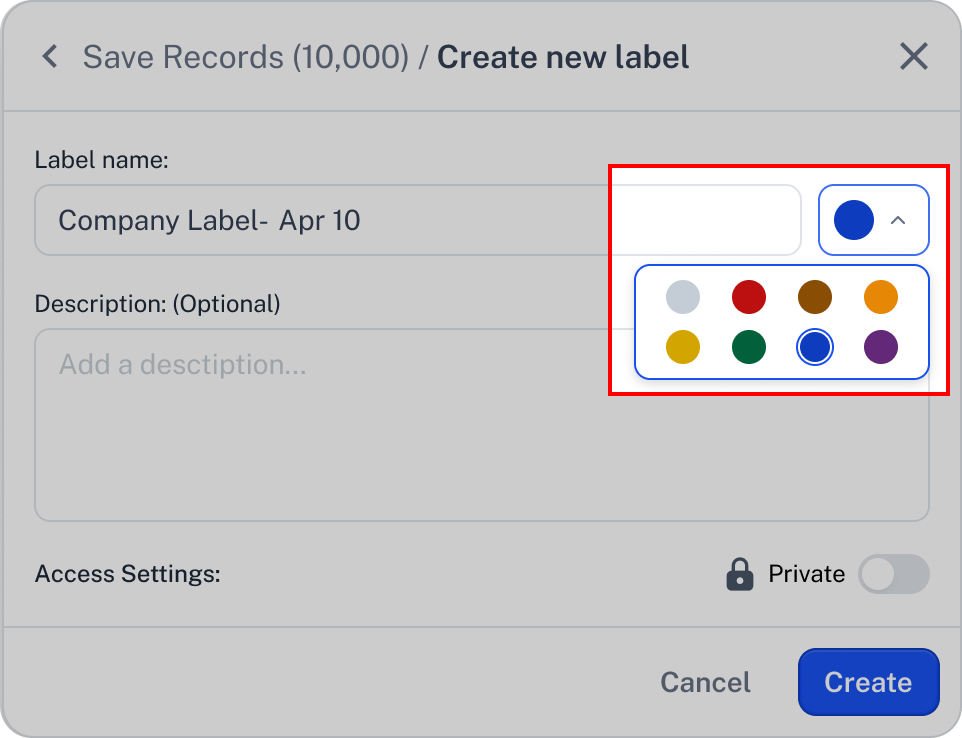
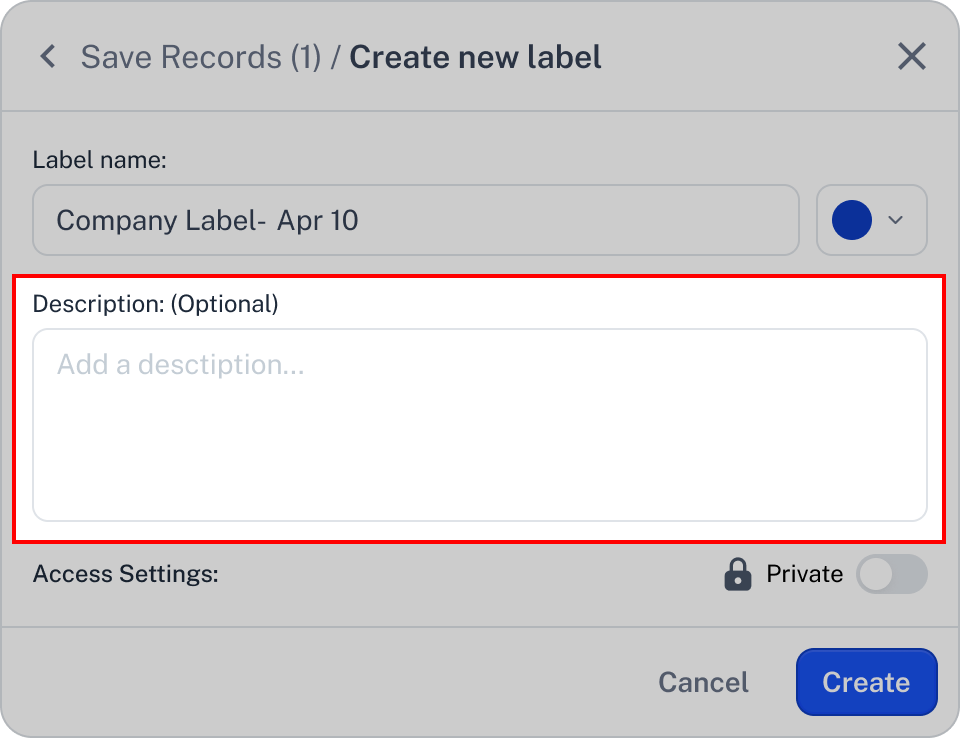
Description: If you want to add a description, you can enter it in this section.
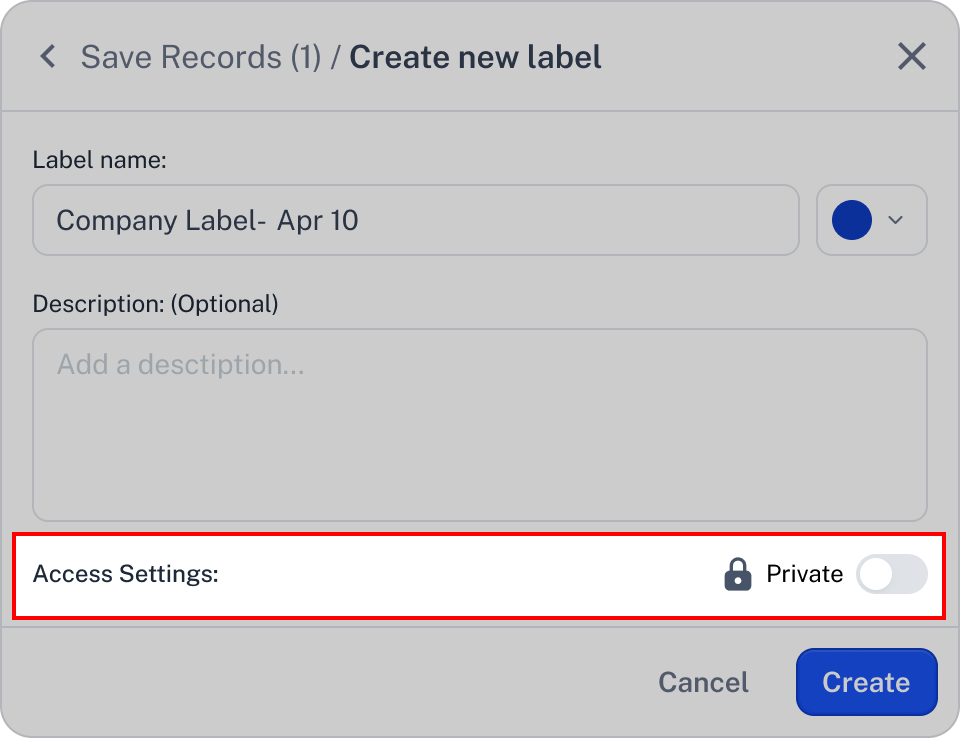
4. Access Settings: Choose whether others can view and edit the label or keep it private and visible only to you. When Private is enabled, only you can manage and modify the label.
5. After creating your label, you can see it in the Selected Labels section.
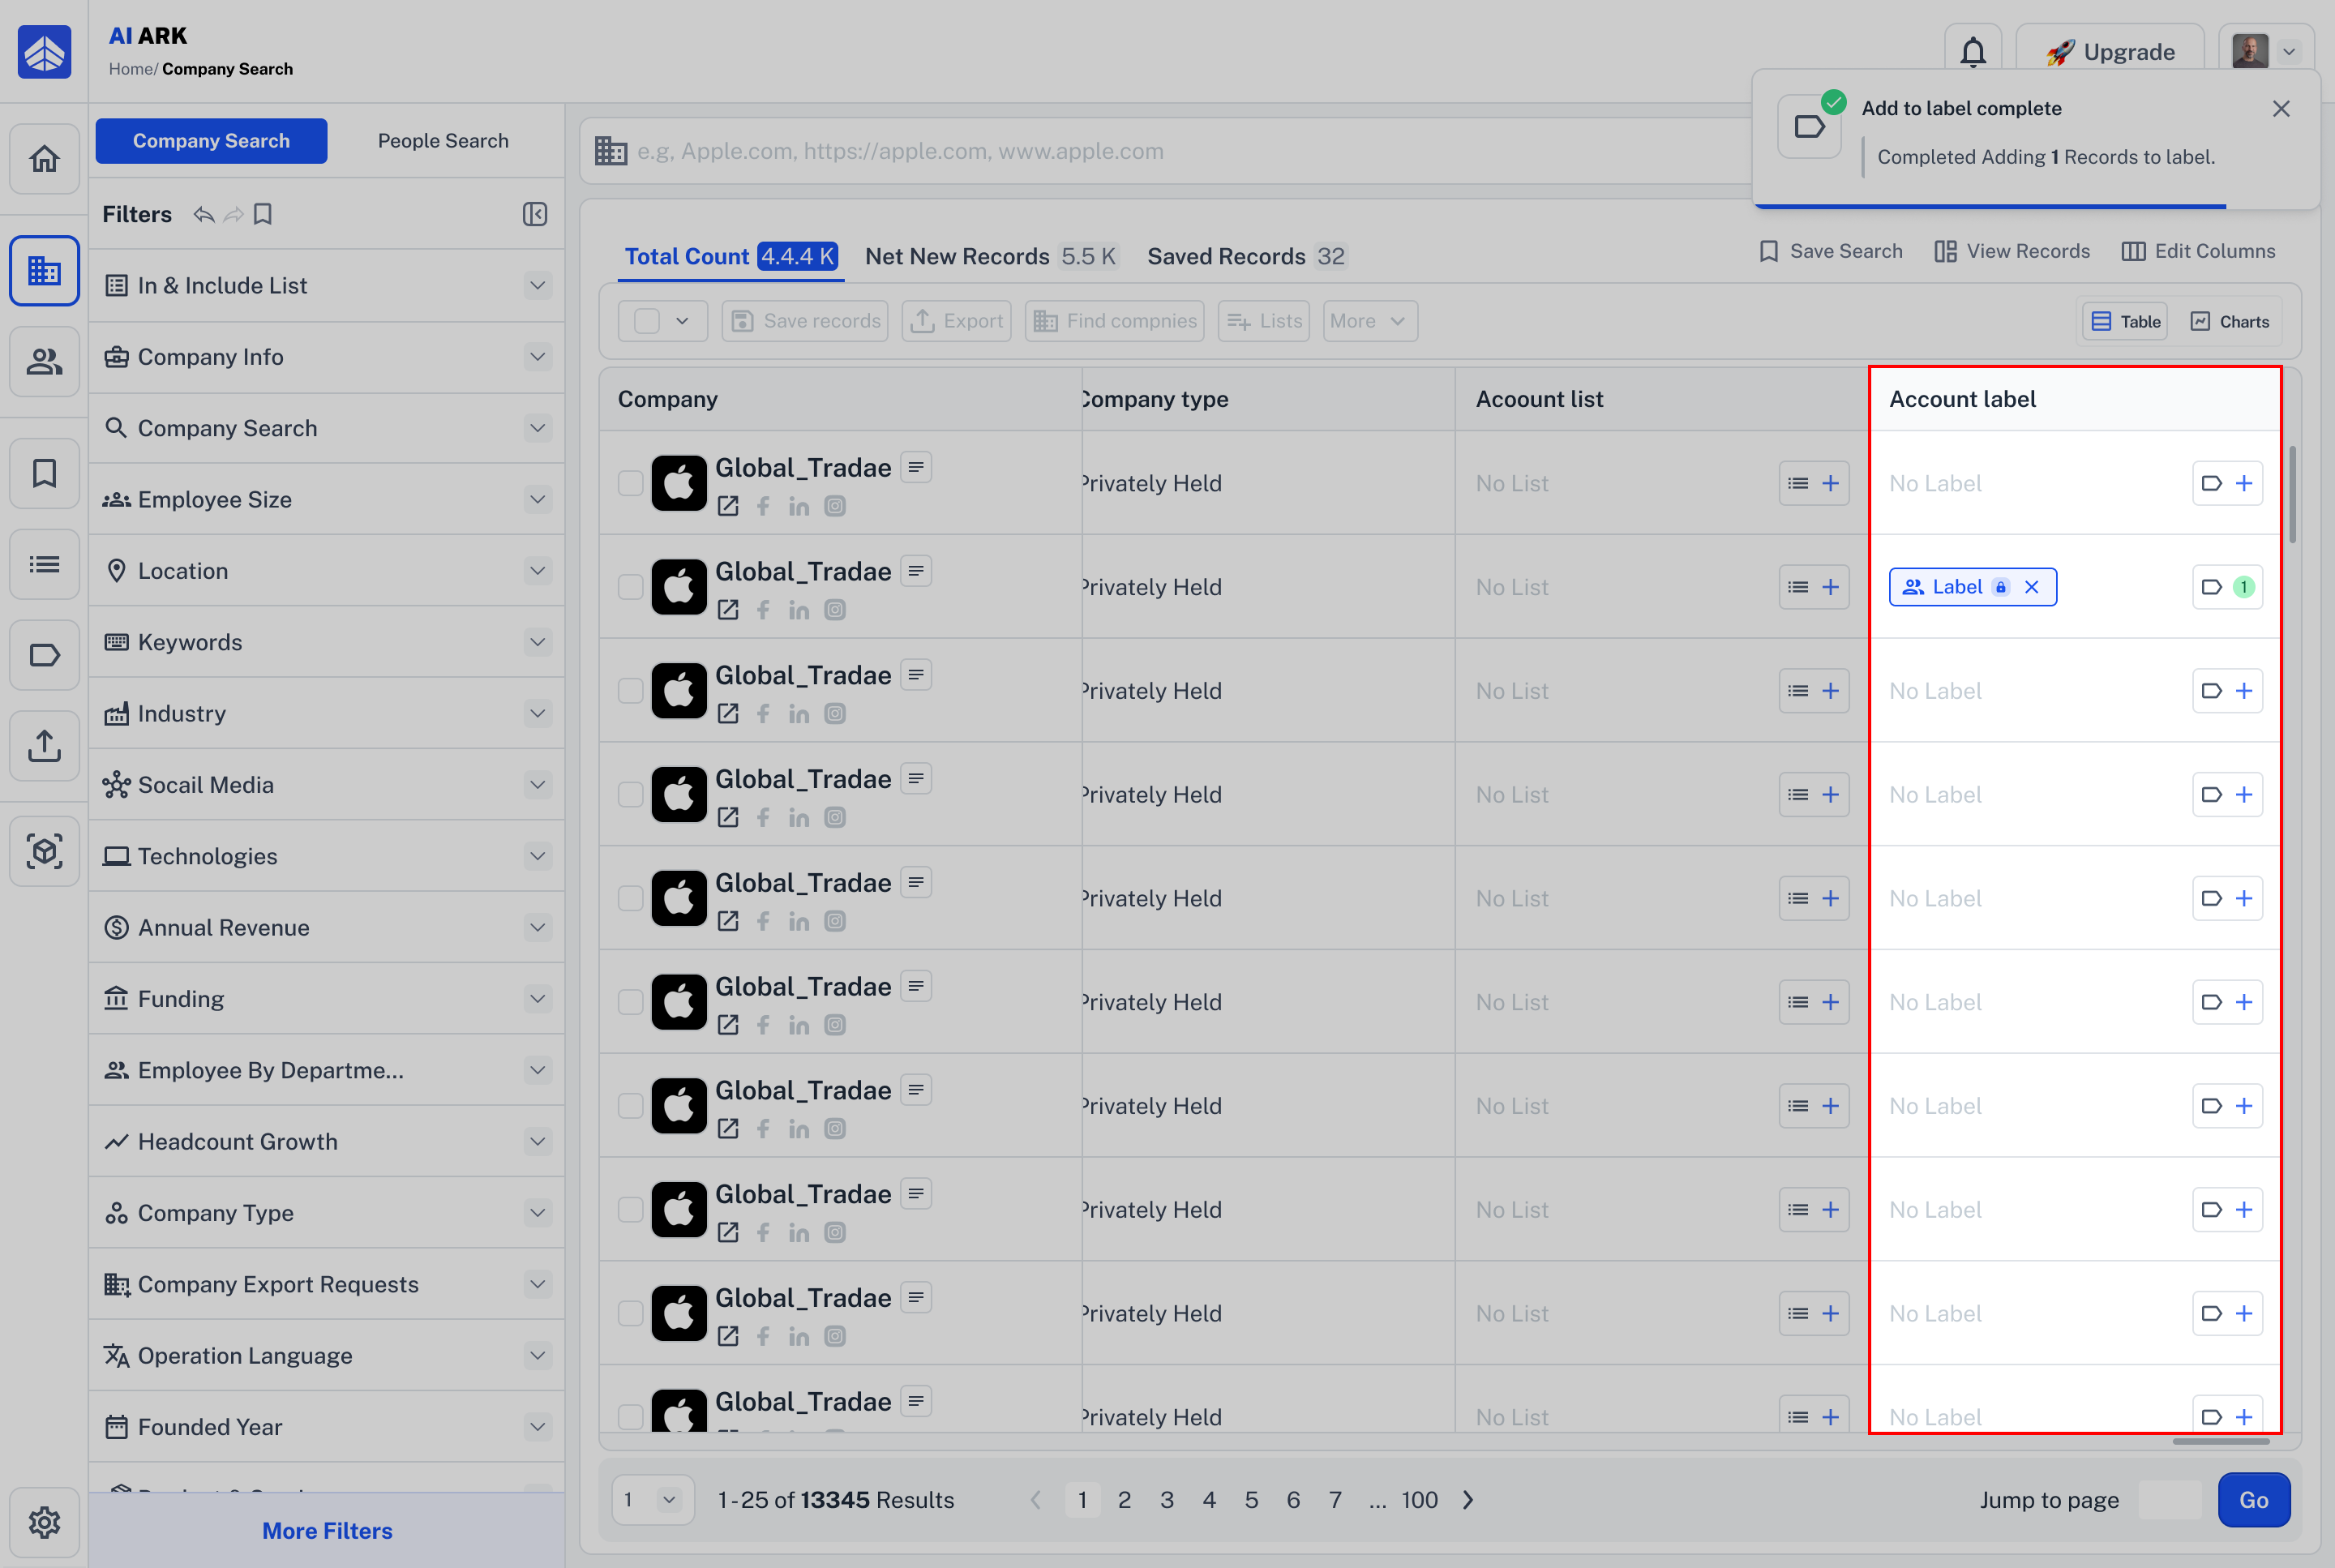
6. In the Action column of the result table, the status will change from Save to Action, and you’ll also see a notification confirming the action was successful.
7. You can also scroll horizontally in the result table to find the Account Label column in Company Search or Contact Label in People Search, and create your new label from there.
Make sure your label name isn’t already used.
The Name already exists.
✅Fix it: Use a unique name that hasn’t been used before.
If your label name is longer than 150 characters, you will see this error message.
Limit: 150 characters.
✅Fix it: Keep your label name under 150 characters.
Click Contact Support—we’re ready to help any time.